VBOX Video HD2 software has the ability to add five different types of shape element, which can be edited by the user to fit their requirements.
Open the shape library by clicking the ‘Shape’ icon from the top menu bar.

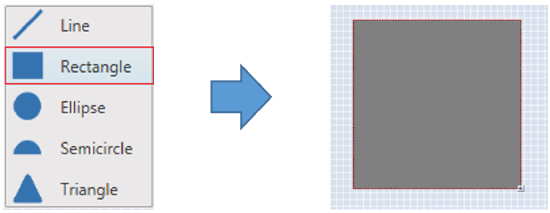
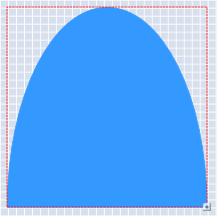
A drop down menu will then appear, clicking on one of the shapes will load a base shape into the scene. Once a shape has been added to the scene, it can be clicked and dragged to the desired location.
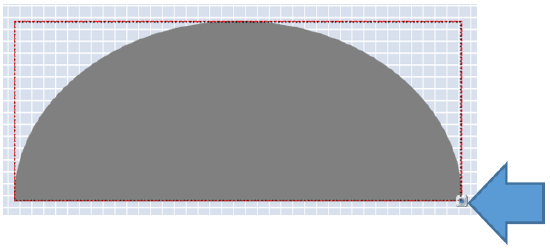
Resize the image using the icon in the bottom right hand corner.
When an element is selected, its settings are shown in the right hand panel.
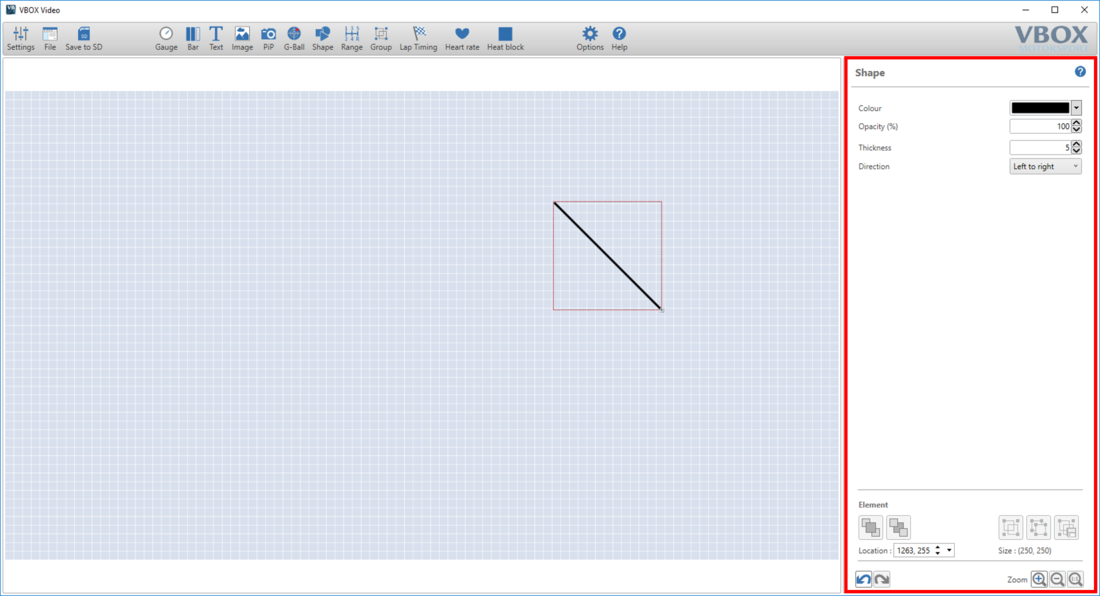
This area will show different options depending on the type of shape that has been added.
These settings are available for all five types of shape element. Within the right hand panel, a drop down box for colour and a text box for opacity can be found.
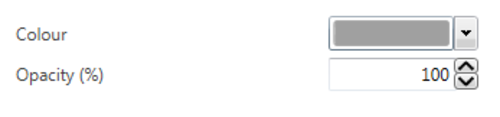
Clicking on the drop down box for 'Colour' allows the user to set a specific colour.
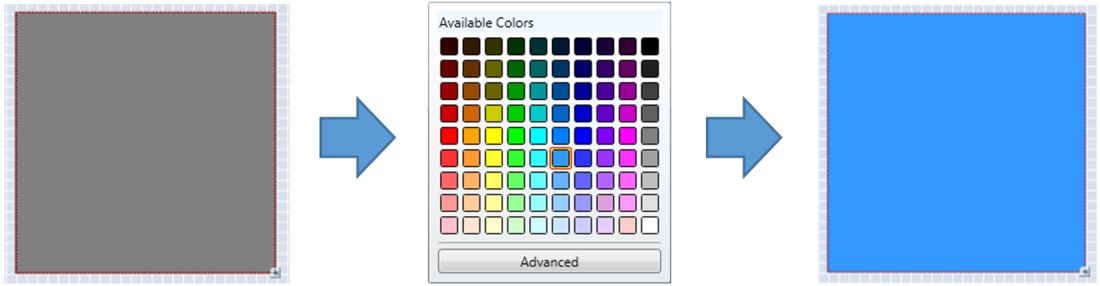
To set a specific RGB colour, click ‘Advanced’.
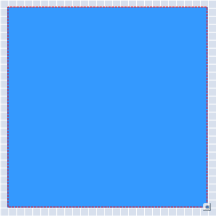
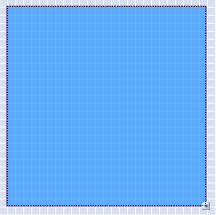
Editing the text box for opacity will alter the transparency of the shape element.


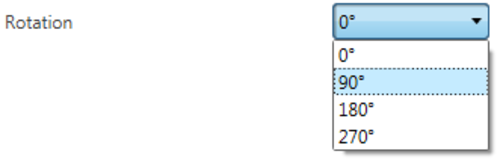
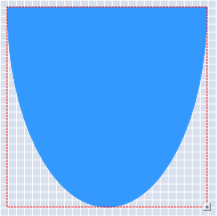
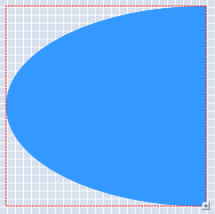
Semicircle and Triangle shape elements can be rotated to four different settings, as they are non-symmetrical. Select from the four options within the drop down menu shown below.


These settings are only available when working with Line shape elements.

Use the arrows within the thickness box to change the line element settings.
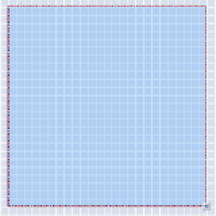
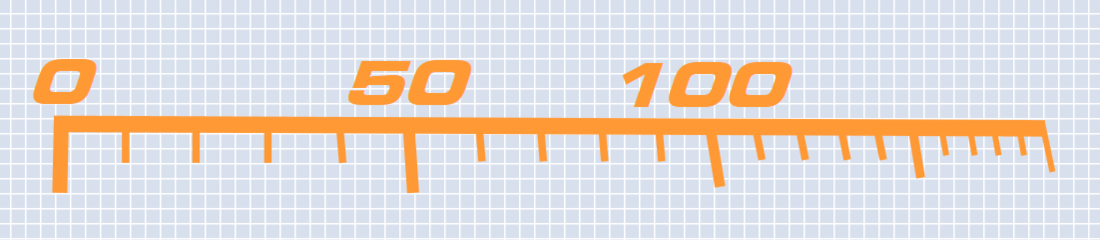
The direction setting coupled with resizing the line element should allow a line to be drawn in any direction. The image below shows a ruler image created from lots of line shape elements.
Elements and their associated settings can be duplicated within a scene by either right clicking on the element, selecting 'Copy' from the dropdown then right-clicking in an empty area and selecting 'Paste' from the dropdown, or by using keyboard shortcuts 'Ctrl + C' (Copy) and 'Ctrl + V' (Paste).


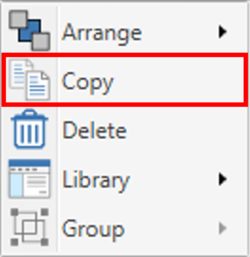

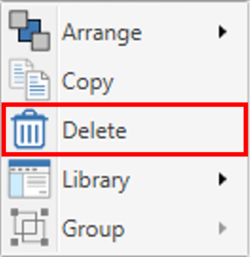
Elements can be removed from the scene in two ways; either by right-clicking on the element, selecting 'Delete' from the dropdown and confirming the prompt, or by pressing the 'Delete' key on a keyboard, and again, confirming the prompt.