VBOX Video HD2 logging can be controlled when a GPS, CAN or Maths channel source meets certain conditions by using the Advanced Logging options within the VBOX Video Setup Software. For example, the HD2 can be instructed to only start logging when speed is greater than 10 km/h and stop logging when speed is less than 10 km/h.
However, there may be occasions where you want to control the VBOX Video HD2 start/stop logging using more than 1 condition, using 'OR' or 'AND' parameters. For example, you may want logging to start when the RPM is greater than 800 or the speed is greater than 10 km/h. There isn't an option to directly define this within the Advanced Logging options of the Setup Software, however a Maths Channel can be created which can then be selected as the method to start/stop logging.
To setup a Maths channel and then apply this as a logging condition, please follow the instructions below:
- Open the VBOX Video Setup Software.
- If you are intending to use CAN channels, ensure the relevant channels have been added within the CAN Settings area.
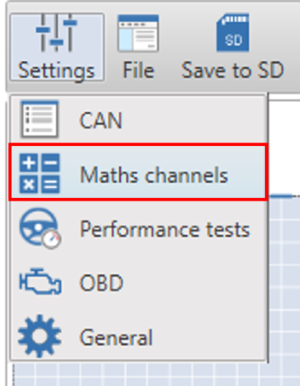
- Click ‘Settings’ from the top left corner of the screen, then select ‘Maths channels’.
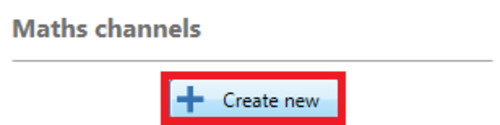
- To create a new maths channel, click ‘Create new’ at the top left of the window. This will add a new channel and open the equation editor.
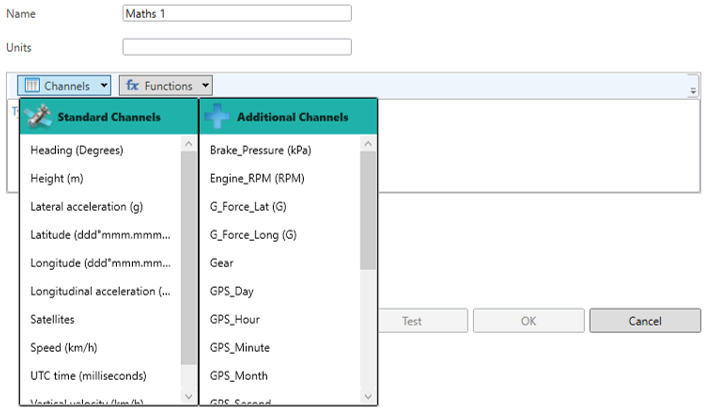
- Within the equation editor, enter the maths expression using the drop down lists for available channels and functions.
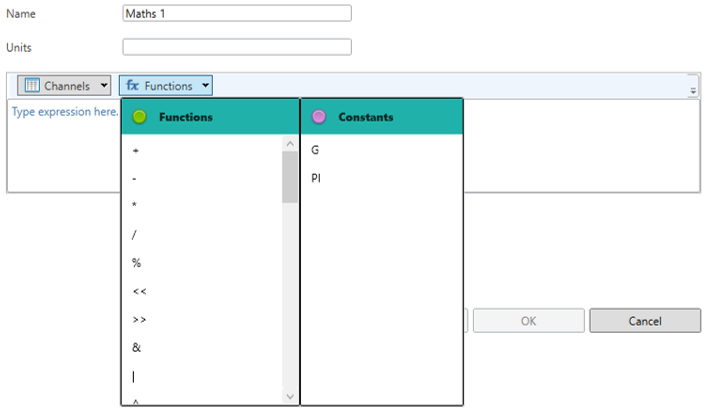

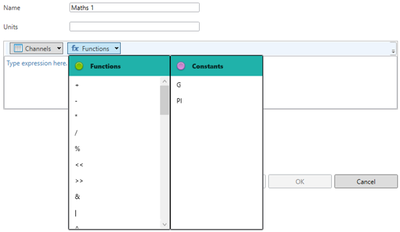
- Use the '|' function to signify an 'OR' condition, or the '&' function to signify an 'AND' condition.
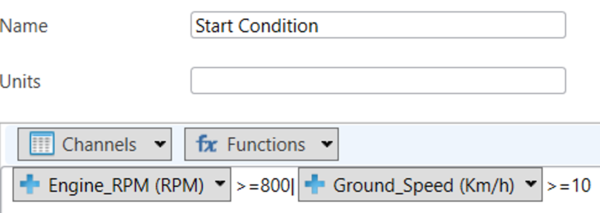
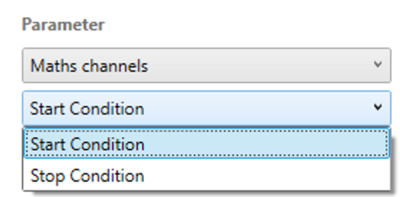
- Enter a name for the Maths channel (e.g. Start Condition) and repeat the process as necessary, click ‘OK’ to save the changes. The example below shows the maths expression for the scenario discussed above, i.e. logging starts when the RPM is greater than or equal to 800, or the ground speed is greater than or equal to 10 km/h.
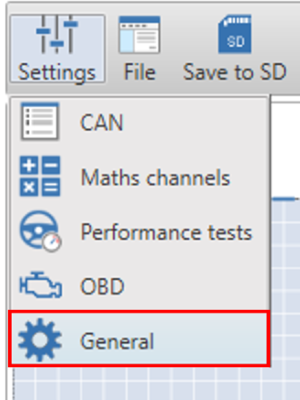
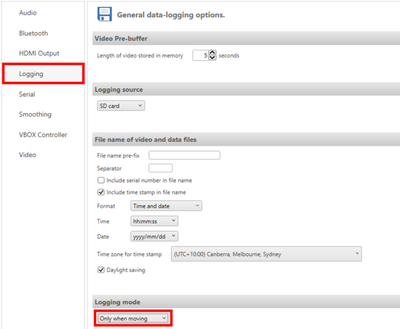
- The Maths channel now needs to be assigned as the logging condition. Click the ‘Settings’ button from the top left corner of the screen, then select ‘General’.
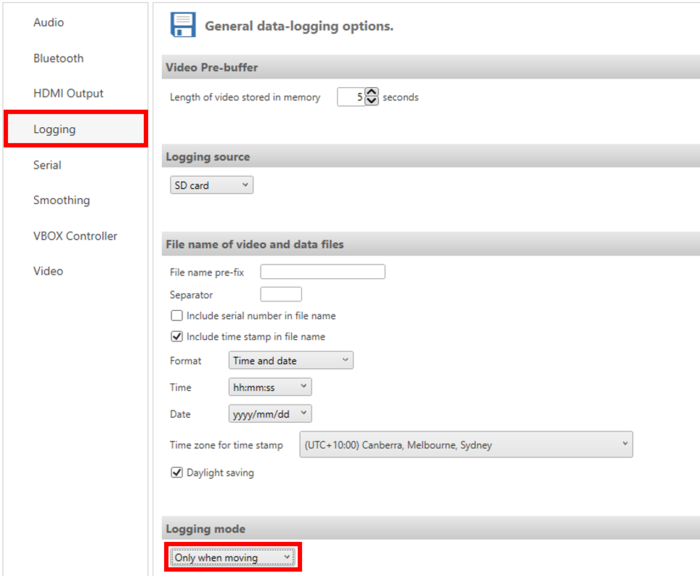
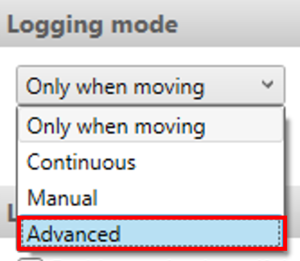
- Select the 'Logging' tab, navigate to 'Logging mode' and select 'Advanced' from the dropdown menu.

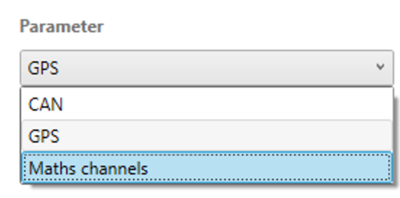
- Within start or stop logging options, select the 'Parameter' dropdown menu and choose 'Maths channels'. Select the name of the Maths channel created.


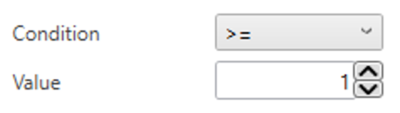
- Change the 'Condition' from '=' (equal to) to '>=' (greater than or equal to) and set the 'Value' as '1'.
- If you would like to define a time delay after the start or stop logging criteria has been met, enter a value within the 'Time for true' option.

- Repeat for start/stop logging options as required.
- Once you are happy with the scene, save to an SD card or USB memory by selecting the 'Save to SD' button and then insert into the powered VBOX.