Model Limitations
This menu is only available on VBOX 3iS Dual Antenna RTK units.
You can access the menu by pressing the OK button. Use the Up and Down arrows to navigate through the menu and press the OK button to enter a submenu or change a setting. When you edit a setting, the Up and Down buttons will let you scroll through the available options for that setting and the OK button will confirm your selection. Use the Back button to exit a setting.
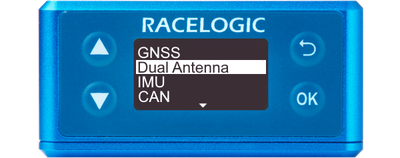
This is the menu you must use to set up your system if you want to use two antennas with your VBOX 3iS unit. You can read more about how to set up a Dual Antenna system here.
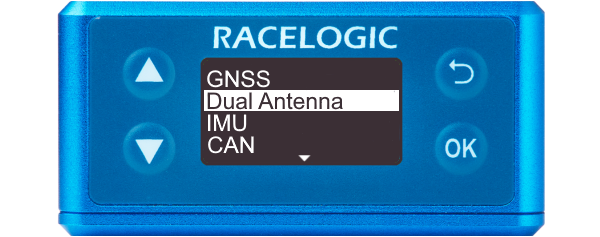
This is the menu you must use to set up your system if you want to use two antennas with your VBOX 3iS unit. You can read more about how to set up a Dual Antenna system here.
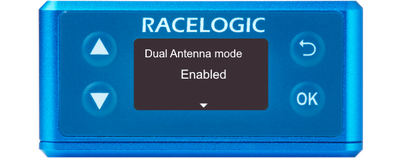
Note: You must enable the Dual Antenna Mode to see the rest of the Dual Antenna menu.

Note: You must enable the Dual Antenna Mode to see the rest of the Dual Antenna menu.
Allows you to enter distance between primary and secondary antennas.
Max 9.999 metres.

Allows you to enter distance between primary and secondary antennas.
Max 9.999 metres.

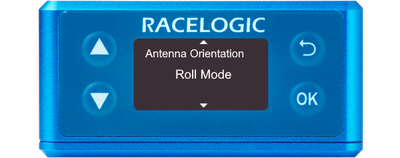
Allows you to intimate to the unit whether the antennas are configured in Roll configuration or Pitch configuration.
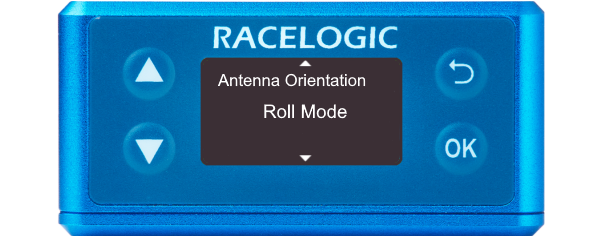
Allows you to intimate to the unit whether the antennas are configured in Roll configuration or Pitch configuration.
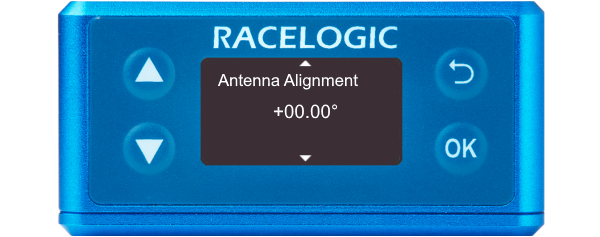
To measure the slip angle, try to get the alignment of the antennas as close as possible to the centreline of the vehicle. You can remove any residual errors in this alignment by using the Auto Align feature.
Select Auto-align to start the alignment process.
Note: You will need to drive in a straight line at a constant speed of more than 25 km/h for a short period of time for the alignment to complete.
Select Clear to remove an already set antenna alignment.
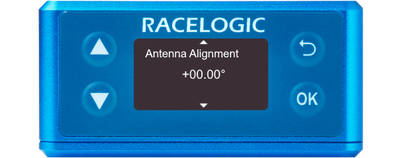
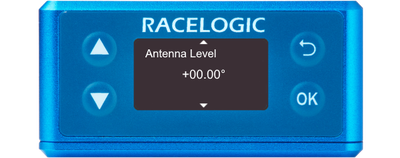
A procedure to account for vertical deviation between antennas to mitigate any knock-on effect on pitch/roll.
Select Auto-level to start the alignment process.
Select Clear to remove an already set antenna level.
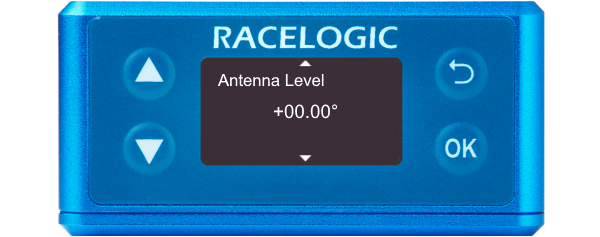
A procedure to account for vertical deviation between antennas to mitigate any knock-on effect on pitch/roll.
Select Auto-level to start the alignment process.
Select Clear to remove an already set antenna level.
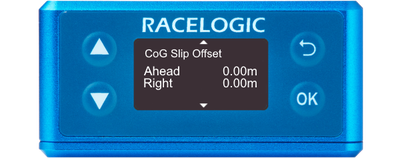
The Centre of Gravity offset must be measured from the primary antenna and entered in metres with 2 decimal places.
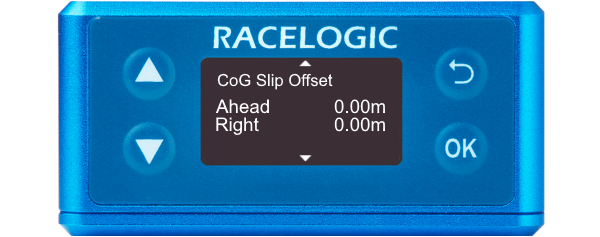
The Centre of Gravity offset must be measured from the primary antenna and entered in metres with 2 decimal places.
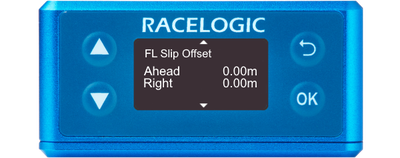
The Front Left offset must be measured from the primary antenna and entered in metres with 2 decimal places.

The Front Left offset must be measured from the primary antenna and entered in metres with 2 decimal places.
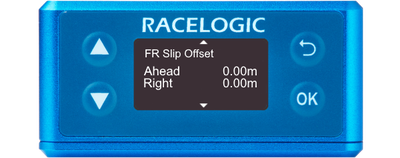
The Front Right offset must be measured from the primary antenna and entered in metres with 2 decimal places.

The Front Right offset must be measured from the primary antenna and entered in metres with 2 decimal places.
The Rear Left offset must be measured from the primary antenna and entered in metres with 2 decimal places.

The Rear Left offset must be measured from the primary antenna and entered in metres with 2 decimal places.

The Rear Right offset must be measured from the primary antenna and entered in metres with 2 decimal places.
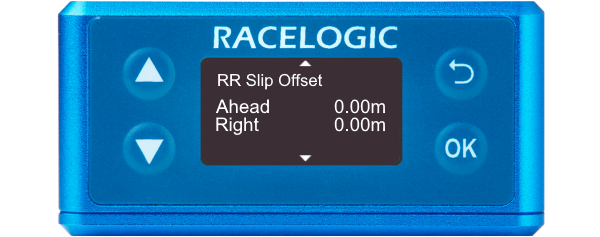
The Rear Right offset must be measured from the primary antenna and entered in metres with 2 decimal places.
