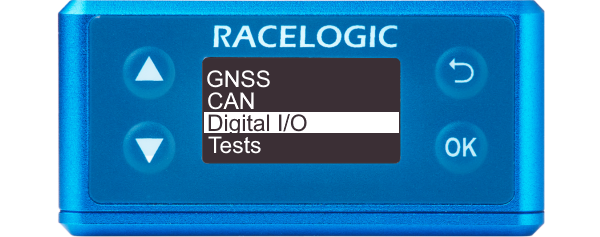
You can access the menu by pressing the OK button. Use the Up and Down arrows to navigate through the menu and press the OK button to enter a submenu or change a setting. When you edit a setting, the Up and Down buttons will let you scroll through the available options for that setting and the OK button will confirm your selection. Use the Back button to exit a setting.
You can use this menu to configure the digital input/output settings.
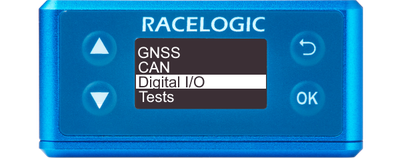
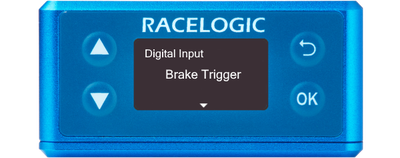
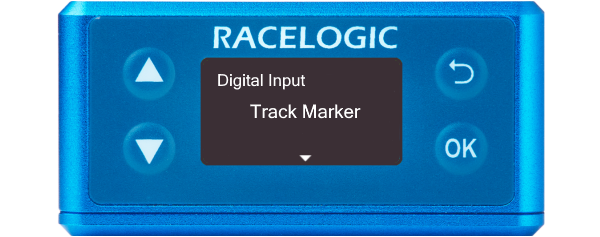
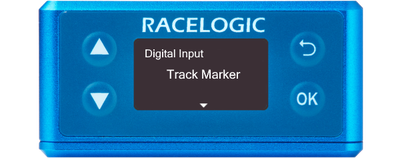
Defines what the digital input will be used for, either as a brake trigger or as a track marker.
Enabling this mode allows the Digital Input to be used with a brake trigger. Activation of the trigger will start the brake stop distance measurement, where the VBOX Speed Sensor unit will calculate a Time and Distance for a Brake Trigger to 0 km/h test.

Enabling this mode allows the Digital Input to be used with a brake trigger. Activation of the trigger will start the brake stop distance measurement, where the VBOX Speed Sensor unit will calculate a Time and Distance for a Brake Trigger to 0 km/h test.
When this mode is enabled, you can use the digital input to configure track features for lap timing.
You can use the input switch to:
- set a start/ finish line
- set a separate finish line
- set a split line
- clear all virtual lines
- perform a coldstart
Further information on this can be found here.
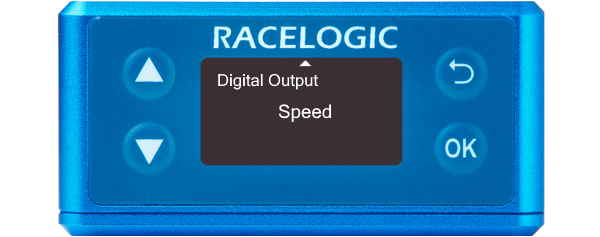
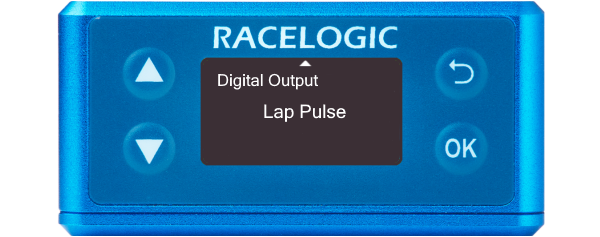
Defines the digital output of the Speed Sensor.
Sends a configured number of pulses per metre. This setting will apply the default configuration: 90 pulses/m = 25 Hz per km/h.
Sends a configured number of pulses per metre. This setting will apply the default configuration: 90 pulses/m = 25 Hz per km/h.

Note: If you need a different configuration for this feature, you will need to configure it in VBOX Setup.
Sends a pulse every time the start/finish line is crossed. This setting will apply the default configuration: 5 V pulse for 1 second.
Sends a pulse every time the start/finish line is crossed. This setting will apply the default configuration: 5 V pulse for 1 second.
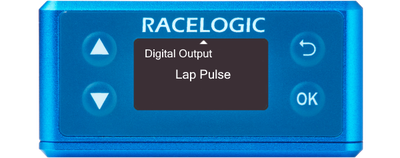
Note: If you need to apply a different polarity or pulse duration to this feature, you will need to configure it in VBOX Setup.