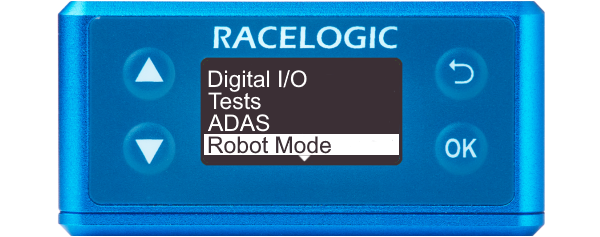
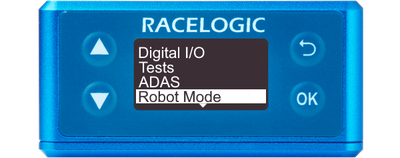
You can access the menu by pressing the OK button. Use the Up and Down arrows to navigate through the menu and press the OK button to enter a submenu or change a setting. When you edit a setting, the Up and Down buttons will let you scroll through the available options for that setting and the OK button will confirm your selection. Use the Back button to exit a setting.
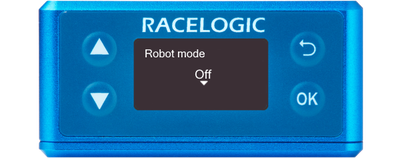
Select this option to disable the Robot mode. This is the default option.
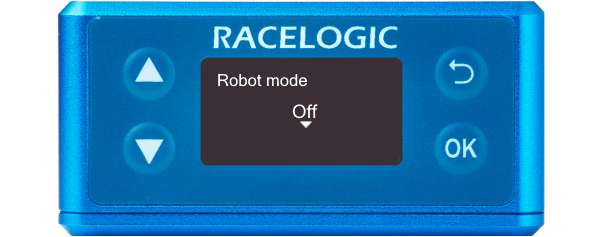
Select this option to disable the Robot mode. This is the default option.
Model Limitations
This option is not available on VBOX 3i Single Antenna units.
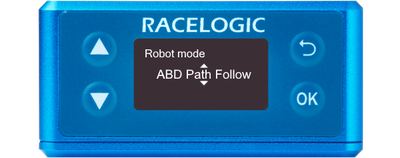
Select this option to configure the VBOX 3iS unit for an ABD Path Follow.
You can conduct ABD Path Follow in both Single and Dual Antenna Mode.
Note: You select the required mode after you have selected ABD Path Follow in the Robot Mode menu.

Select this option to configure the VBOX 3iS unit for an ABD Path Follow.
You can conduct ABD Path Follow in both Single and Dual Antenna Mode.
Note: You select the required mode after you have selected ABD Path Follow in the Robot Mode menu.
Select this option to configure the VBOX 3iS unit for use with an ABD Open Loop.
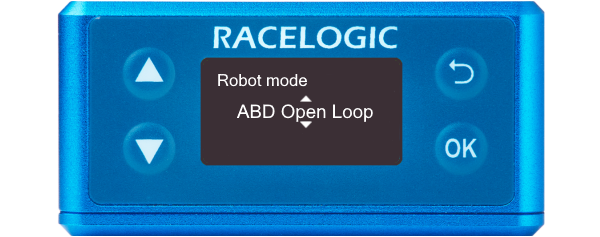
Select this option to configure the VBOX 3iS unit for use with an ABD Open Loop.

Select this option to configure the VBOX 3iS unit for use with an ABD Pedestrian robot.
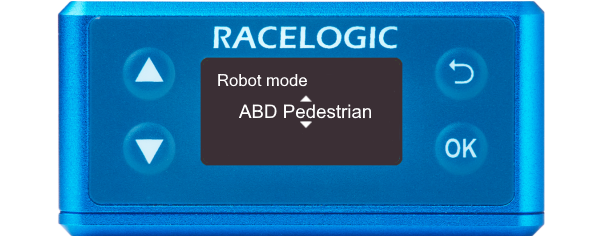
Select this option to configure the VBOX 3iS unit for use with an ABD Pedestrian robot.

Model Limitations
The following options are not available on VBOX 3i Single Antenna units.
Select this menu option to set the VBOX 3iS unit into UFO DSD mode, for use in Robot vehicle testing.
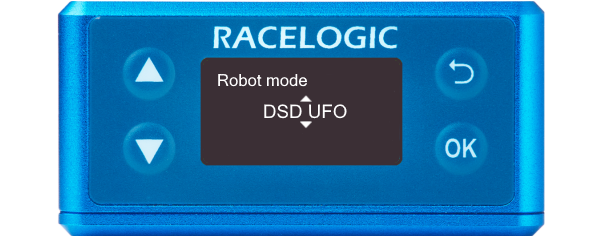
Select this menu option to set the VBOX 3iS unit into UFO DSD mode, for use in Robot vehicle testing.
Select this menu option to set the VBOX 3iS unit into Vehicle DSD mode, for use in Robot vehicle testing.

Select this menu option to set the VBOX 3iS unit into Vehicle DSD mode, for use in Robot vehicle testing.

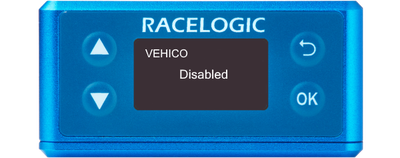
Select this menu option to set the VBOX 3iS unit into Vehico mode, for use in Vehico robot systems.
Automatically configure VBOX 3iS to work with the Vehico system by applying settings.
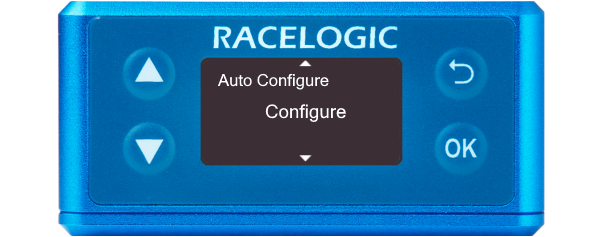
Automatically configure VBOX 3iS to work with the Vehico system by applying settings.
Selecting will use the current location of the GNSS antenna as the Datum point, the origin point of the local X-Y coordinate system, from which all positional information will reference.
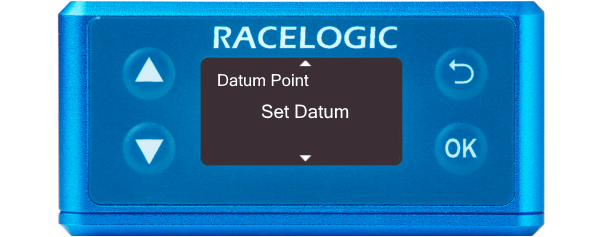
Selecting will use the current location of the GNSS antenna as the Datum point, the origin point of the local X-Y coordinate system, from which all positional information will reference.
The track direction dictates the direction in which the Vehico system will consider its ‘North’ value. VBOX 3iS will automatically work out the heading and apply this heading as the track direction.
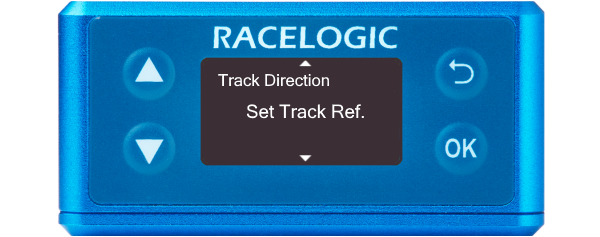
The track direction dictates the direction in which the Vehico system will consider its ‘North’ value. VBOX 3iS will automatically work out the heading and apply this heading as the track direction.
Alternatively to setting the 'Track Direction', a numerical heading value can be manually entered.

Alternatively to setting the 'Track Direction', a numerical heading value can be manually entered.

Selecting this option will clear the current track direction before setting the current antenna location as the datum point.
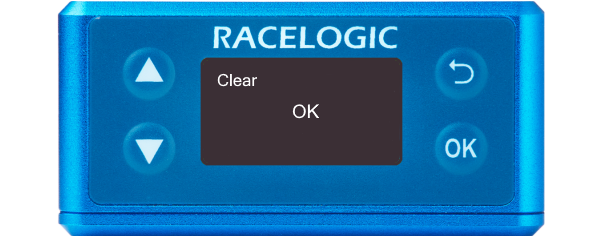
Selecting this option will clear the current track direction before setting the current antenna location as the datum point.
Select this option to disable the VEHICO mode.
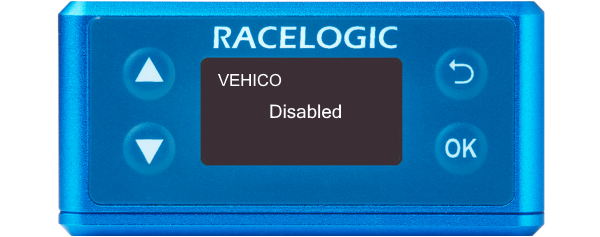
Select this option to disable the VEHICO mode.