If you are using a VBOX Video HD2 and you are not able to adjust the video setting to 60 fps, you could be using incompatible hardware/firmware.
Please check the following compatibility table to see what video setting your hardware setup is compatible with.
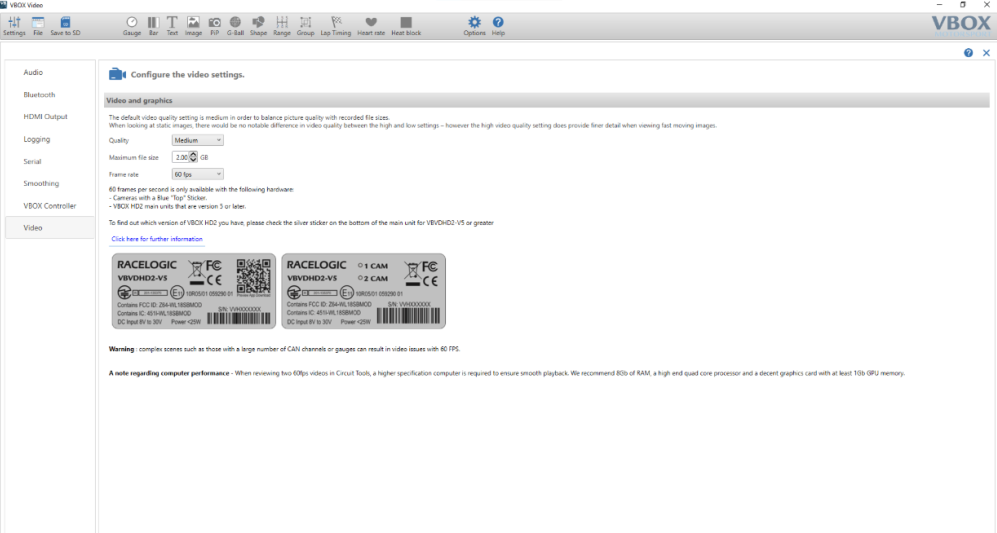
Video Settings
Screenshot from VBOX Setup showing the Video settings menu where you configure the Frame rate.
If the scene does not upload to VBOX Video HD2, try a re-installation of the firmware on the HD2 and try to upload the scene again.
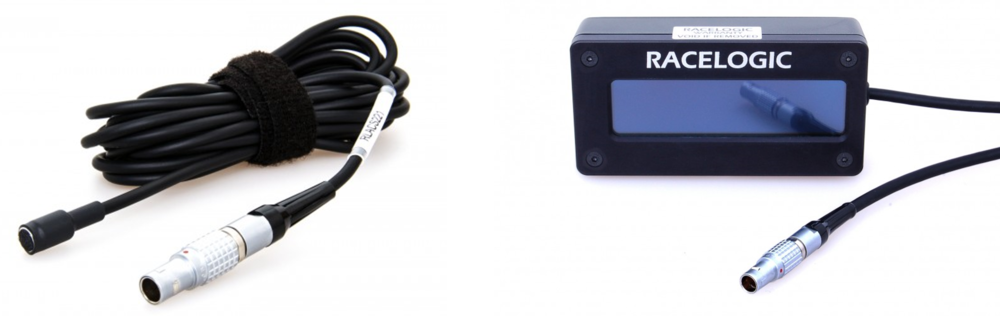
Some customers have experienced a ticking noise on their video playback when using a VBOX Video HD2 in conjunction with an OLED Display.
Cause
This is caused by electrical interference from the OLED Display cable when placed near to the Microphone cable (RLACS221).
Solution
Ensure that the OLED Display and microphone cables are not routed together, locate the cables as far away from each other as possible.
If you have any further questions on cable placement, please contact Racelogic Support.
If VBOX Video HD2 is experiencing unusual LED behaviour during boot up and the unit is failing to function correctly, it may be the case that the power supply to the unit is not supplying a good and stable requirement of 12 V.
This can be verified by checking the output voltage of the vehicle battery with a Voltmeter. Alternatively, you could try a mains power supply or a different power supply from the battery you are using (perhaps another battery).
If these instructions do not the resolve the issue, then please contact Racelogic Support for further assistance.
White, Pink or Purple Flashes/ Blue Lines
Some customers have experienced white, pink or purple flashes on their video playback, most commonly on older vehicles, however there have also been a few modern cars affected. The most recent Firmware Update reduces the effect of this interference to single blue lines.
Cause
This is caused by electrical interference, primarily from ignition systems, however some spark plugs and Car to Pit radio systems also give off a lot of electrical noise. The HD2 power lead was found to pick up this interference and cause the white flashes/ blue lines seen in the video playback.
Solution
Current HD2 units are supplied with a new screened power supply (either cigar plug cable RLCAB010LE or unterminated cable RLCAB014LE) which eliminates this issue.
In older power cables, we have also found that adding a ferrite choke eliminates this problem in almost all cases.
Customers that experience this issue and have the older power cable variants (either cigar plug cable RLCAB010L or unterminated cable RLCAB014L) should contact us at Support@racelogic.co.uk and we will provide either a new power cable or ferrite choke kit (RLACS242) free of charge.
Installing a Ferrite Choke
To install the ferrite choke, please follow the steps below:
- First, use the key provided to open the ferrite by pushing the two prongs into the slots on the edge of the ferrite and pushing down hard


- Next, wrap the power cable 6 times around the ferrite, and snap shut
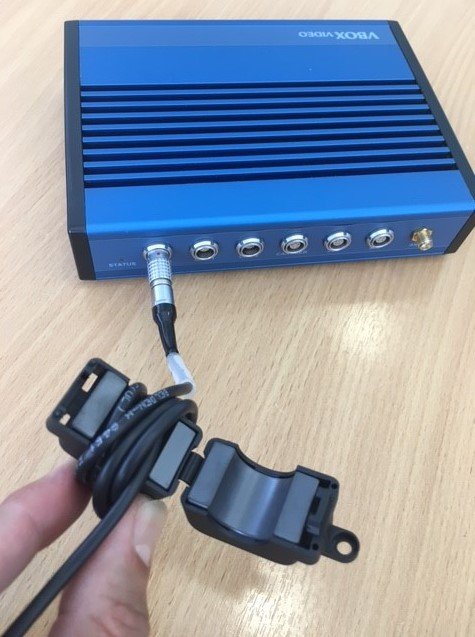


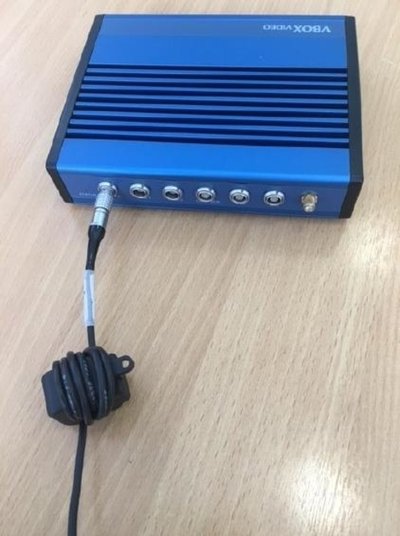
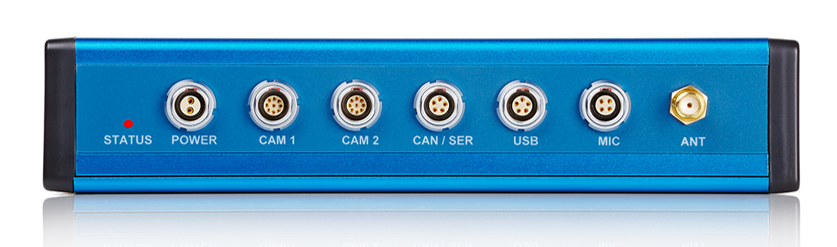
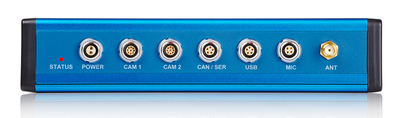
- The ferrite should be placed as close as possible to the power connector on the box, as in the pictures above.
- Please also ensure that any cables, antennas and cameras are placed as far away from the ignition coil and distributor as is practically possible.
*Customers using Bosch HKZ ignition systems can also help reduce interference by relocating the ignition system from the bulkhead of the engine bay to behind the engine.
Spark Plug Interference
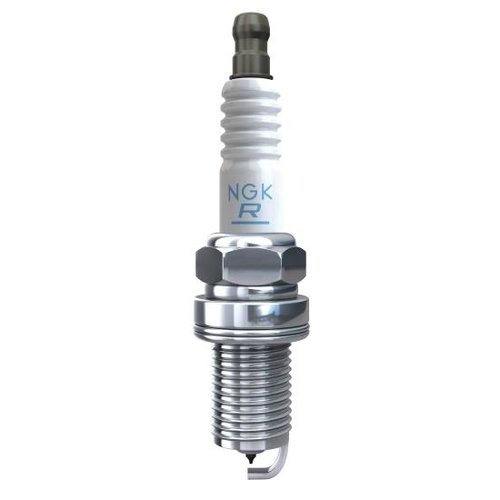
For some customers we have also found that replacing the spark plugs with resistive type spark plugs also helps suppress electrical noise generated by the vehicle.
Below is an example of an NGK resistive spark plug. The 'R' on the side indicates it is resistive, note that this may vary between brands however this gives a good example of what to look for.
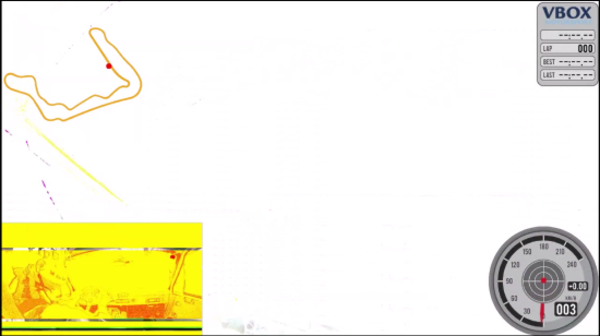
Green Screen
In some instances, customers have experienced an issue where the camera input only shows a blank green screen, see below.

Cause
This is caused by the main processor failing to lock onto the video input for the camera, most commonly if the camera is not correctly connected prior to boot up. When this is the Picture in Picture camera, it is disabled and only the main image is visible. When the main camera is affected the image will simply show a green image as the main camera cannot be hidden (as in the above image).
Solution
We have a solution to this which is undergoing development at this time and will be released as soon as possible.
In the meantime, users must ensure both cameras are properly connected prior to applying power to the VBOX.
If VBOX Video HD2 just continually beeps, there are a number of steps that can be taken to try and rectify the problem.
- Ensure the SD card is not full.
- The scene may be corrupt, try re-uploading the scene.
- Try to re-flash the firmware.
If you are upgrading your VBOX Video HD2 unit to use it with RLACS329 cameras it is important that you follow the upgrade instructions here.
If you do not follow the instructions, you may experience that your VBOX unit freezes, i.e. the unit will illuminate all 3 LEDs, but will not boot up and will not install the firmware upgrade.
If this happens, you need to:
- Remove power from your VBOX Video HD2 unit.
- Disconnect the cameras.
- Apply power to your VBOX Video HD2 unit.
- Perform the firmware upgrade (see full instructions on how to upgrade it here).
NOTE
Not all hardware variants of VBOX Video HD2 are compatible with RLACS329 cameras. You can find more information about camera compatibility here.
If the HD2 unit displays simultaneous solid (or flashing) Red OK, Green GPS and Blue REC lights and is non responsive, the issue is most likely due to the power supply within the vehicle. The HD2 will draw an initial current of approximately 2 A on start-up, for the unit to function correctly, please ensure that your power supply can provide this.
If VBOX Video HD2 is having trouble locking onto satellites, then please follow the checklist below for typical solutions:
- Place the antenna where it has an unobstructed view of the sky (see GPS Antenna Placement).
- Check the antenna connection is very clean; small amounts of dirt in the socket can cause a significant reduction in signal strength.
- Try another antenna.
- Perform a GPS Coldstart and then leave the unit powered up in an open static position for at least 15 minutes.
GPS Coldstart
If VBOX Video HD2 is struggling to acquire a satellite lock, a GPS coldstart may be required. This may be necessary when the unit hasn’t been used for a number of days or has dramatically moved location since its last use.
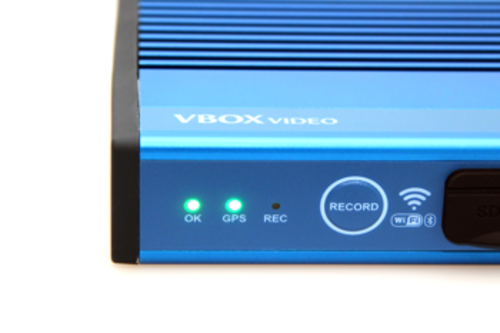
To perform a coldstart, press and hold the REC button on the front of the unit for 5 seconds until the unit beeps once. Once the unit has reacquired the satellite lock, the GPS LED should show solid Green.
If VBOX Video HD2 has become non responsive, there are a number of steps that can be taken to try and rectify the problem.
Firmware version V1.3.72 introduced a solid Red OK / Status LED light signifying a rare system failure. The unit should automatically power cycle after approximately 30 seconds, which will hopefully fix the issue.
In the event that your unit has not restarted and fixed the issue or you are on an earlier Firmware version, please follow the steps outlined below.

IMPORTANT
Before you carry out these steps, please ensure that the unit is connected to a good, stable 12 V power source and that everything else apart from the cameras has been disconnected.
Please try each step in turn, stopping if the issue has been resolved:
- Firstly, try and perform a GPS Engine Coldstart - Hold the REC button on the front of the unit for 5 seconds (the unit should beep once)
- Next, try power cycling the unit (withdraw power and reapply)
- Next, try reloading the Latest Firmware File via the SD card. This file should be placed on the root directory of the card and inserted in to the unit (the unit should double beep when completed), more information on how to do this can be found here.
NOTE
This may require the unit to be turned off when the SD card is inserted for it to recognise the file once power is applied
- Next, load the Clear Scenes file (attached to this article) into the unit via the SD card. This process is the same as the firmware upload step described above. It will remove the current scene from the unit and restore the factory default scene.
NOTE
This may require the unit to be turned off when the SD card is inserted for it to recognise the file once power is applied.
If these steps have not resolved your issue, please load the Get Logs file (attached to this article) into the unit via the SD card. This process is the same as the firmware upload step described above. It will create a text file on the SD card called ‘vvboxhd2-logs.log.txt’. Please email this text log file to Racelogic Support at support@racelogic.co.uk, we will then open this file and investigate your issues further.
If none of these steps have helped and you have been unable to obtain a text log file, then please contact Racelogic Support for further assistance.