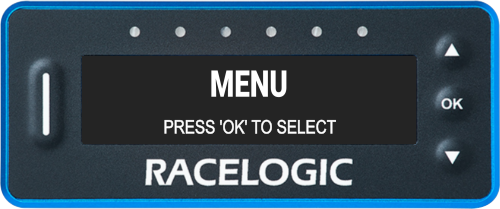
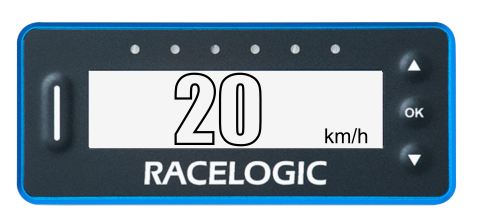
Access the main settings menu on VBOX Pit Lane Timers by using the arrow buttons while on the Display screen to cycle trough the available display mode screens until you reach the Menu screen.
Press OK while on the Menu screen to open the settings.
Access the main settings menu on VBOX Pit Lane Timers by using the arrow buttons while on the Display screen to cycle trough the available display mode screens until you reach the Menu screen.
Press OK while on the Menu screen to open the settings.
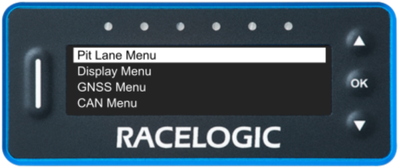
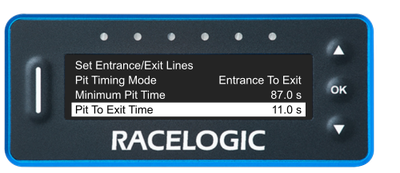
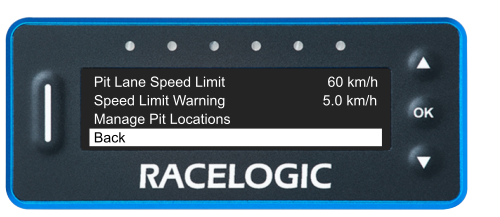
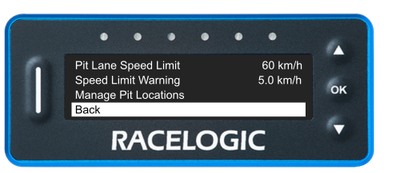
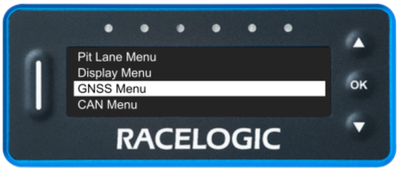
The Pit Lane Menu contains settings for the Pit Lane Timing Mode, such as Entrance and Exit Lines, Pit Timing Modes, Minimum Pit Time, Pit to Exit Time, Pit Lane Speed Limit, Speed Limit Warnings and Pit Locations.

The Pit Lane Menu contains settings for the Pit Lane Timing Mode, such as Entrance and Exit Lines, Pit Timing Modes, Minimum Pit Time, Pit to Exit Time, Pit Lane Speed Limit, Speed Limit Warnings and Pit Locations.
Before you can use the Pit Lane Timing mode, you must define the entry and exit points for the pit lane.
Setting the start and end of the pit lane should ideally be done by the competitor, as the points sometimes change from meeting to meeting. Because you are going slowly at the time, you must set the entrance and exit lines for your race meeting as accurately as possible.
To define the pit entrance and exit points you must do a drive-through of the pit lane.
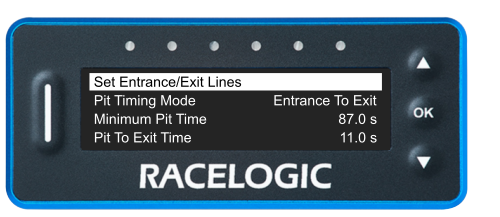
Press the OK button with the Set Entrance/Exit Lines highlighted to open the submenu where you define the entrance and exit points.
Before you can use the Pit Lane Timing mode, you must define the entry and exit points for the pit lane.
Setting the start and end of the pit lane should ideally be done by the competitor, as the points sometimes change from meeting to meeting. Because you are going slowly at the time, you must set the entrance and exit lines for your race meeting as accurately as possible.
To define the pit entrance and exit points you must do a drive-through of the pit lane.
Press the OK button with the Set Entrance/Exit Lines highlighted to open the submenu where you define the entrance and exit points.
NOTE
You must drive at a speed of more than 10 km/h to be able to set lines.
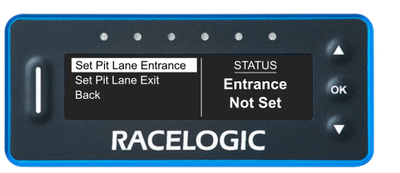
Set Pit Lane Entrance
Drive out of the pit lane, around the circuit and back into the pit lane. As you cross the pit entrance timing line, you must press the OK button to mark the entrance point. The screen will automatically move to Set Pit Lane Exit. Drive through the pit lane, and as you cross the end of the timing line, press the OK button again.
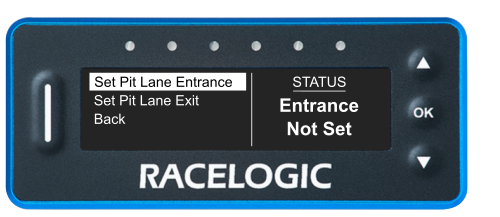
Drive out of the pit lane, around the circuit and back into the pit lane. As you cross the pit entrance timing line, you must press the OK button to mark the entrance point. The screen will automatically move to Set Pit Lane Exit. Drive through the pit lane, and as you cross the end of the timing line, press the OK button again.
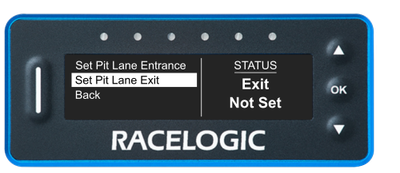
Set Pit Lane Exit
Drive through the pit lane, and as you cross the end of the timing line, press the OK button again. The pit lane entrance and exit point are now set. These values are held in memory until you visit another circuit or manually override them.
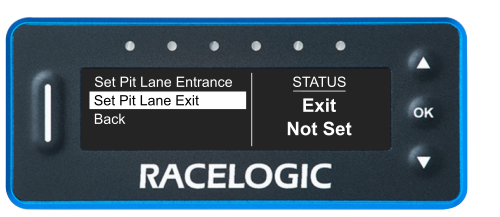
Drive through the pit lane, and as you cross the end of the timing line, press the OK button again. The pit lane entrance and exit point are now set. These values are held in memory until you visit another circuit or manually override them.
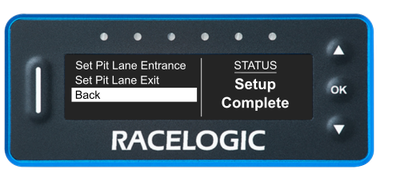
Back
Press the OK button with this option selected to navigate back to the Pit Lane Timing Menu.
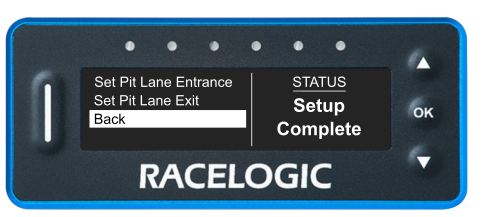
Press the OK button with this option selected to navigate back to the Pit Lane Timing Menu.
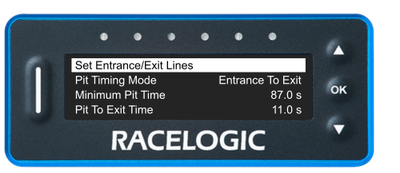
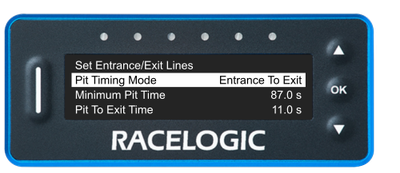
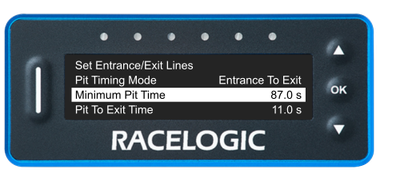
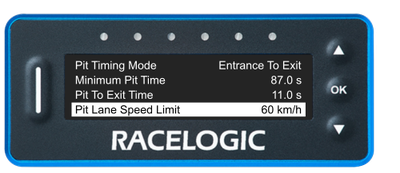
This is where you set the Pit Timing Mode you wish to use.
Press the OK button with this setting highlighted to toggle between the 2 available Pit Timing Modes:
Entrance to Exit
When you are using the Entrance to Exit mode, the Minimum Pit Time setting is the minimum number of seconds required from when you cross the entrance of the pits until you cross the exit of the pits.
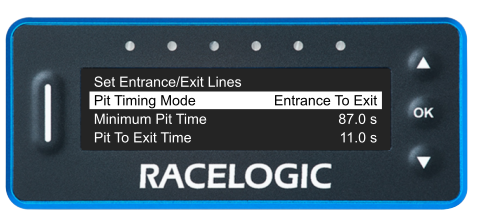
When you are using the Entrance to Exit mode, the Minimum Pit Time setting is the minimum number of seconds required from when you cross the entrance of the pits until you cross the exit of the pits.
Stationary in Pit
When you are using the Stationary in Pit mode, the Minimum Pit Time setting is the minimum number of seconds required to be spent stationary in the pit box.

When you are using the Stationary in Pit mode, the Minimum Pit Time setting is the minimum number of seconds required to be spent stationary in the pit box.

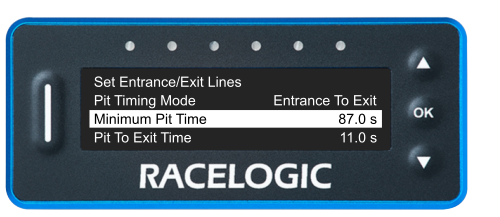
Set a time value for the Minimum Pit Time.
Press the OK button to enter the value screen. Use the Up and Down buttons to increase or decrease the time value.
You can set a value between 15 and 600 seconds in 0.1-second increments.
Enter the regulation minimum number of seconds spent either in the total pit lane (if you are using the Entrance To Exit mode) or stationary in the pit box (if you are using Stationary in Pit mode).
Press the OK button to confirm the selected value and exit to the Pit Lane Menu.
IMPORTANT
This setting is used differently depending on the selected Pit Timing Mode. Refer to the Display Modes page for more information.
NOTE
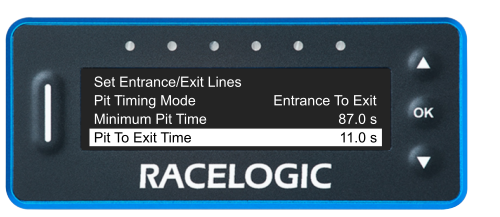
This setting is only used by the Entrance to Exit mode.
When you are using Entrance To Exit mode, you must enter an estimate for the time it takes to get from your pit box to the pit exit, between 1.0 and 90.0 seconds.
This time will vary slightly every time you drive it, so this should be an approximate value.
If you decrease the Pit To Exit Time, the Pit Lane Timer will keep you in your pit box longer, making you less likely to leave the pits too early.
If you are consistently staying too long in the pits, you can increase the Pit To Exit Time to make the Pit Lane Timer release you earlier.
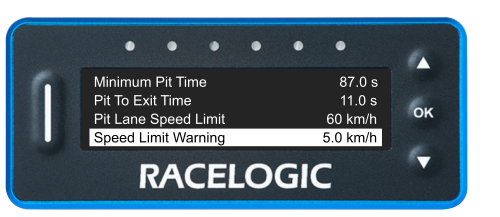
This Pit Lane Speed Limit is the maximum speed that you are allowed to travel in the pit lane. You must define the limit that has been set for your race event. If you exceed the defined speed limit by 20 km/h, the Pit Lane Timer will assume that you are staying on track and will not trigger the pit lane counter.
Press the OK button with this setting highlighted to enter the value screen. Use the Up and Down buttons to increase or decrease the speed limit to a value between 25 and 100 km/h.
Press the OK button to confirm the selected value and exit to the Pit Lane Menu.
The Speed Limit Warning is the margin to the pit lane speed limit at which the driver will be warned to decrease the speed.
For example, if the Pit Lane Speed Limit is set to 40 km/h, and the Speed Limit Warning is set to 3 km/h, the Pit Lane Timer will use visual and audible alerts to warn the driver that they are close to the limit at 37 km/h.
Press the OK button with this setting highlighted to enter the value screen. Use the Up and Down buttons to increase or decrease the speed to a value between 0.0 and 10.0 km/h.
Press the OK button to confirm the selected value and exit to the Pit Lane Menu.

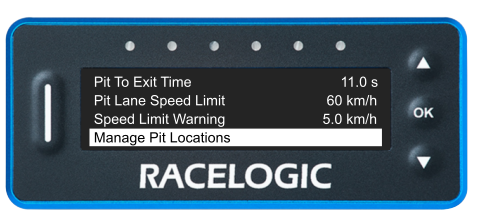
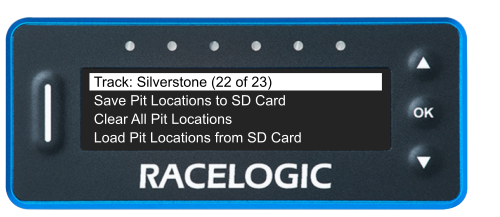
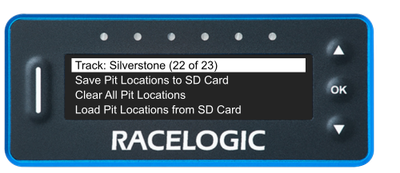
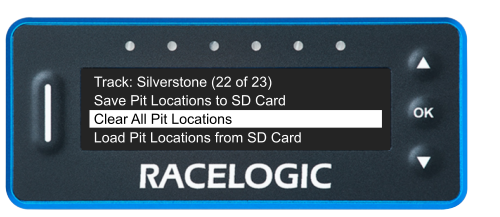
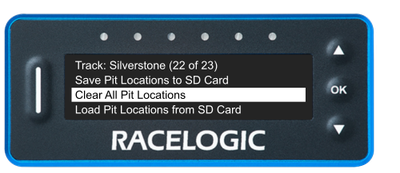
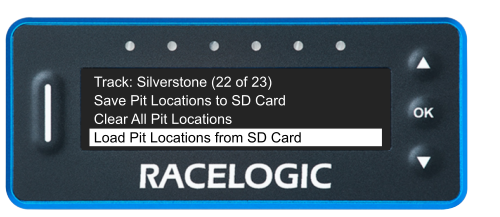
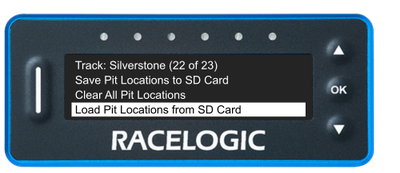
Track
The Pit Lane Timer will remember all the pit lane locations that you have set on it. When the unit is close to a previously set location, the points will automatically be detected and loaded as soon as the unit achieves a good satellite lock.
You can also manually ask the unit to search for Pits close to you by pressing the OK button with the Track: setting highlighted.
NOTE
You can find more information about how to save, rename and load pit locations on an SD card on the Managing Pit Locations page.
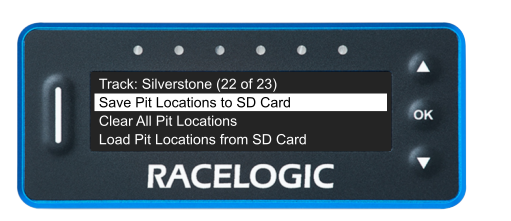
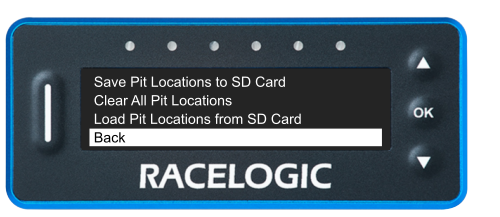
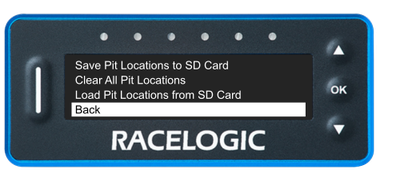
Save Pit Locations to SD Card
Although all set pit locations are stored in the unit's internal memory, you may want to save the list of known tracks as a text file, either to share new locations with other drivers or just as a backup.
Press the OK button with the Save Pit Locations To SD Card option highlighted to create the file and save it on the SD card.
The file will be named PITLOCATIONS.txt. If there is already a pit location file on the SD card, the Pit Lane Timer will add a version number (the highest number indicates the latest revision available on the card).
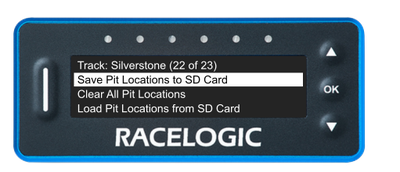
Clear All Pit Locations
IMPORTANT
Selecting this option will clear all stored pit lane locations from the Pit Lane Timer's internal memory.
You may wish to do this if you have previously saved the file out to the SD card to add new pit lane information or edit the track names.
When new pit lane locations are added from the SD card, these will not overwrite the currently stored location but add to them. Therefore, when you are making edits it is best to clear the old list from the unit memory before you load the edited list to avoid duplications.
Press the OK button with Clear All Pit Locations highlighted to clear the pit locations.
Load Pit Locations from SD Card
You can load a shared or edited Pit location file to add the Pit locations on it to your Pit Lane Timer's internal memory.
Make sure that the required pit location file is in the root directory on the SD Card before you insert it into the Pit Lane Timer.
Press the OK button with Load Pit Locations from the SD Card highlighted to load the pit locations from the file to your unit.
Pit Location Loading Logic
When you select to load pit locations from the SD card, the unit will apply the following logic when searching for a compatible file:
- PITLOCATIONS.txt
If found, the device renames the file using the next available number, then loads the pit locations from the file. - pitLocationIn.txt or pitIn.txt
If PITLOCATIONS.txt is not found, the device checks for these files. If one is found, the device loads the pit locations from the file. - PITLOCATIONSXX.txt
If none of the previously mentioned files are found, the device will check for numbered PITLOCATIONSXX.txt files, where XX is a number. If one is found, the device loads the pit locations from the file. - If none of these files are found, the device cannot load pit locations.
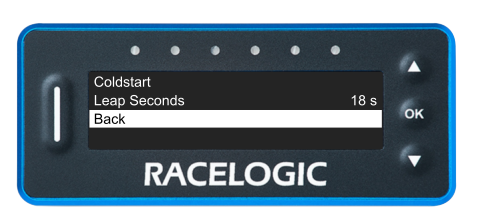
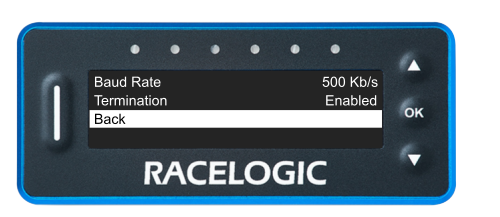
Back
Press the OK button with this option selected to navigate back to the Pit Lane Timing Menu.
Press the OK button with this option selected to navigate back to the Pit Lane Timing Menu.
The Display Menu contains settings for the Speed Mode options of Speed Units, Speed Decimal Places and Speed Smoothing Level, and display options, such as Screen Brightness, LED Brightness, Orientation Mode, Inverted Colour and Outline Font.
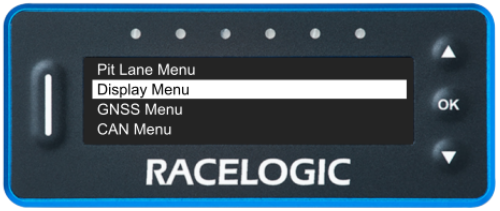
The Display Menu contains settings for the Speed Mode options of Speed Units, Speed Decimal Places and Speed Smoothing Level, and display options, such as Screen Brightness, LED Brightness, Orientation Mode, Inverted Colour and Outline Font.
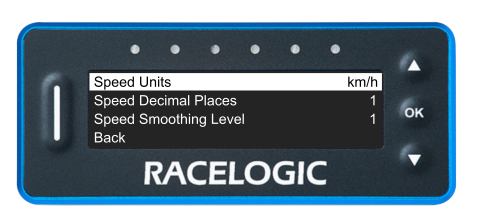
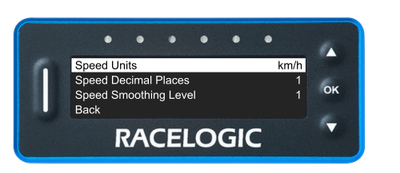
The Speed Menu contains settings that are relevant for the Speed Display Mode. Press the OK button with this option selected to enter the Speed Menu and access settings for Speed Units, Speed Decimal Places and Speed Smoothing.
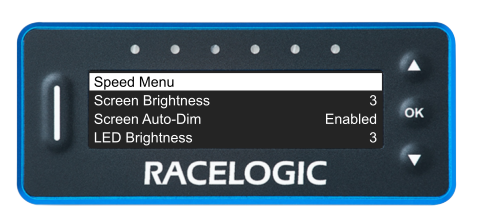
The Speed Menu contains settings that are relevant for the Speed Display Mode. Press the OK button with this option selected to enter the Speed Menu and access settings for Speed Units, Speed Decimal Places and Speed Smoothing.
Speed Units
This setting gives you the ability to change the speed unit used in the unit.
Press the OK button to cycle through the available options:
- Km/h
- Mph
- Knots
This setting gives you the ability to change the speed unit used in the unit.
Press the OK button to cycle through the available options:
- Km/h
- Mph
- Knots
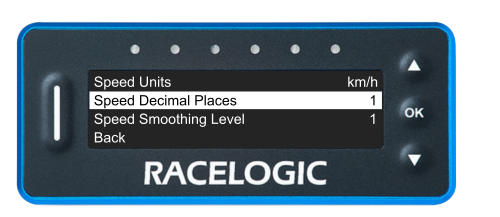
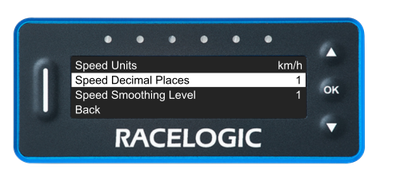
Speed Decimal Places
This setting gives you the ability to add or remove decimal places to the speed value displayed on the unit.
Press the OK button to cycle through the available options:
- 0
- 1
- 2
This setting gives you the ability to add or remove decimal places to the speed value displayed on the unit.
Press the OK button to cycle through the available options:
- 0
- 1
- 2
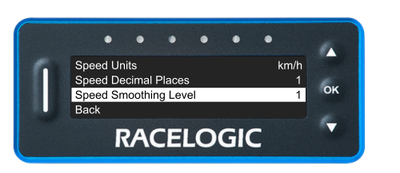
Speed Smoothing Level
This setting gives you the ability to increase or decrease the speed smoothing on your unit.
Press the OK button to cycle through the available options:
- 0
- 1
- 2
- 3
- 4
- 5
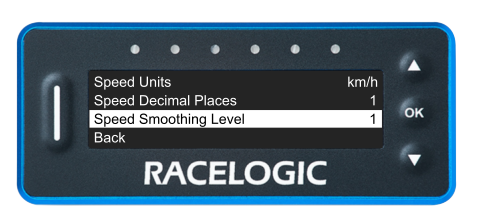
This setting gives you the ability to increase or decrease the speed smoothing on your unit.
Press the OK button to cycle through the available options:
- 0
- 1
- 2
- 3
- 4
- 5
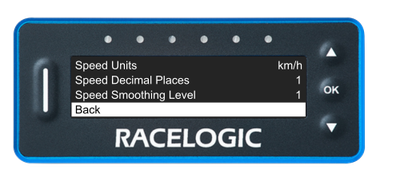
Back
Press the OK button with this option selected to navigate back to the Display Menu.
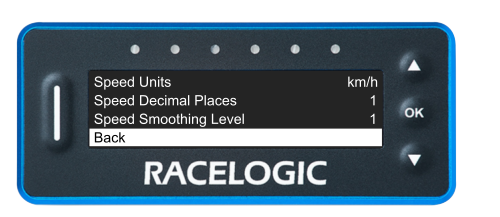
Press the OK button with this option selected to navigate back to the Display Menu.
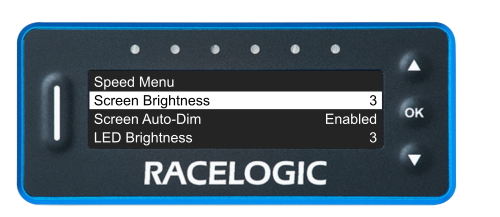
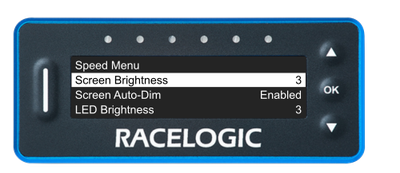
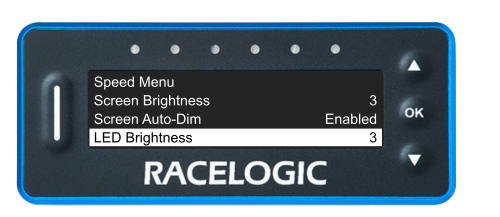
Increase or decrease the brightness level of the LCD Display.
Press the OK button with this setting selected to cycle through the available options:
- 1
- 2
- 3
- 4
- 5
The display brightness will be applied immediately as you cycle through the levels
Increase or decrease the brightness level of the LCD Display.
Press the OK button with this setting selected to cycle through the available options:
- 1
- 2
- 3
- 4
- 5
The display brightness will be applied immediately as you cycle through the levels
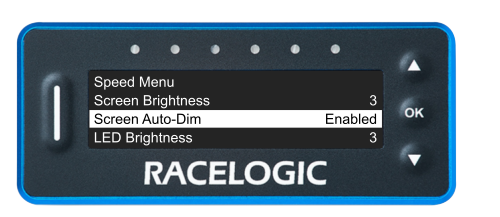
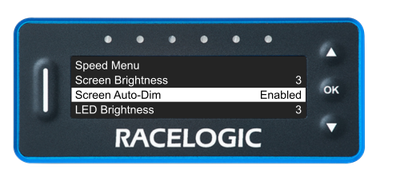
Decide if the unit will dim the screen or not based on inactivity.
If the GNSS speed is less than 5 km/h, the unit is not timing a pit stop and there has been no user interaction for 60 seconds (button press or SD card event), the screen brightness will reduce to brightness setting 1. When the unit registers activity again, the screen brightness will go back to the level selected in the settings.
Press the OK button with this setting selected to toggle between Enabled and Disabled.
This setting is enabled by default.
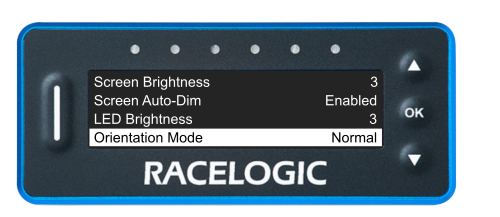
Increase or decrease the brightness level of the LEDs on the unit.
Press the OK button with this setting selected to cycle through the available options:
- 1
- 2
- 3
- 4
- 5
The LEDs will preview each brightness level as you cycle through the levels
Increase or decrease the brightness level of the LEDs on the unit.
Press the OK button with this setting selected to cycle through the available options:
- 1
- 2
- 3
- 4
- 5
The LEDs will preview each brightness level as you cycle through the levels
CAUTION
LED brightness level 5 is very bright and may cause glare or discomfort in low-light conditions.
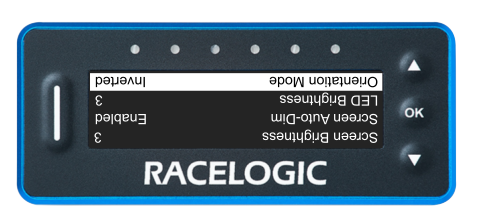
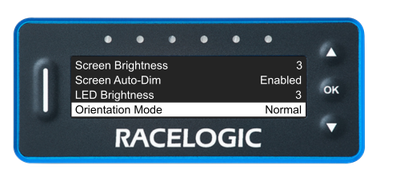
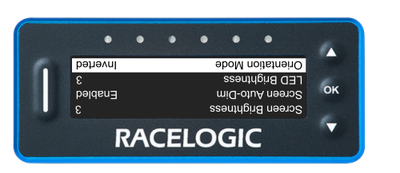
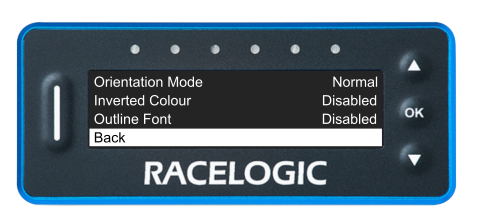
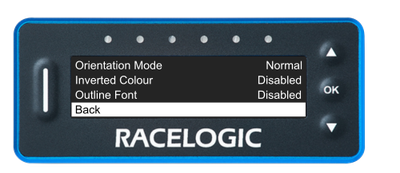
Change the orientation of the display.
This is useful if you need to mount the unit upside down due to access or if you want it to change the orientation automatically when it detects a change in unit orientation.
Press the OK button with this setting selected to cycle through the available options:
- Auto
- Normal
- Inverted
The display will change the orientation immediately as you cycle through the options.
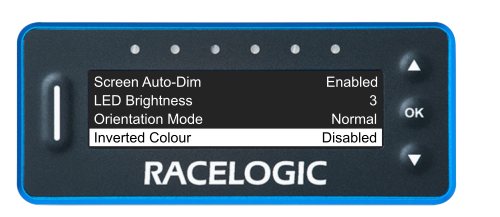
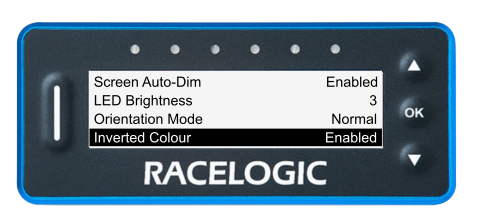
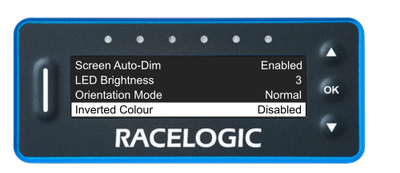
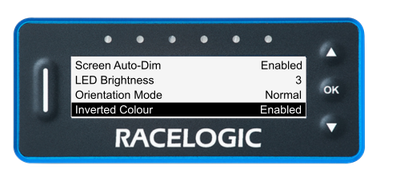
Switch the display from the default setting of white text on black background to black text on white background.
Press the OK button with this setting selected to toggle between Enabled and Disabled.
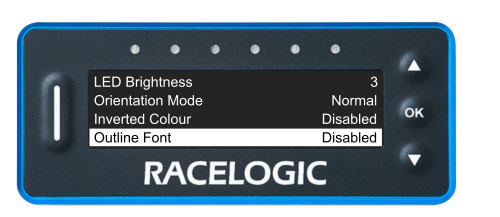
This setting gives you the ability to change the font from the default block colour to an outlined font.
Press the OK button with this setting selected to toggle between Enabled and Disabled.
This setting gives you the ability to change the font from the default block colour to an outlined font.
Press the OK button with this setting selected to toggle between Enabled and Disabled.

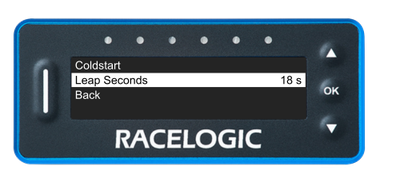
The GNSS Menu contains settings for the GNSS engine, such as Coldstart functionality and Leap Seconds.
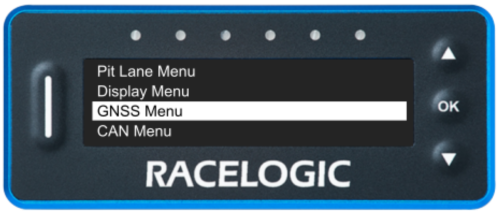
The GNSS Menu contains settings for the GNSS engine, such as Coldstart functionality and Leap Seconds.
If the Pit Lane Timer is struggling to acquire satellite lock, you may need to perform a GNSS Coldstart to reset the GNSS engine. A coldstart is often required when it has been several days since the last time the unit was used or if the unit has moved location dramatically since the unit was used last.
Press the OK button with this setting highlighted to perform the Coldstart.
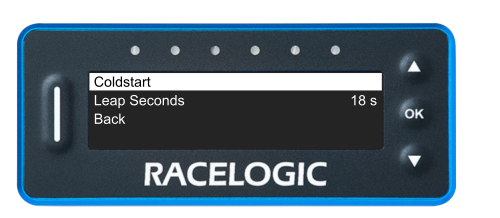
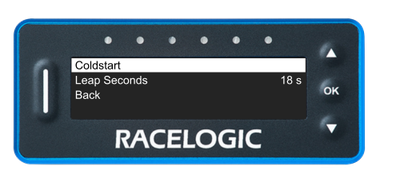
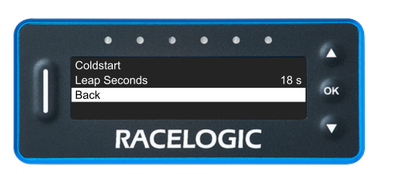
This setting gives you the ability to adjust the offset between GPS time and UTC time. The official Leap Seconds are set by official bodies to compensate for the slowing of the rotation of the earth. A new leap second is usually introduced every 4 to 7 years. The last leap second was added in December 2016, making it 18.
Press the OK button with this setting highlighted to open the Leap Seconds page.
Use the Up and Down arrows to increase or decrease the number of leap seconds, you can set the number of leap seconds to any number between 15 and 25.
Press the OK button when you have selected the number of leap seconds you want to use. This will save your selected value and take you back to the GNSS Menu.
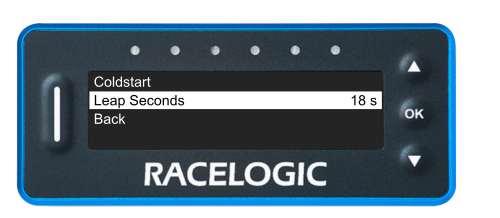
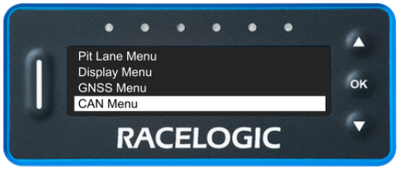
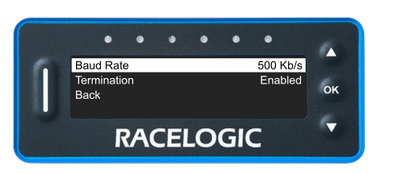
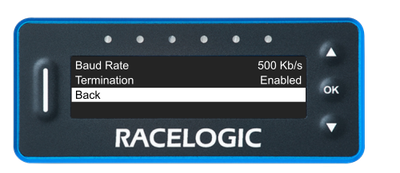
The CAN Menu contains settings for the CAN options, such as Baud Rates and Termination.
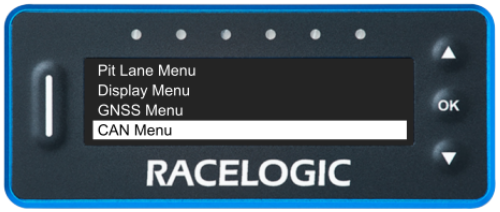
The CAN Menu contains settings for the CAN options, such as Baud Rates and Termination.
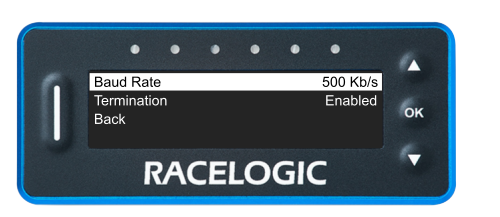
This setting gives you the ability to change the baud rate of the unit.
Press the OK button with this setting selected to cycle through the available options:
- CAN Off
- 100 Kb/s
- 125 Kb/s
- 250 Kb/s
- 500 Kb/s
- 1 Mb/s
The setting will be applied when you exit the menu.
This setting gives you the ability to change the baud rate of the unit.
Press the OK button with this setting selected to cycle through the available options:
- CAN Off
- 100 Kb/s
- 125 Kb/s
- 250 Kb/s
- 500 Kb/s
- 1 Mb/s
The setting will be applied when you exit the menu.
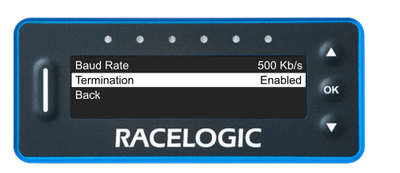
This setting gives you the ability to enable or disable the CAN termination.
Press the OK button with this setting selected to toggle between Enabled and Disabled.
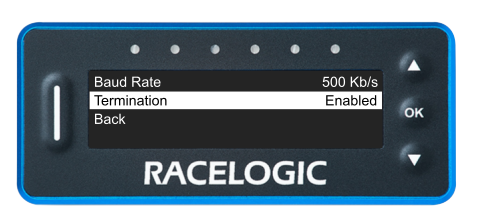
This setting gives you the ability to enable or disable the CAN termination.
Press the OK button with this setting selected to toggle between Enabled and Disabled.
The About section covers information about the unit, such as Firmware Version, Serial Number, Unit Type, GNSS Engine Type, GNSS Engine Version, GNSS Satellite Count and Factory Reset.
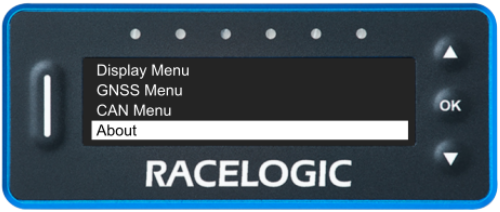
The About section covers information about the unit, such as Firmware Version, Serial Number, Unit Type, GNSS Engine Type, GNSS Engine Version, GNSS Satellite Count and Factory Reset.
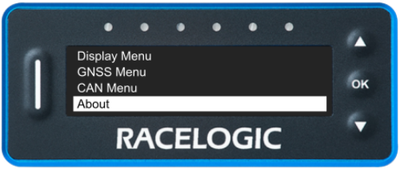
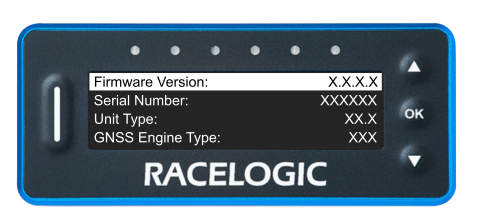
The About menu contains information about the following:
Firmware Version | Serial Number |
Unit Type | Tracks Database |
GNSS Engine Type | GNSS Engine Version |
GNSS Satellite Count | Factory Reset |
Back |