This page contains mounting options and information about how to connect your VBOX LapTimer (RLVBLAP-R and RLVBLAP-S) unit to power and testing systems.
Appropriate placement of the GNSS antenna is crucial to the quality of the data that is being recorded.
Refer to the GNSS Antenna Placement and Setup article for more information about how and where to place the antenna to ensure you get the best results.
Select a variant below to see the relevant mounting options and connection diagrams for the various system setups.
Mounting Options
Standard Accessory - RLACS287
The RLACS287 Lightweight Windscreen Suction Mount is the mount that is delivered with the LapTimer as standard.

Standard Accessory - RLACS287
The RLACS287 Lightweight Windscreen Suction Mount is the mount that is delivered with the LapTimer as standard.
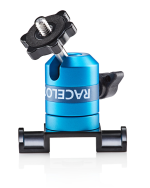
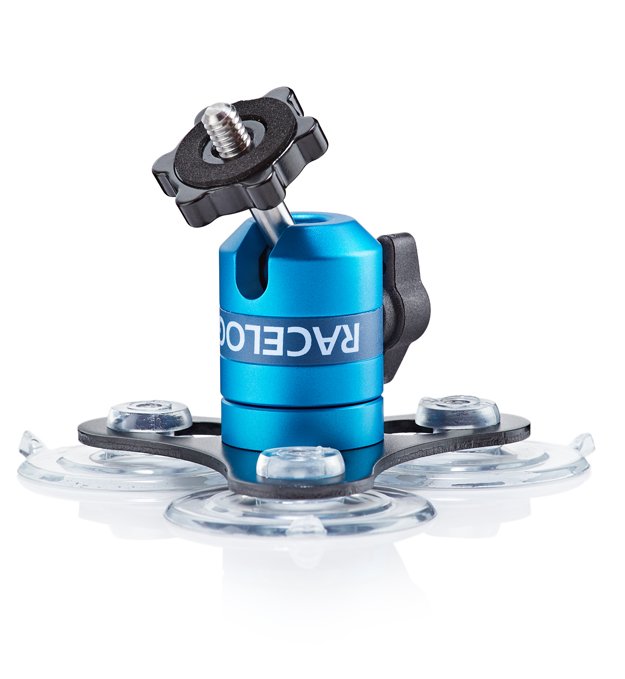
Optional Mounting - RLACS286
The RLACS286 Roll Cage Camera Mount with Thumb Nut is an alternative mount for the RLVBLAP-S LapTimers.
You can purchase this on the VBOX Motorsport Online Store.

Optional Mounting - RLACS286
The RLACS286 Roll Cage Camera Mount with Thumb Nut is an alternative mount for the RLVBLAP-S LapTimers.
You can purchase this on the VBOX Motorsport Online Store.

Optional Mounting - 3M Dual Lock
You can purchase and use Dual Lock tape to attach the LapTimer to a dashboard.
Not sold by Racelogic
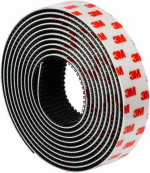
Optional Mounting - 3M Dual Lock
You can purchase and use Dual Lock tape to attach the LapTimer to a dashboard.
Not sold by Racelogic
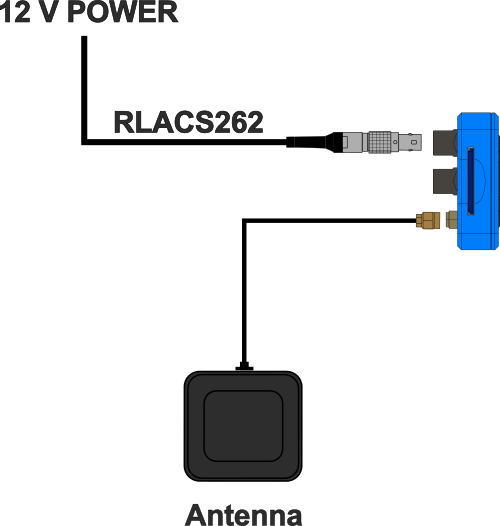
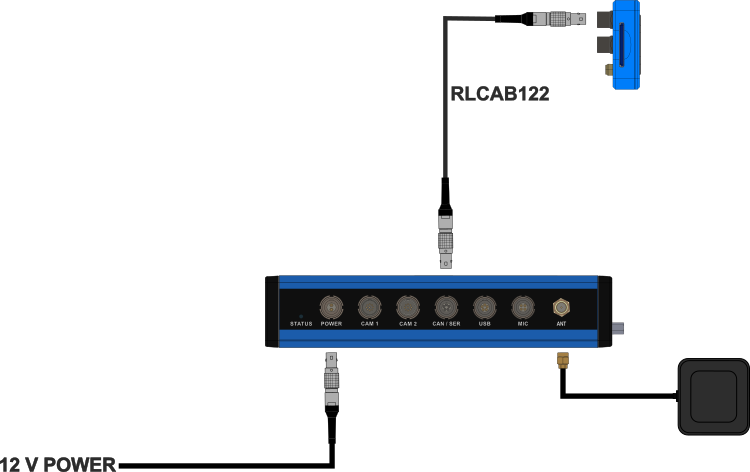
Hardware Connections
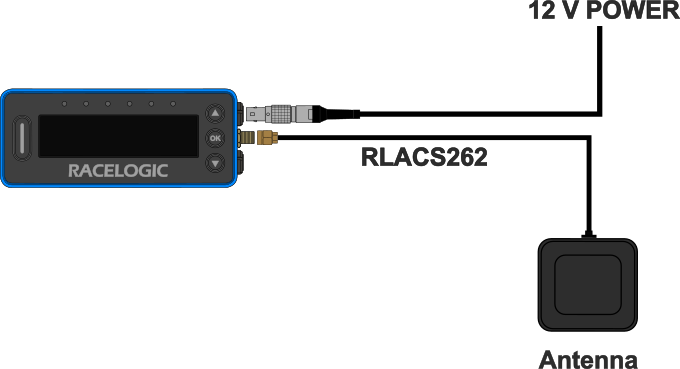
Standalone
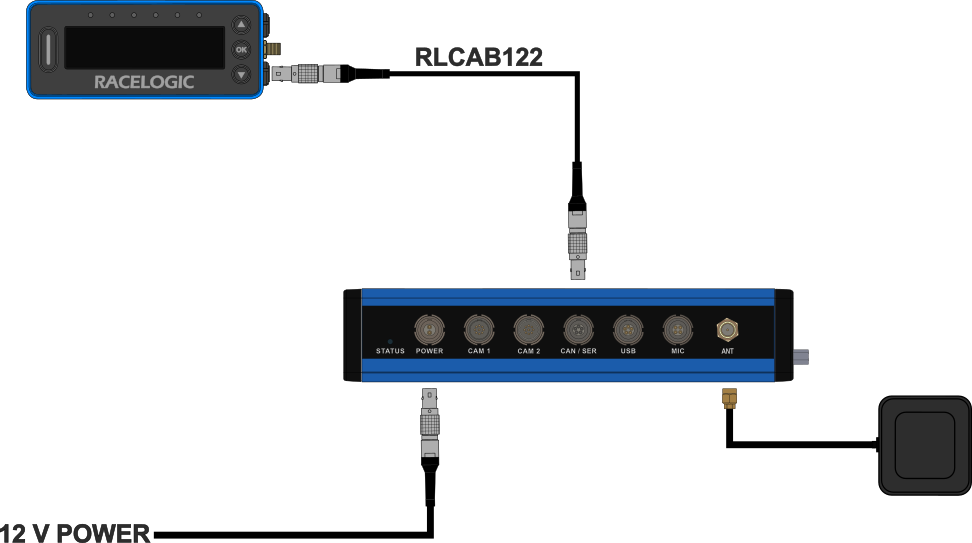
With VBOX Video HD2
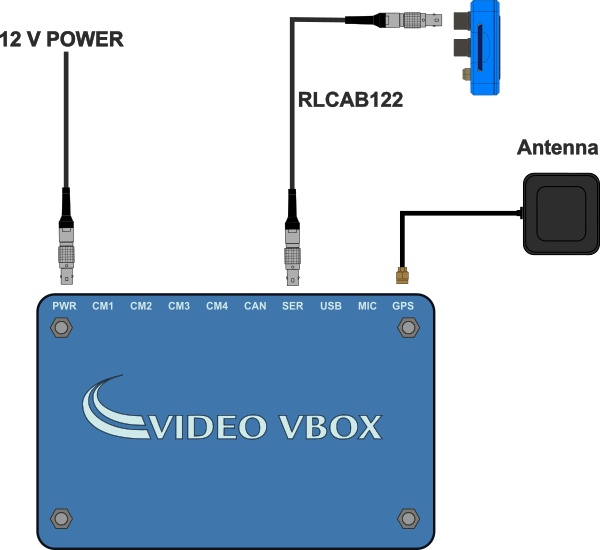
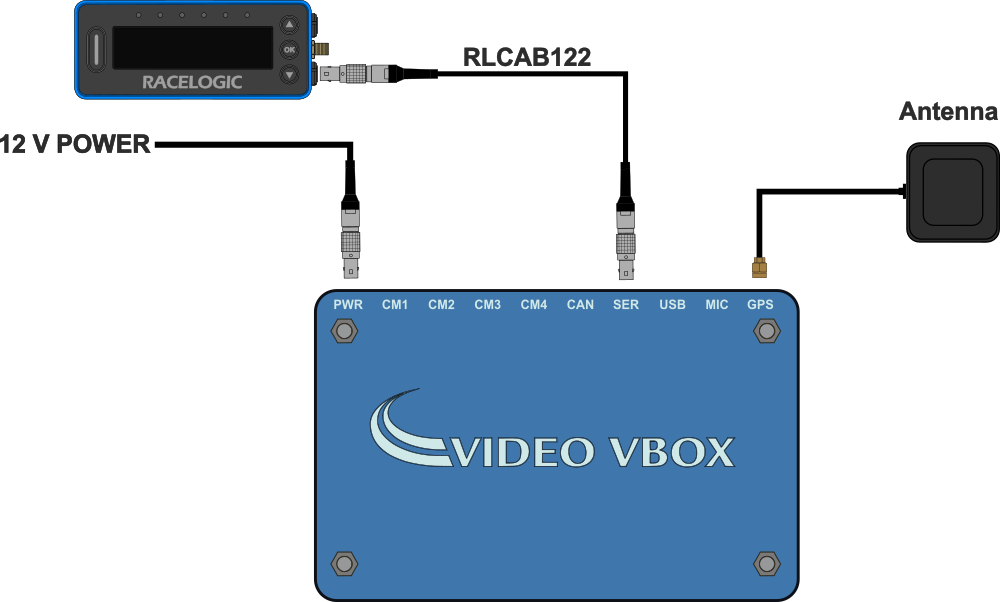
With Video VBOX Pro
Mounting Options

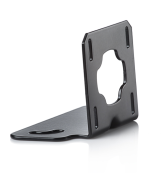
Standard Accessory - RLACS359
The RLACS359 Rear Connector Bracket Assembly is the mount that is delivered with the LapTimer as standard.
Standard Accessory - RLACS359
The RLACS359 Rear Connector Bracket Assembly is the mount that is delivered with the LapTimer as standard.
Optional Mounting - 3M Dual Lock
You can purchase and use Dual Lock tape to attach the LapTimer to a dashboard.
Not sold by Racelogic
Optional Mounting - 3M Dual Lock
You can purchase and use Dual Lock tape to attach the LapTimer to a dashboard.
Not sold by Racelogic
Hardware Connections
Standalone
With VBOX Video HD2
With Video VBOX Pro