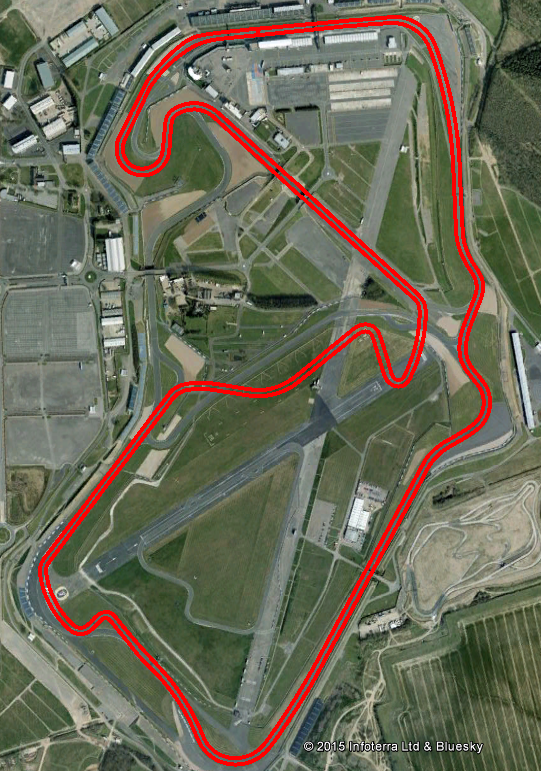
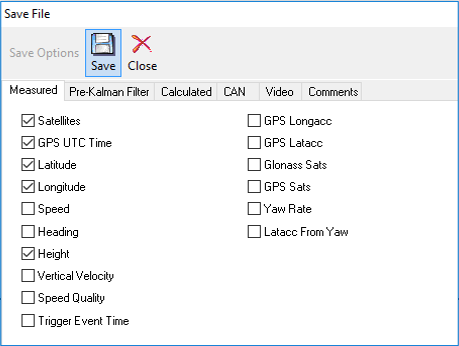
You can create a track map for your Video VBOX and VBOX Video unit in Google Earth Pro.
To do this you must first find your track location.
With the track located, click on the Add Path button in the toolbar.

This will open an Edit Path pop-up window that will remain open while you trace the track outline.
TIP
You can move this window to the edge of the screen to make sure that you can still see the track image. This will simplify the process.
Now you can start creating your path. Right-click on the map image to set the first sample point. Any subsequent points will be connected in the order they are drawn in.
NOTES
- You can select any point by clicking on it. When you have selected a point you can add more points, slotting them in between existing points.
- You can delete a point by selecting it and pressing the delete key or right-clicking with the mouse.
Draw a path around the outer side of the track:
- Set the first point on the start/finish line.
- Keep adding points to draw a line along the outer edge of the track.
- The last point should be added just before you cross the start/finish line again.
- Do not join the first and last point together!
NOTE
The line between points is the boundary of the track map, so you need fewer points when outlining a straight section of track compared to more points in a corner to keep a curved edge.
Draw a path around the inside of the track:
- Continue the path from Step 1.
- Cross the track before the start/finish line.
- Draw a path along the inner boundary edge of the track.
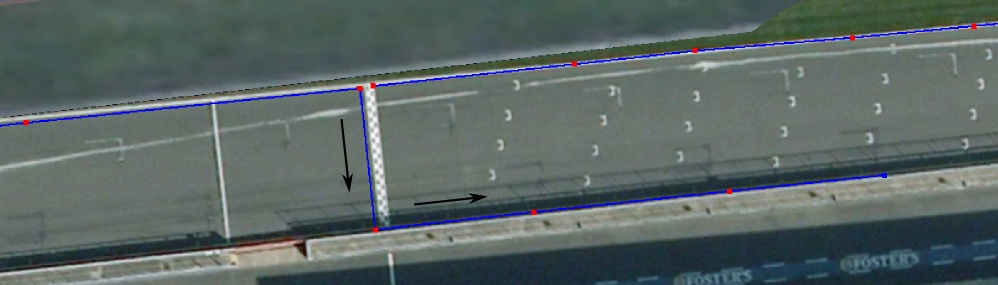
- You should set the last point of the path just before you cross the start line again.
- Do not join the first and last point together!
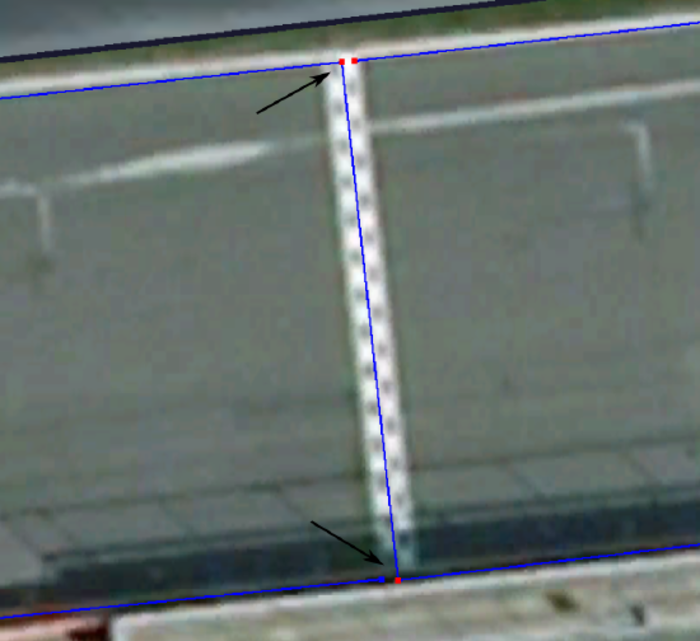
- Zoom in on the start/finish line.
- Move the points so they are close to each other as possible without joining them together.
- Click on a point to select it and drag it to move it.
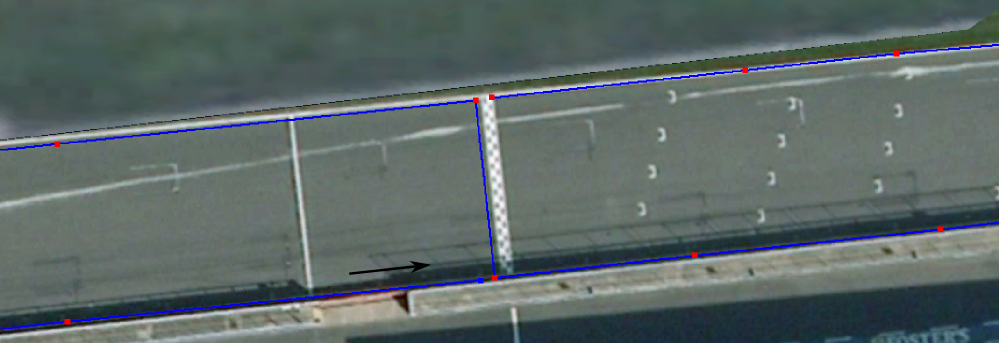
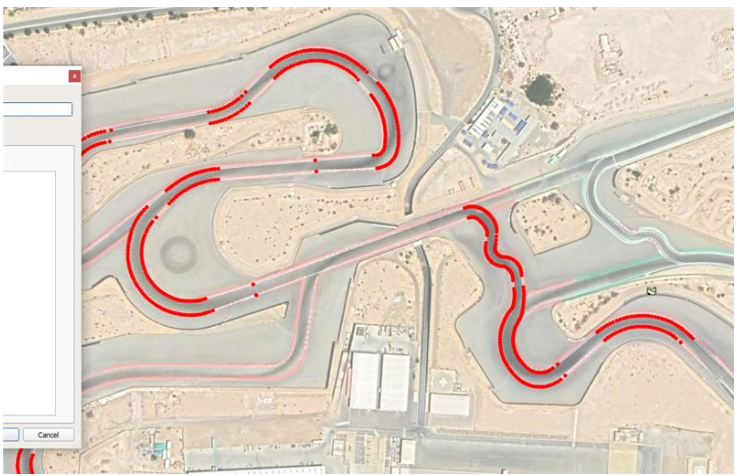
The following image is an example of a finished track outline:
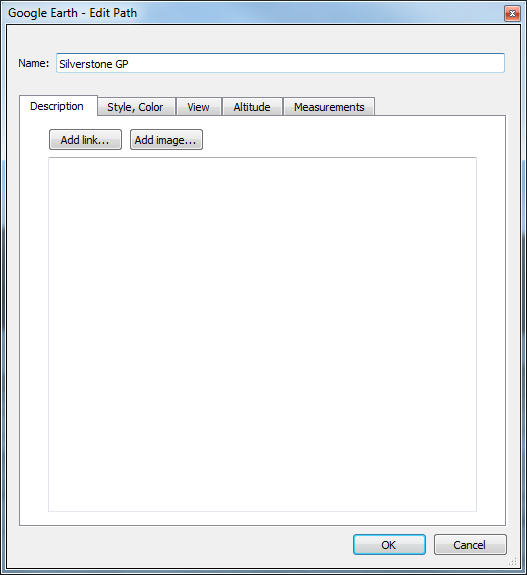
- When you are happy with the track outline you have drawn, go to the Edit Path pop-up window.
- Add a name for your new path in the Name: field at the top.
- Click OK.
- The path should now appear in the left-hand toolbar in Google Earth Pro as a track.
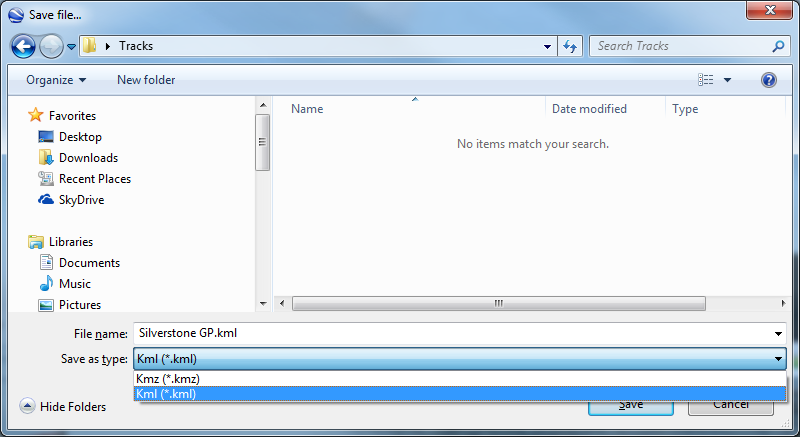
- Right-click on the track and select Save Place As... to save the track file to a location of choice.
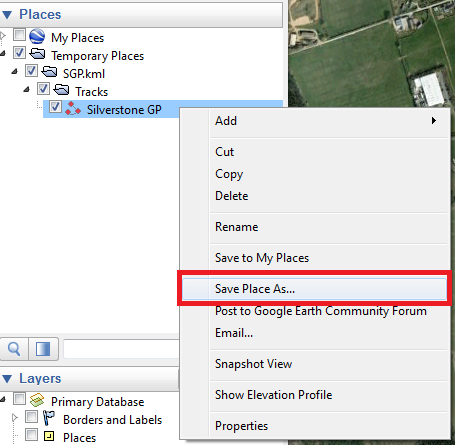
- Make sure to change the file type to .kml in the dropdown list.
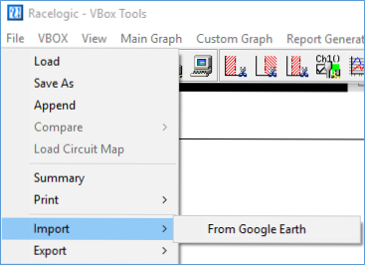
Next you need to use VBOX Tools to convert the KML file into a CIR track map file.
- Open the VBOX Tools software.
- Select File → Import → From Google Earth.
- Select your KML File and once loaded go back to File > Save As and in the pop up box hit Save.
- Select your file save location and change the file type to .cir.
- Click Save.

This CIR file can now be loaded into Video VBOX Setup, VBOX Video, VBOX Test Suite or Circuit Tools as a new track map.
If you want to add a circuit to our track map database, please send us tracks by attaching the .CIR file to an email and sending it to Racelogic Support.
- Navigate to the track you wish to edit in Google Earth Pro.
- Click on the arrow to the left of the track name to expand the track components.
- Right-click on the path you wish to edit and select Properties.
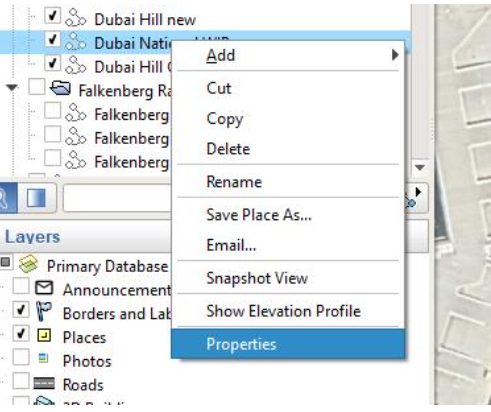
- The points in the path of the track will now be visible.
- Click on any point to move it.
- After selecting a point in the path, you can click on the map to add additional points to the path. These points will be added between the selected point and the next point in the path you are editing.
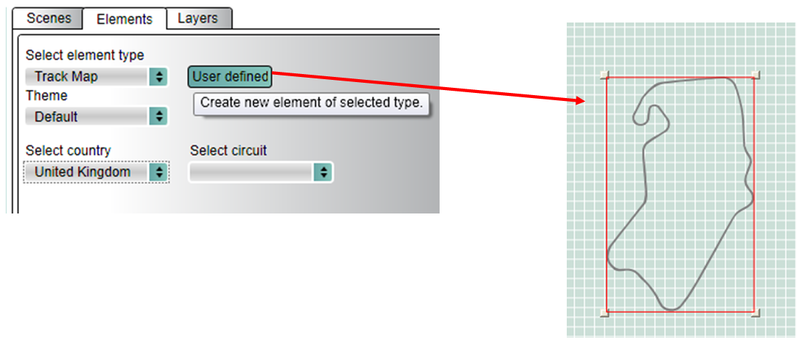
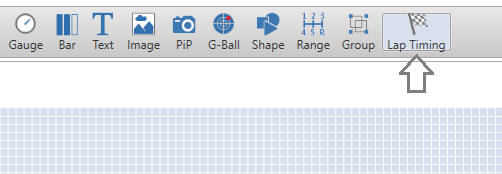
You can load .CIR files into Video VBOX Setup by opening the Elements tab and selecting Track Map from the top drop-down list. You can then click on the User Defined button to load a .CIR file.
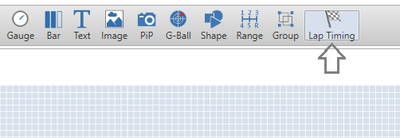
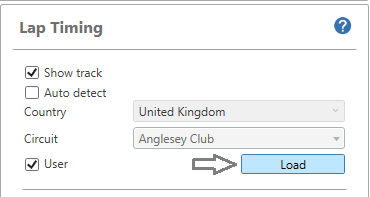
You can load a .CIR file into VBOX Video HD2 Setup by selecting Lap Timing from the top menu bar.
- Deselect Auto detect and select User.
- Click on the Load button to load a .CIR file.

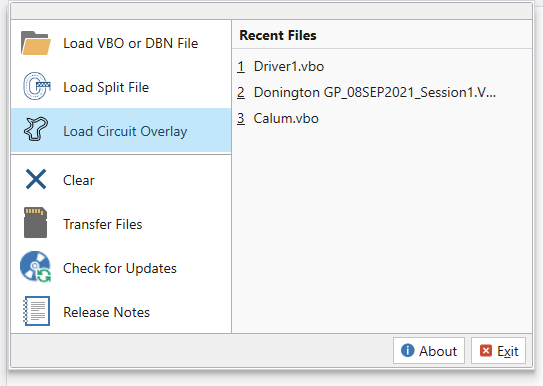
You can load .CIR files into Circuit Tools by clicking File and selecting Load Circuit Overlay.
- Navigate to the .CIR file in File Explorer and double-click on it or select it and click Open.
You can load .CIR files into VBOX Test Suite by opening the Map tab and clicking on the Load Line button.
- Click on the Load File button.
- Navigate to the .CIR file in Windows Explorer and click Open.
When the square to the left of the file name turns black, the file has been loaded.