Availability
Available on iOS & Android
You can use the VBOX HD Lite Preview App to fine-tune the image on your VBOX HD Lite unit so that you get the quality of video you need for your test.
NOTES
- The Wi-Fi dongle needs to be connected to the device before you boot it up to make the VBOX Video app work.
- The use of the dongle and the VBOX Video app is for setup ONLY. The VBOX HD Lite will not log data while the dongle is connected.
- Download and open the VBOX HD Lite app from the app store.
- Plug in the WiFi dongle.
- Connect your device to the HD Lite WiFi network.
Network name: HDLite_xxxxxx
Password: 1234567890
- Open the HD Lite preview app.
- Connect your camera.
- Download and open the VBOX HD Lite app from the app store.
- Plug in the WiFi dongle.
- Connect your device to the HD Lite WiFi network.
Network name: HDLite_xxxxxx
Password: 1234567890
- Open the HD Lite preview app.
- Connect your camera.

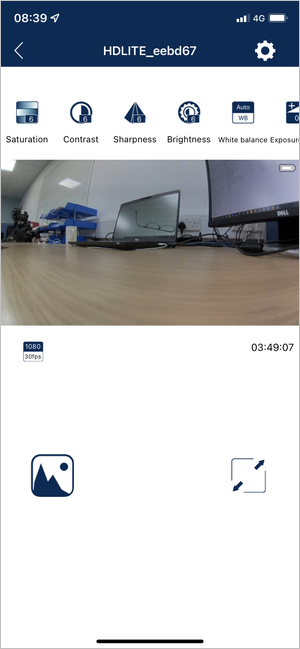
When the app has connected to the HD Lite unit, you will see the home page of the app showing the video feed from the HD Lite unit along with the different available video settings you can use to configure the video from your HD Lite unit.
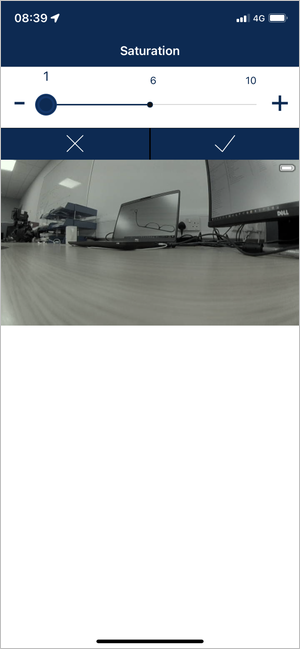
Saturation
You can change the video saturation on a scale of 1 to 10. The video feed will preview the saturation as you move between the different levels.
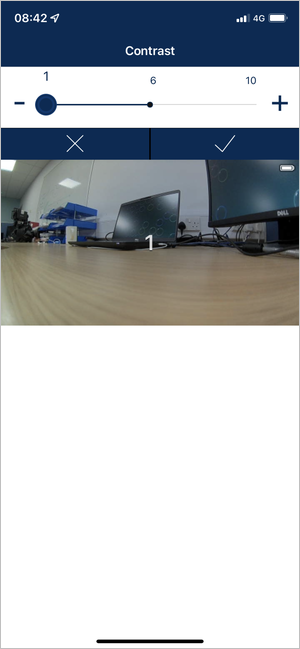
Contrast
You can change the video contrast on a scale of 1 to 10. The video feed will preview the contrast as you move between the different levels.


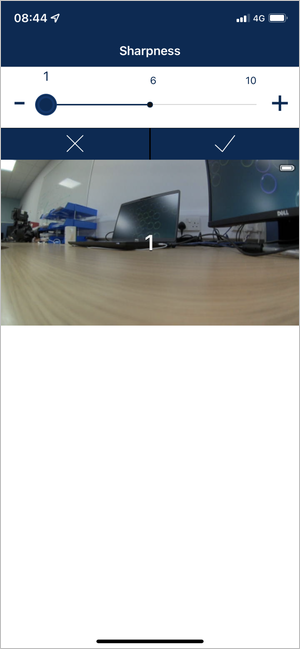
Sharpness
You can change the video sharpness on a scale of 1 to 10. The video feed will preview the sharpness as you move between the different levels.
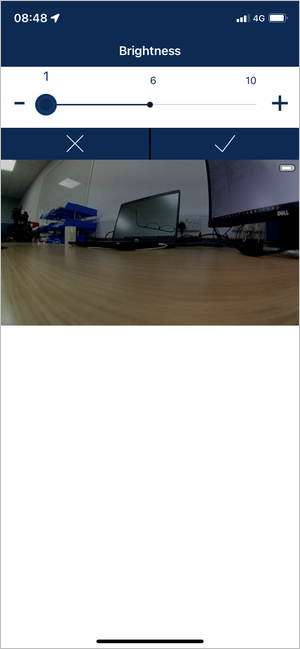
Brightness
You can change the video brightness on a scale of 1 to 10. The video feed will preview the brightness as you move between the different levels.


White Balance
You can change the white balance for the video. You can choose between Auto, Sunny, Cloudy, Fluorescent Light or Incandescent Light. The video feed will preview the white balance as you select the different options.
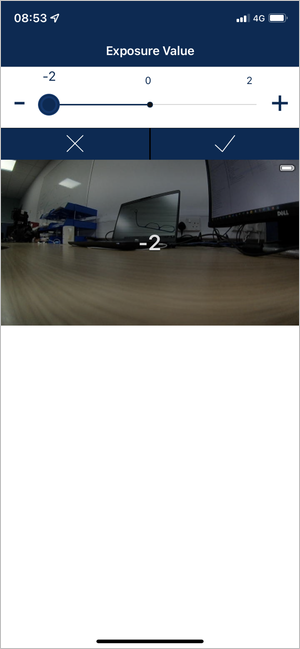
Exposure Value
You can change the exposure value in the video on a scale of - 2 to + 2. The video feed will preview the exposure as you move between the different levels.


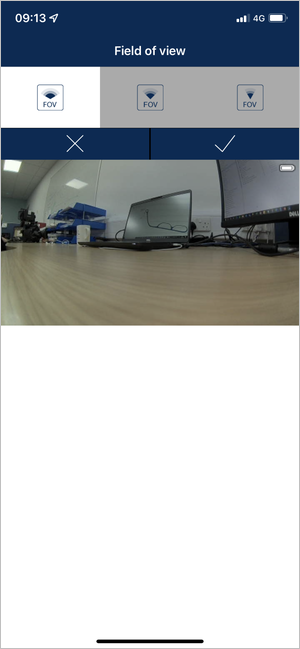
Field of View
You can change the field of view for the video. You can choose between Wide, Medium and Narrow. The video feed will preview the field of view as you select the different options.
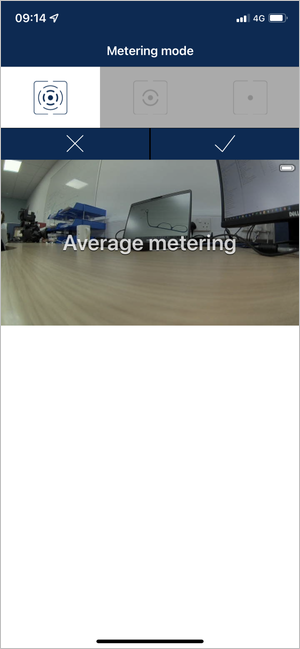
Metering Mode
You can change the metering mode for the video. You can choose between Average metering, Centre-weighted metering and Spot metering. The video feed will preview the metering as you select the different options.


Tap on the icon highlighted in the screenshot below:
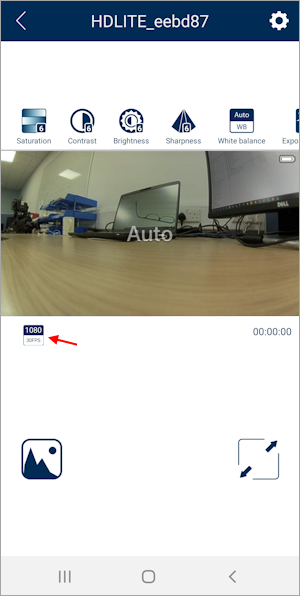
In this section, you can alter the video quality and write speed, which will in turn alter the maximum video length recorded before the unit creates a new video file.
The 3 options include:
- 20Mbps - 18-minute video cap.
- 18Mbps - 20-minute video cap.
- 8Mbps - 30-minute video cap.
Selecting the lower quality (8 Mbps) for example, will compress the video to allow for more videos in the same space. However, the video quality will be reduced in comparison to the 20 Mbps option.
Altering this setting will not affect what is recorded in the .VBO file.

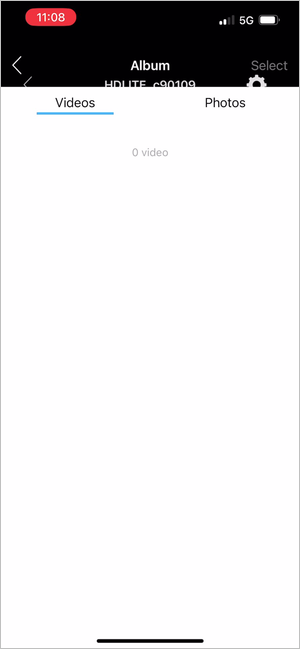
Gallery
Full Screen


Tap the Gallery icon to open the gallery and view the available videos and photos.
Tap the full-screen icon to set the video to cover the full screen on the device.


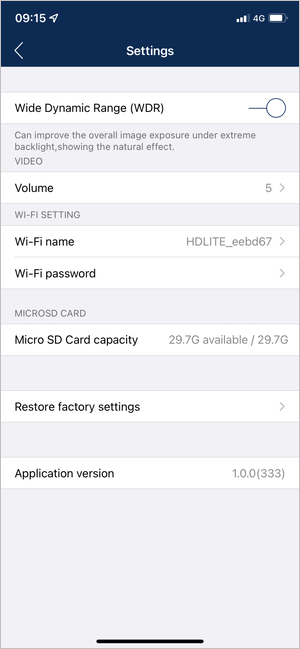
This setting can improve the overall image exposure under extreme backlight to show the natural effect. Tap on the setting switch to toggle it on or off.
Tap on this setting to open it and select the volume level you wish to use, on a scale of 1 to 5.
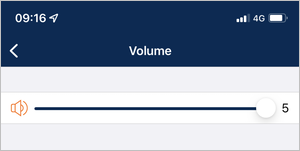
Tap on this setting to open it and select the volume level you wish to use, on a scale of 1 to 5.

NOTE
The HD Lite does not have an external microphone. It relies on a microphone inside the sealed unit, which can make the audio distorted and low volume.
Wi-Fi Name
Change the name of the Wi-Fi network for the HD Lite unit.
Wi-Fi password
Change the password for the Wi-Fi network for the HD Lite unit.
Micro SD Card capacity
This setting will show you how much space you have available on the inserted media.
Select this setting to Restore the app settings to the factory settings.
When the factory settings have been restored successfully, you will be asked to power cycle the HD Lite unit.
This setting will display the version of the app on your device.
To prepare the HD Lite to log after the video configuration, you must disconnect the power supply, disconnect the Wi-Fi dongle and reconnect the power supply. This will make the HD Lite reboot in logging mode.
Press the Record button to start recording. Be aware that even though the LED will change to blue immediately, there will be a logging delay of five seconds.
NOTE
The Record only when moving logging strategy will make the VBOX HD Lite start recording when the vehicle is travelling over 15 km/h and will stop the recording once the vehicle has travelled under 15 km/h for 10 seconds.
IMPORTANT
- Never remove the SD card while the device is recording (blue LED). This can lead to loss of data/video and you may have to repair the card on a PC before you can use it again.
- If you have stopped the vehicle, but the record light (blue LED) is still on, press the Record button to stop the logging before you eject the SD card.
- The box may start recording even if the car is stationary in areas with poor satellite visibility. Always check the LED to see that the device is not recording before you eject the SD card.