This page contains information about the settings in the Lap Timing Menu on the VBOX LapTimer (RLVBLAP-R and RLVBLAP-S).
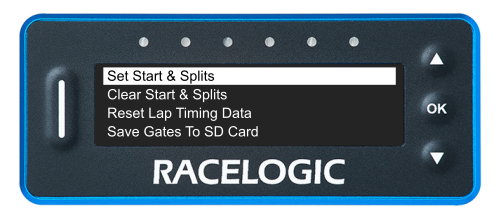
When you press the OK button a new start/finish point is set. After this, the LapTimer unit will display Set split 1. Press the OK button to confirm the set split and the Down button to move to additional split points, Finish Line and the Back option. If a new start/finish or split line is set, the lap count, best lap, and all the best split time values will be reset automatically.
Press the OK button with the Back option highlighted to navigate back to the Lap Timing Menu.
NOTE
The vehicle must be moving faster than 10 km/h for the LapTimer to be able to set the lines.
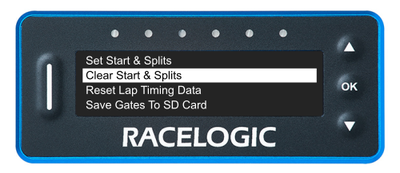
Press the OK button to delete all saved start/finish lines and gates.
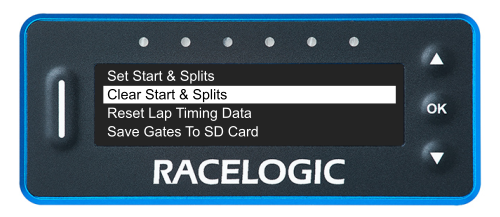
Press the OK button to delete all saved start/finish lines and gates.
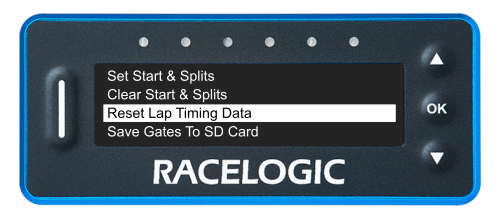
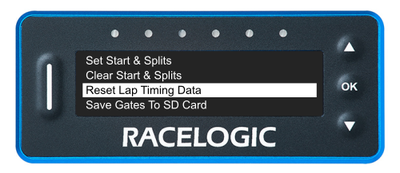
Press the OK button with this setting highlighted to reset the stored reference lap, the lap count, and all lap times.
This option fully resets the Predictive Lap Timing Mode.
Press the OK button with this setting highlighted to reset the stored reference lap, the lap count, and all lap times.
This option fully resets the Predictive Lap Timing Mode.
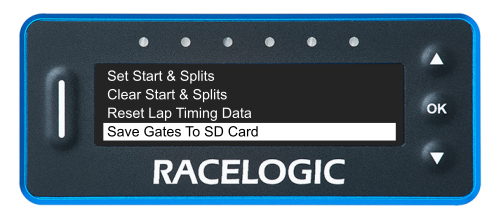
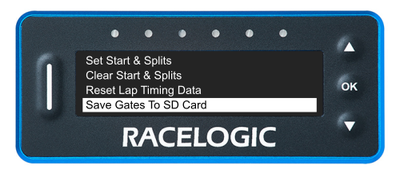
You can save start/finish lines, splits, and finish lines set on the LapTimer unit to share or use later.
You can also use these files in the Circuit Tools software package.
To save the lines you have created:
- Make sure that you have an SD card inserted and that the vehicle is stationary.
- Navigate to the Lap Timing Menu and the Save Gates to SD Card option.
- Press the OK button to confirm.
The file will be saved as GATES.SPL in the Data folder on the SD card.
You can load Start/Finish, split, or finish lines on the LapTimer unit. You can create these files in the Circuit Tools software package.
To load lines:
- Name the splits file as GATES.SPL and save it in the Data folder on the SD card.
- Make sure that the vehicle is stationary.
- Make sure that the SD card with the file is inserted in the LapTimer unit.
- Navigate to the Lap Timing Menu and the Load Gates From SD Card option.
- Press the OK button to confirm.

If we release an updated track database file for the LapTimers, you can use this option to load it from the SD card to the unit. You can find more information about this in the 'How to Load a Track Database' page.
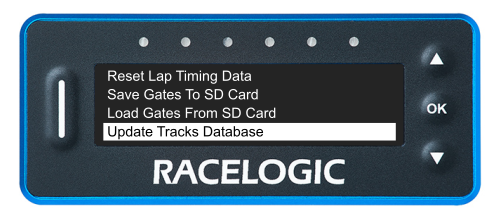
If we release an updated track database file for the LapTimers, you can use this option to load it from the SD card to the unit. You can find more information about this in the 'How to Load a Track Database' page.
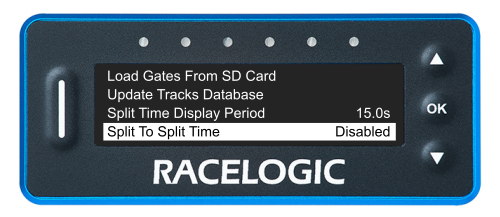
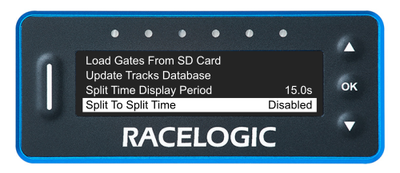
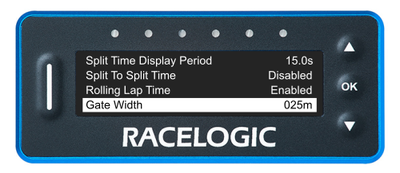
This setting lets you set how long the split time is shown on the display when you cross a split line or the start/finish line.
Press the OK button with this setting highlighted to cycle through the available split time:
- 02.0s
- 05.0s
- 10.0s
- 15.0s
- 20.0s
The displayed option is the selected one. When you are happy with your selection, use the Down button to move to the next setting in this menu.

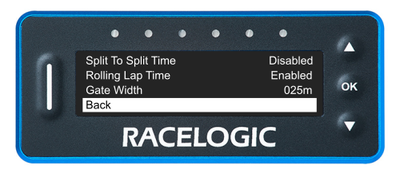
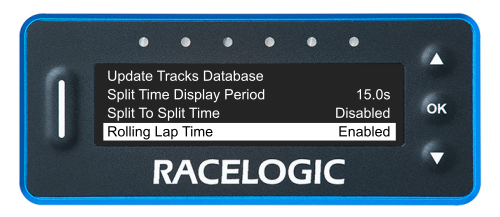
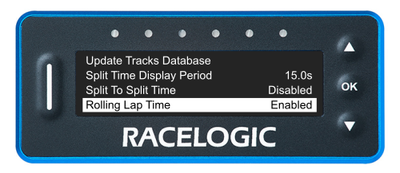
When you select this option the calculated split times will be split-to-split and not accumulative from the start of the lap.
This setting is disabled by default.
Press the OK button with this setting highlighted to toggle between Enabled and Disabled.
The displayed mode is the selected mode. Move away from the setting to confirm it.
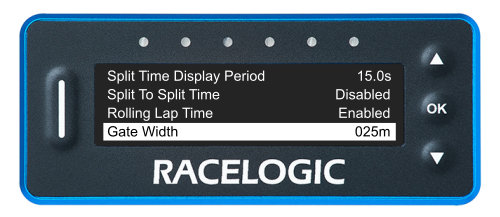
Selecting this function will show you a continuously counting lap time which briefly freezes as you cross the start/finish line.
This is enabled by default.
Press the OK button with this setting highlighted to toggle between Enabled and Disabled.
The displayed mode is the selected mode. Move away from the setting to confirm it.
Press the OK button with this setting highlighted to enter the value screen. Use the Up and Down buttons to increase or decrease the gate width to a value between 001 and 100 m.
The default width is 25 m.
Press the OK button to confirm the selected value and return to the Lap Timing Menu.
Press the OK button with this setting highlighted to enter the value screen. Use the Up and Down buttons to increase or decrease the gate width to a value between 001 and 100 m.
The default width is 25 m.
Press the OK button to confirm the selected value and return to the Lap Timing Menu.
Press the OK button with this option highlighted to navigate back to the Main Menu.
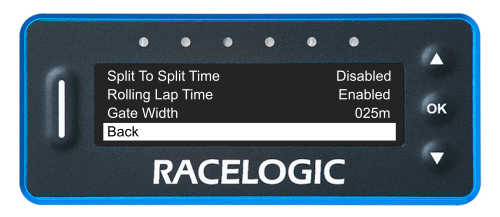
Press the OK button with this option highlighted to navigate back to the Main Menu.