This page explains how to mount Performance Box Touch units and connect and install the required components for operation.
Ensure all connections are secure before using the unit.
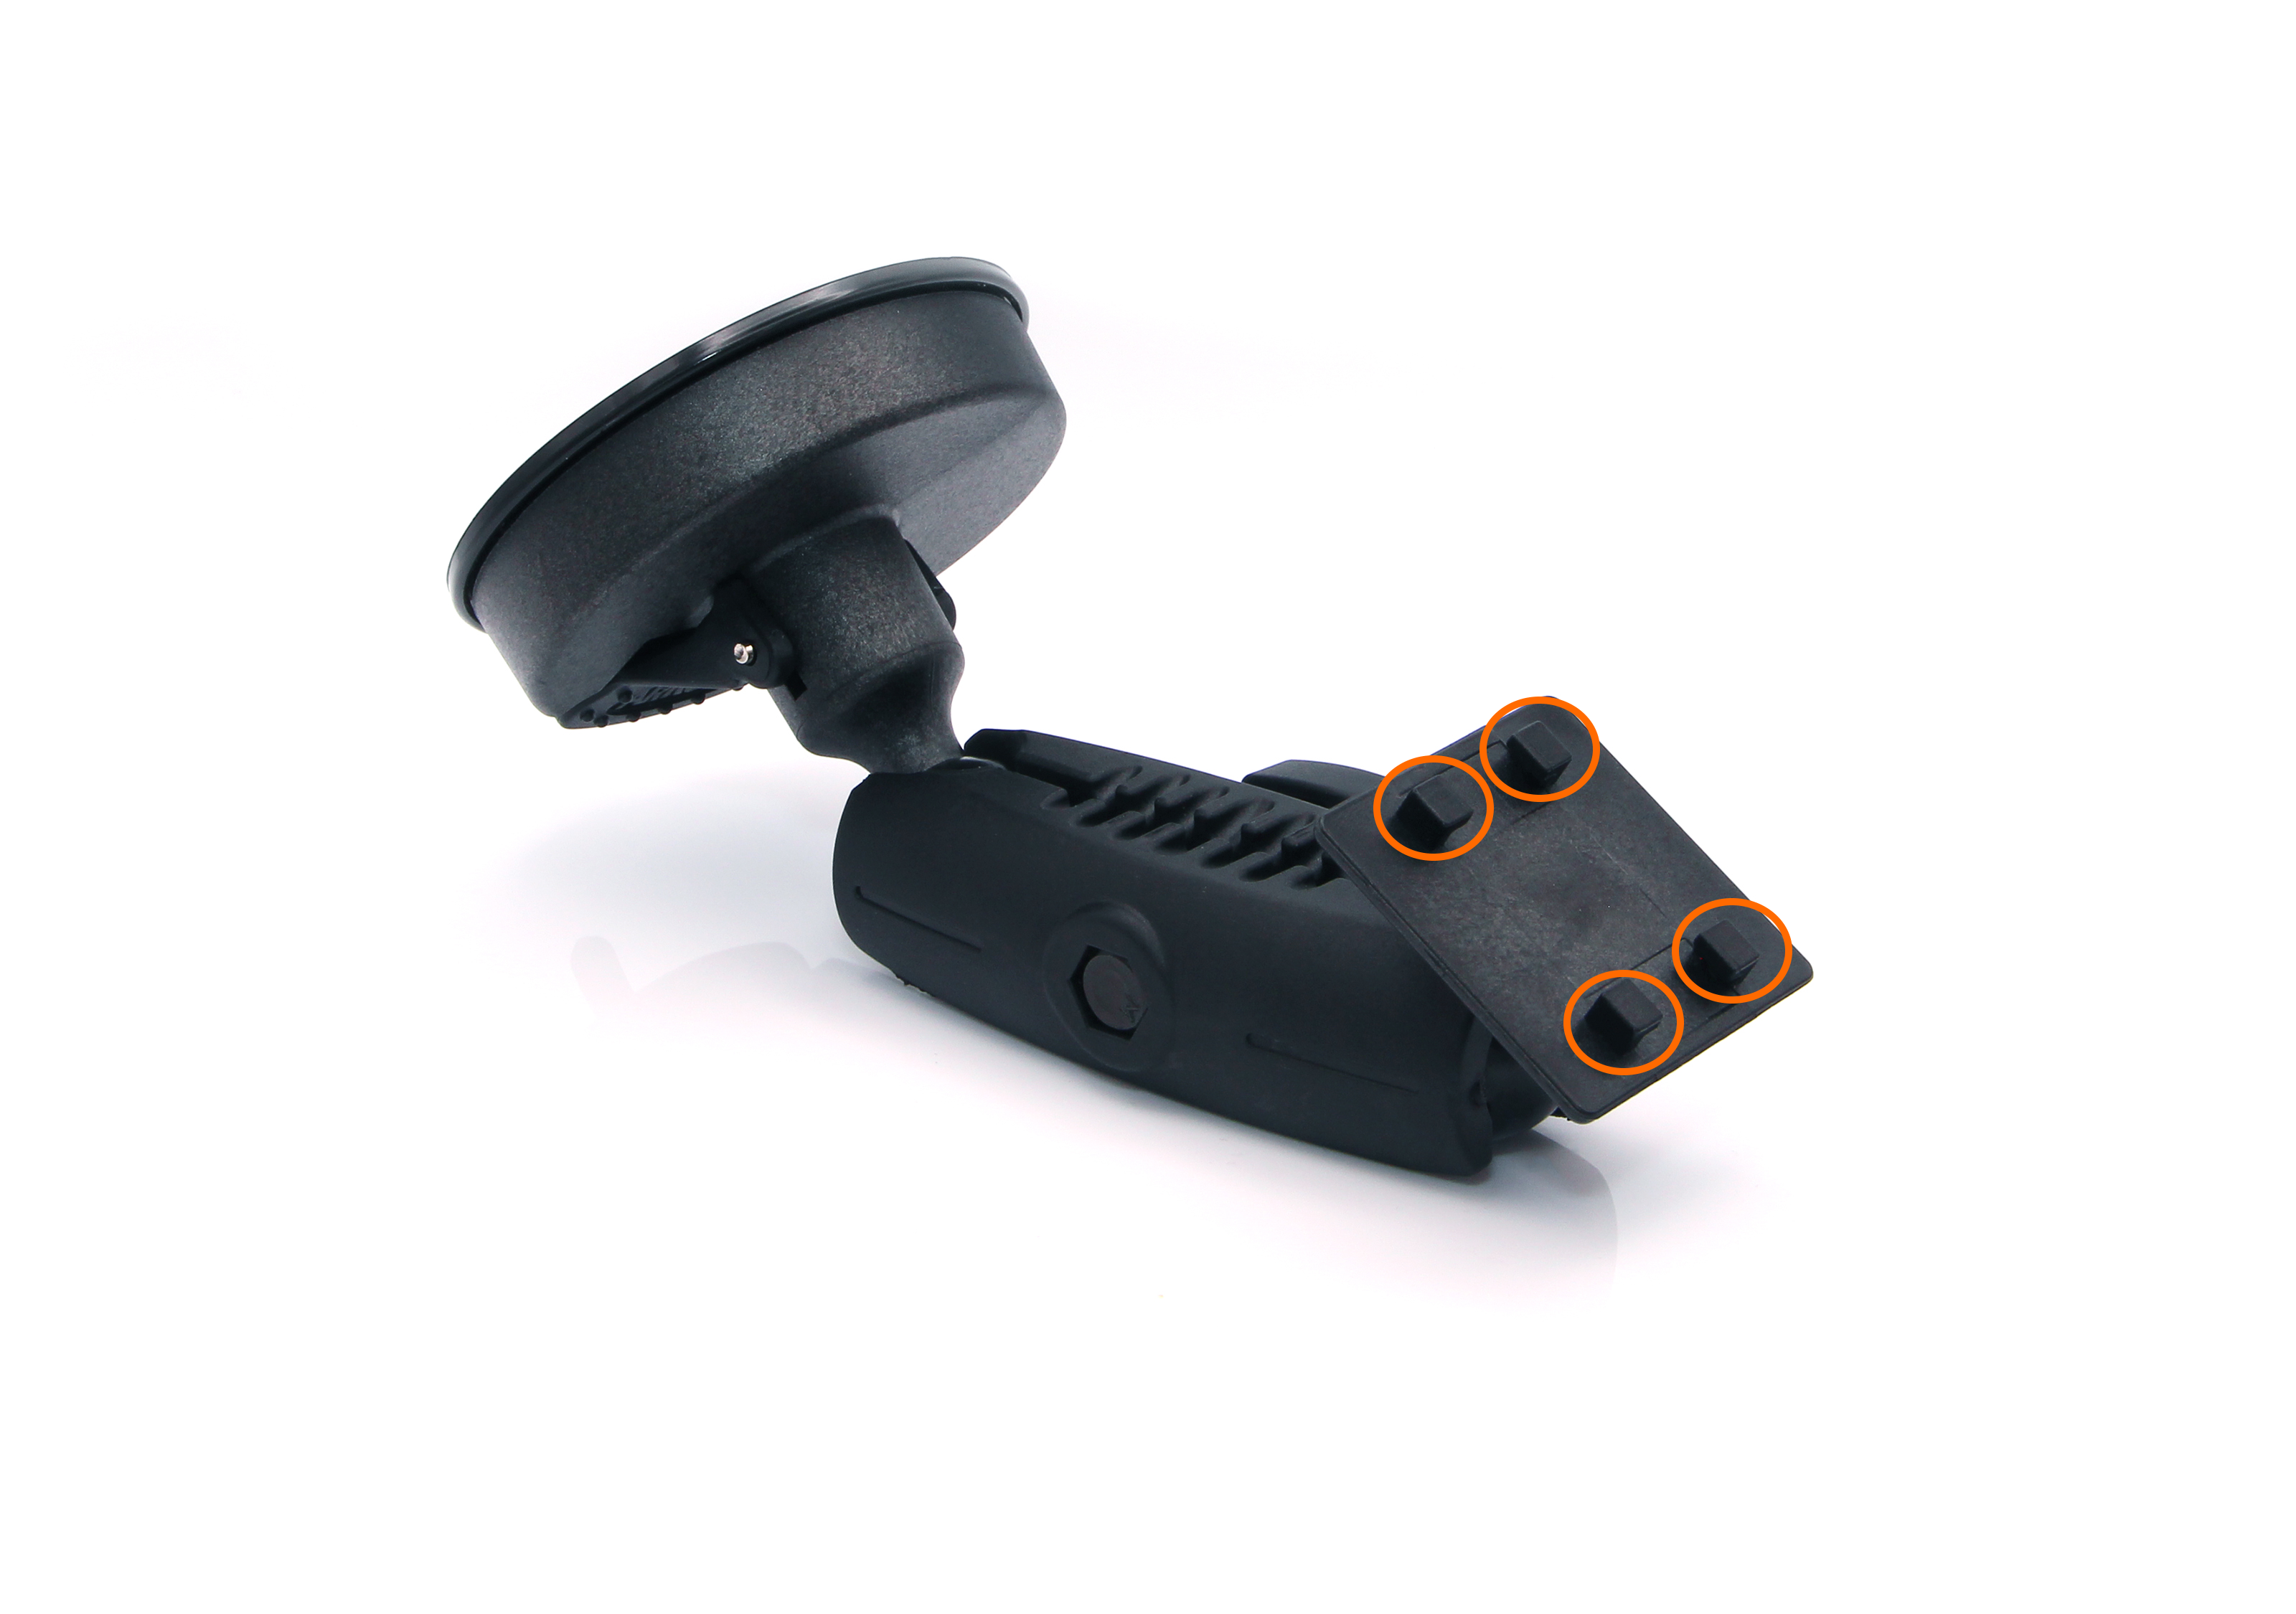
Performance Box Touch comes supplied with a Suction Cup Windscreen Mount so you can mount it on the vehicle's windscreen.
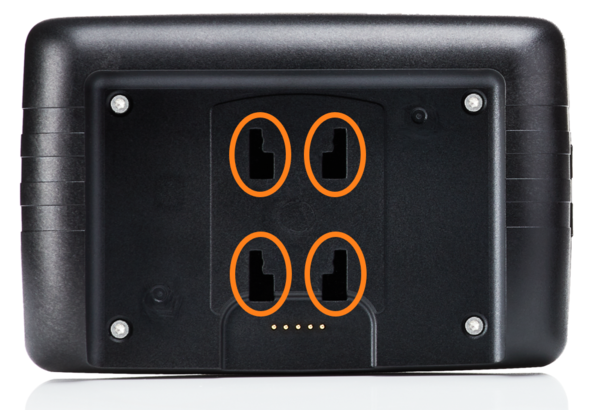
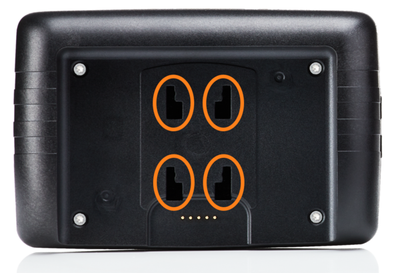
It attaches to the Richter mounting slots on the back of the unit or at the back of the battery if installed.
Insert the prongs from the mount into the back of the unit or the battery and push upwards to secure. Attach the suction cup to a suitable location on your windscreen and adjust as necessary.

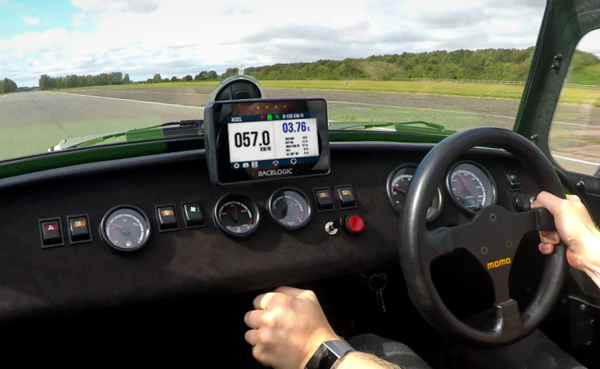
Position the unit so that:
- the screen is clearly visible
- it does not obstruct the driver’s view
- it remains stable during vehicle movement
Choose a mounting location that allows easy access to the touchscreen while keeping the unit securely in place.
Performance Box Touch has an internal patch antenna. This means that, in many circumstances, the unit does not require an external antenna (when it has a clear view of the sky without any interference, such as roof bars, athermic windscreen, windscreen wipers, etc.
However, if you are struggling to maintain a stable satellite lock, you can use an external antenna (RLACS284).
Place the GNSS antenna with a clear view of the sky.
For best performance:
- Mount the antenna on the vehicle roof where possible
- Avoid placing it under metal surfaces or inside enclosed areas
- Ensure the antenna is securely positioned to prevent movement during testing
Correct antenna placement is critical for accurate and repeatable results.
Refer to the GNSS Antenna Placement article for more information about best practices for antenna placement.
IMPORTANT
The first time you use the unit, it may take 10 to 15 minutes to acquire satellites. After this, it will usually only take 1 to 2 minutes.
Connect the Performance Box Touch unit to a suitable vehicle power supply using the supplied power cable. The unit will automatically start when connected to power.
Alternatively, you can use the unit without connecting it to a power source by installing the optional battery. Press and hold the Power button on the battery for a few seconds to turn the unit on or off.
Ensure the power connection is secure before use.
NOTE
Refer to the Performance Box Touch Battery page for more information about installing, charging and using the optional battery.
Connect the GNSS antenna to the antenna port on the unit.
Ensure the connector is fully secured to maintain a reliable signal.
Insert the SD card into the SD card slot before use.
All logged data is stored on the SD card.
- Do not attempt to configure or navigate menus while driving.
- Only perform brief, single interactions with the touchscreen when it is safe to do so (for example, capturing a screenshot).
- Always prioritise safe vehicle operation.
- Ensure the unit is securely mounted and does not obstruct the driver’s view.
- Route all cables so they do not interfere with vehicle controls.