This page contains information about the settings in the Logging Menu on the VBOX LapTimer (RLVBLAP-R and RLVBLAP-S).
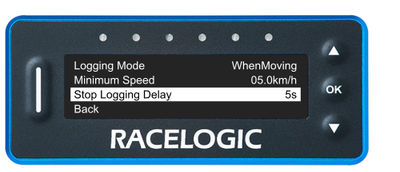
This is where you set the Logging Mode you wish to use.
Press the OK button with this setting highlighted to cycle through the available options.
The displayed option is the selected one.
When you are happy with your selection, use the Down button to move to the next setting in this menu.

This is where you set the Logging Mode you wish to use.
Press the OK button with this setting highlighted to cycle through the available options.
The displayed option is the selected one.
When you are happy with your selection, use the Down button to move to the next setting in this menu.

When Moving
This is the default Logging Mode.
Logging when moving means that the LapTimer starts logging when it detects movement.
Manual
Manual logging mode means that you choose when to start or stop logging – it will never start or stop automatically. You can control the logging with the OK button when you are in the speed mode display.
Continuous
When you have selected continuous mode, the VBOX LapTimer will start logging as soon as it detects power and media. You must stop the logging, by pressing the OK button when in speed mode. It is important that you manually stop the logging before you remove the SD card.
NOTE
When you select Continuous or Manual as the Logging Mode, the Minimum Speed and Stop Logging Delay settings are redundant and will become unavailable.
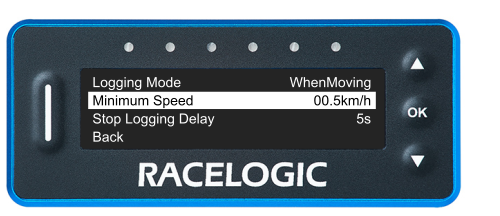
The minimum speed is the speed threshold that the vehicle has to travel at for the logging to start.
Press the OK button with this setting highlighted to enter the value screen.
Use the Up and Down buttons to increase or decrease the speed limit to a value between 1 and 999 km/h.
Press the OK button to confirm the selected value and return to the Logging Menu.
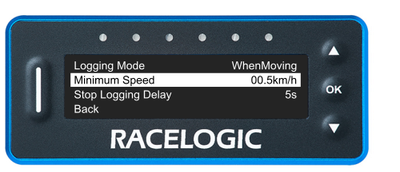
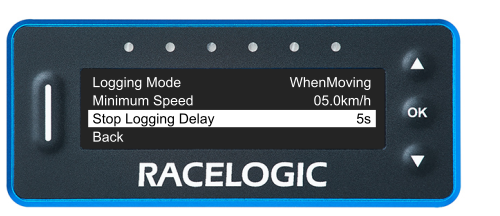
The Stop Logging Delay setting is the delay time for the unit to stop logging.
Press the OK button with this setting highlighted to enter the value screen.
Use the Up and Down buttons to increase or decrease the speed limit to a value between 1 and 60 seconds.
Press the OK button to confirm the selected value and return to the Logging Menu.
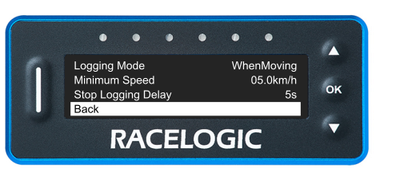
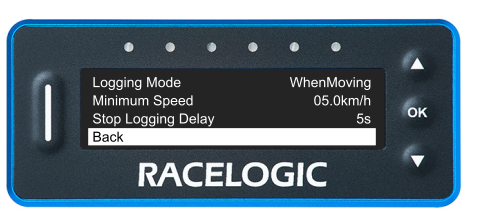
Press the OK button with this option highlighted to navigate back to the Main Menu.
Press the OK button with this option highlighted to navigate back to the Main Menu.