To facilitate the ability to replay a GNSS scenario and to load the file store at the same time. We have developed this capability on a Synology NAS with 40 TB data store. Designed for the Synology 918+ 4bay NAS using 4 Western Digital 10 TB WD Red drives (WD100EFAX).
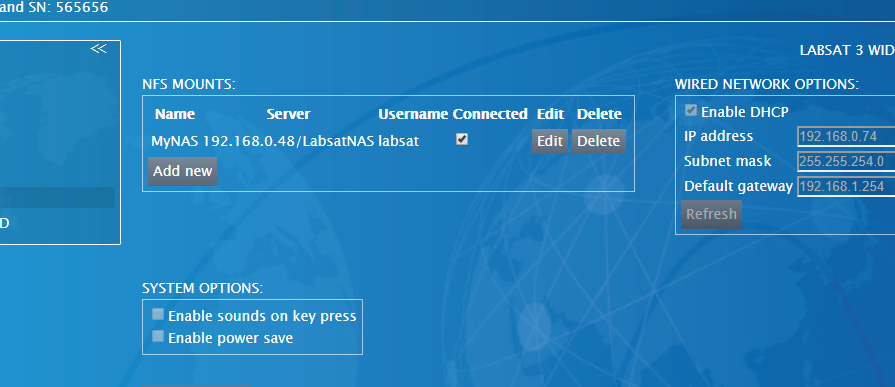
When you have configured the Synology NAS, you can connect the LabSat unit to the shared folder. Use the following steps to add an NFS (Network Filing System) mount on the LabSat Web Server.
- Select SYSTEM SETUP in the navigation menu.
- Click on the Add new button in the NFS Mounts section.
- Add the following connection details into the pop-up box.
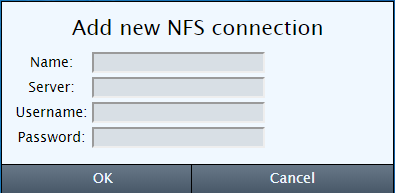
- Name: Enter a meaningful name for the connection. For example,
MyNAS. Spaces are not supported. - Server: Enter the Synology IP address and shared folder name configured during the Synology setup. For example,
192.168.0.48/LabsatNAS.
The IP address may vary depending on the network configuration. - Username: Enter the username for the NAS server.
- Password: Enter the password for the NAS server.
Click ‘OK’ to save the settings.
After configuring the mount, select the Connected checkbox in the NFS Mounts section to connect the LabSat unit to the shared network folder.
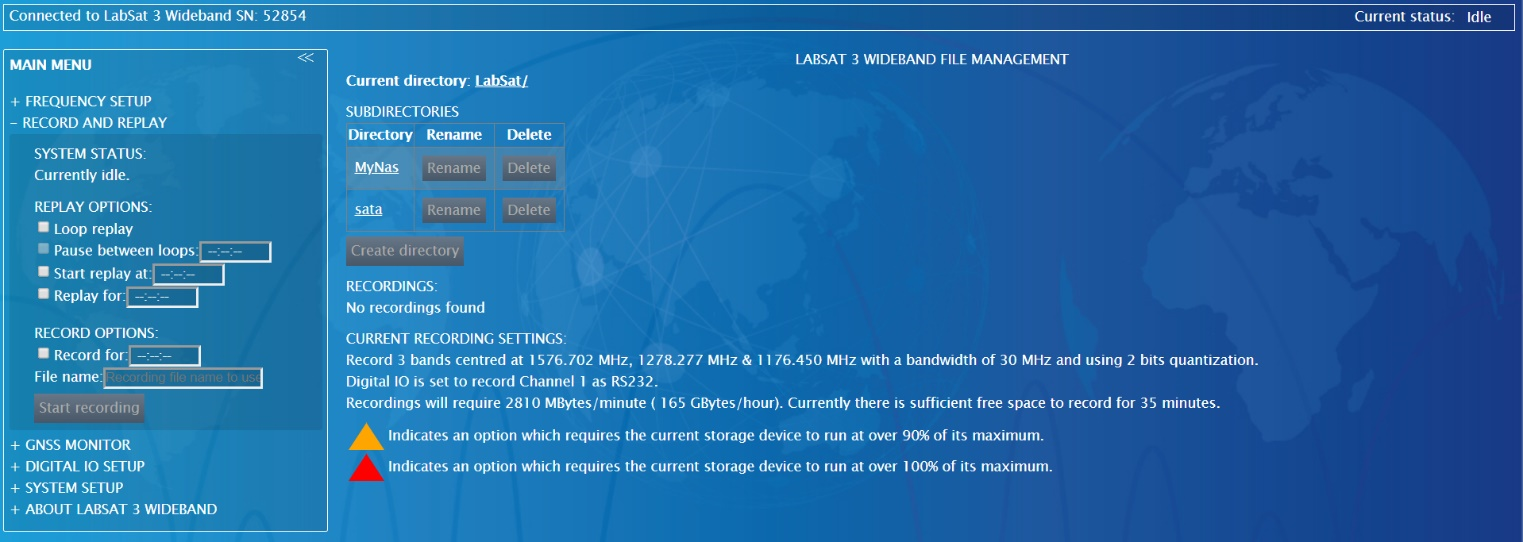
Recording directly to the Synology NAS has limited capability so we recommend that you use the internal SSD for this.
Indicates an option which allows the storage device to run comfortably within its operating limits.
Indicates an option which requires the storage device to run at over 90% of its maximum capability.
Indicates an option which requires the storage device to run at over 100% of its maximum capability.
| Bandwidth (MHz) |
Quantisation (bits) |
Channels | Storage status |
|---|---|---|---|
| 10 | 1 | 1 | |
| 2 | |||
| 3 | |||
| 2 | 1 | ||
| 2 | |||
| 3 | |||
| 3 | 1 | ||
| 2 | |||
| 3 | |||
| 30 | 1 | 1 | |
| 2 | |||
| 3 | |||
| 2 | 1 | ||
| 2 | |||
| 3 | |||
| 3 | 1 | ||
| 2 | |||
| 56 | 1 | 1 | |
| 2 | |||
| 3 | |||
| 2 | 1 | ||
| 2 | |||
| 3 | 1 |
NOTE
This is based on GNSS only scenarios – capability may change if external data is included!
The Synology NAS provides 40 TB of storage for LabSat scenarios. You can access the storage via the LabSat 3 Wideband unit, giving you the ability to replay scenarios directly from the Synology NAS.
Indicates an option which allows the storage device to run comfortably within its operating limits.
Indicates an option which requires the storage device to run at over 90% of its maximum capability.
| Bandwidth (MHz) |
Quantisation (bits) |
Channels | Storage status |
|---|---|---|---|
| 10 | 1 | 1 | |
| 2 | |||
| 3 | |||
| 2 | 1 | ||
| 2 | |||
| 3 | |||
| 3 | 1 | ||
| 2 | |||
| 3 | |||
| 30 | 1 | 1 | |
| 2 | |||
| 3 | |||
| 2 | 1 | ||
| 2 | |||
| 3 | |||
| 3 | 1 | ||
| 2 | |||
| 56 | 1 | 1 | |
| 2 | |||
| 3 | |||
| 2 | 1 | ||
| 2 | |||
| 3 | 1 | ||
| 2 |
NOTE
This is based on GNSS only scenarios – capability may change if external data is included!
When you have connected to the Synology NAS, you can access the scenario storage directly from the LabSat unit via the Web Server. Select Record and Replay from the navigation menu, to display the currently mounted media content.
View the mounted media by clicking on the Current Directory file path at the top of the Record and Replay page. This will display the currently available media locations.
View and replay scenarios stored on the Synology NAS by selecting the NAS in the directory table (e.g MyNAS). The page will repopulate with the relevant file structure.
For fast transfer to and from the Synology NAS we recommend attaching a USB 3.0 SSD caddy. The SSD can be removed from the LabSat 3 Wideband, inserted into the SSD caddy and attached to the NAS for fast file transfer.
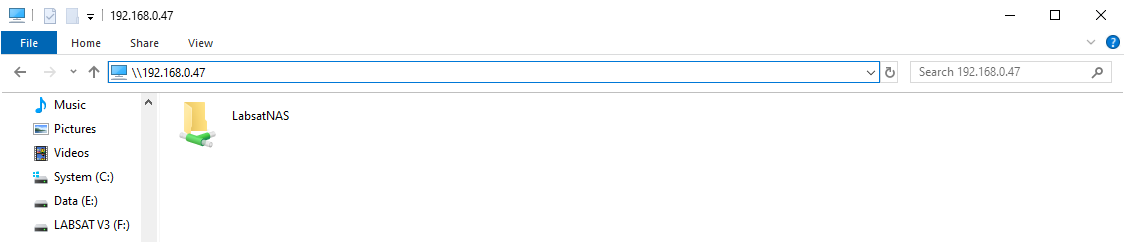
The Synology NAS storage can be accessed via two different methods when transferring data, either via the Synology web interface or via the Windows File Explorer. To access the Synology web interface, enter the Synology NAS IP address into an internet browser. To view the Synology NAS storage in Windows File Explorer, enter \\ followed by the Synology NAS IP address.