Installing and Configuring OBS Studio
OBS Studio is a free and open-source software program for video recording and live streaming. It can be used along with VBOX Sim to record video from the simulator.
Note: VBOX Sim is only compatible with OBS Studio version 26.1.1. You can download this version of OBS Studio in the Setup Instructions in VBOX Sim.
Installing OBS Studio
On opening OBS studio for the first time, an Auto-Configuration Wizard will start.
Select an option from the Usage Information settings, if you are only using OBS Studio for screen recording with VBOX Sim, select the Optimise just for recording, I will not be streaming option and press Next.

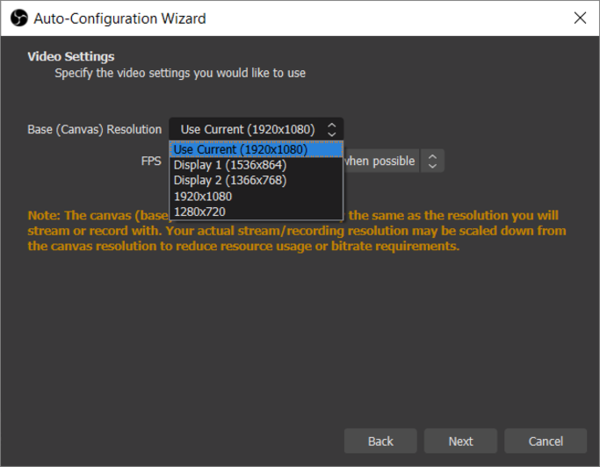
The Video Settings menu will then be presented, allowing you to select your screen resolution and frames per second. Firstly choose your resolution from the Base (Canvas) Resolution drop-down menu, if the required screen resolution isn’t available, pick any option for now as this can be changed later.
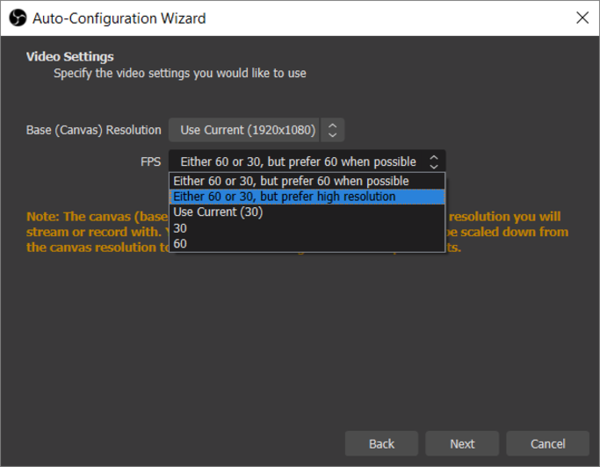
Next, choose your desired frames per second value from the FPS drop-down menu and then press Next.
Note: Recording a video with a higher FPS rate will increase the load on the GPU.
 |
 |
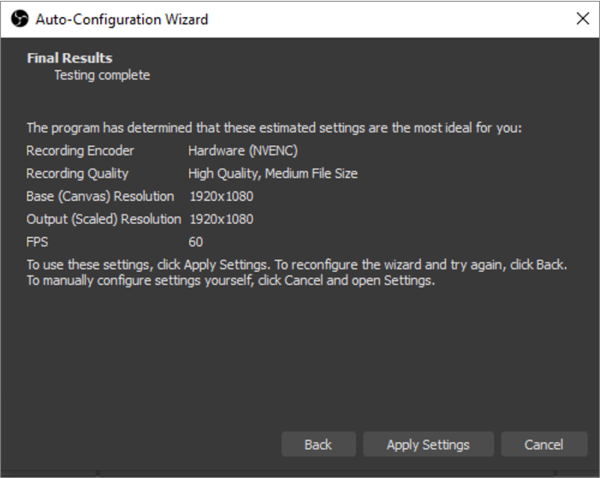
An auto configuration results screen will then be presented, if you are happy with the settings click 'Apply Settings'. Recording settings can be configured to meet your requirements later.
Setting up OBS Studio
Setup Instructions
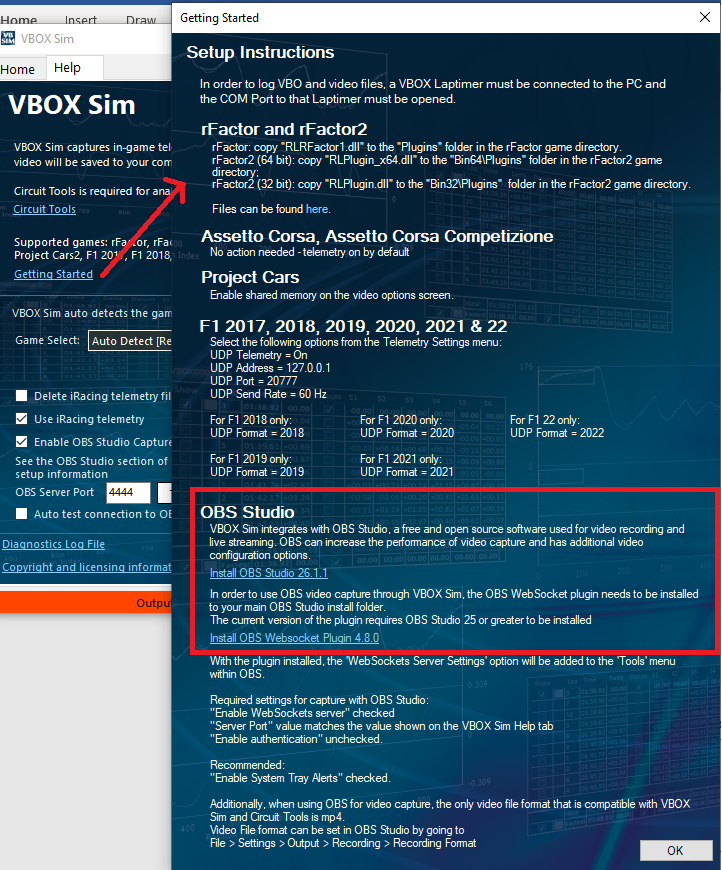
VBOX Sim contains information about how you get started using it. You can find these Setup instructions by selecting the Help tab and clicking on the Getting Started link.
This area covers topics, such as rFactor and rFactor2, Assetto Corsa, Assetto Corsa Competizione, Project Cars, F1 (2017, 2018, 2019, 2020, 2021 & 2022), and OBS Studio.
The OBS Studio section contains information about the software integration and provides a link to the installer of the latest compatible version for VBOX Sim.
Selecting the Correct Settings
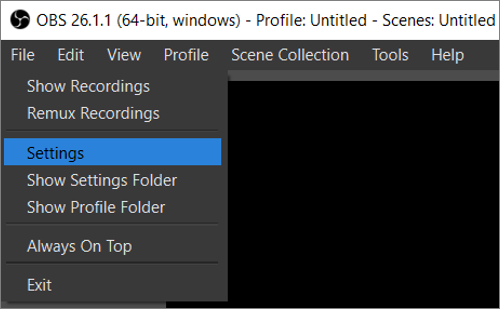
OBS Studio settings can be configured by navigating to File > Settings.
Select the 'Output' menu and then choose either 'Simple' or 'Advanced' Output Mode from the drop down menu. The important settings are within the Recording area.
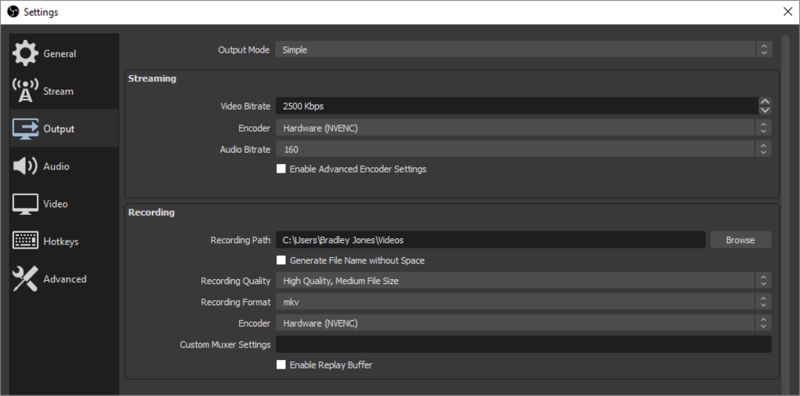
Simple Mode
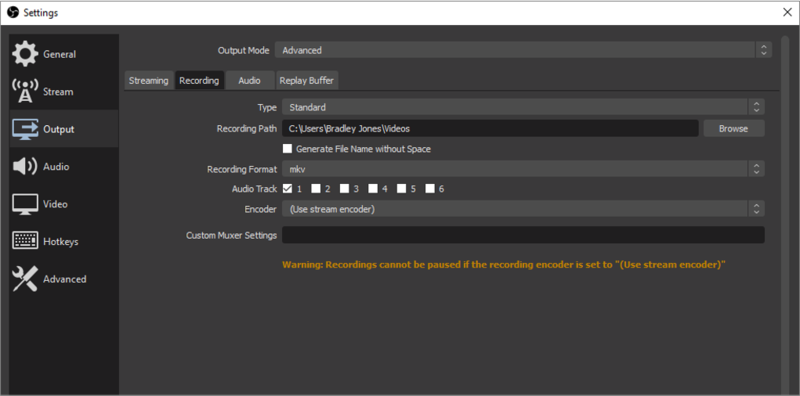
Advanced Mode
- Recording Path: Can be left as default as VBOX Sim will automatically make OBS Studio record the video to the VBOX Sim output file.
- Recording Quality (simple view): Can be set to anything using the dropdown menu, higher quality has more stress on GPU and larger file sizes.
- Recording Format: This needs to be set to mp4 using the dropdown menu as other file formats are not compatible with VBOX Sim and Circuit Tools.
- Encoder: It is recommended to use the hardware NVENC encoder to remove load from the CPU and move it to the GPU.
Navigate to the 'Video' menu.
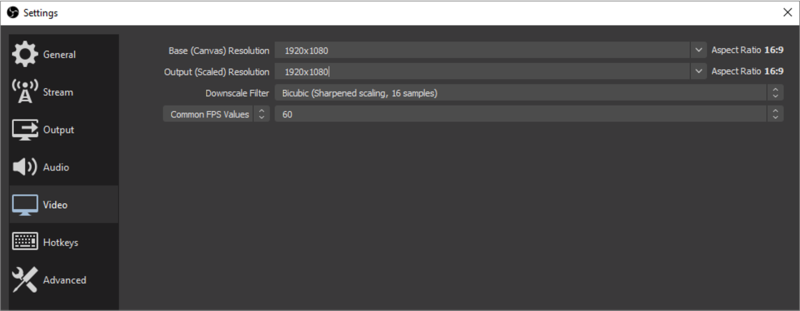
- Base (Canvas) Resolution: This should be the resolution of the monitor you will be recording on, if the required resolution isn’t within the drop-down list, it can be manually entered.
- Output (Scaled) Resolution: In order to reduce file size, you can reduce this value to reduce the physical size of the recorded video.
- FPS Values (Common, Integer, Fractional): These options will adjust the frame rate of the recorded video. Higher frame rates will make the video smoother but will induce a heavier load when recording.
Getting OBS Studio Ready to Start Recording
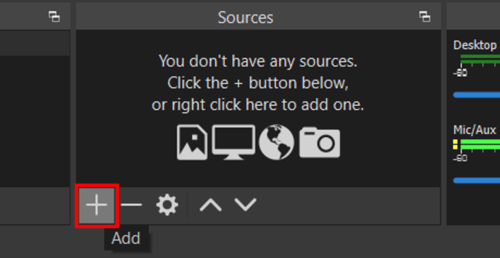
Use the '+ button' on the bottom left of the window to add a new source.
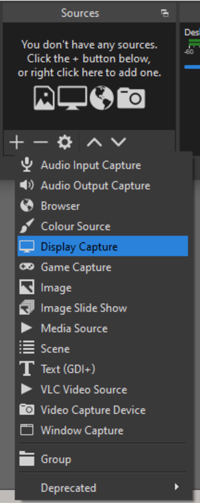
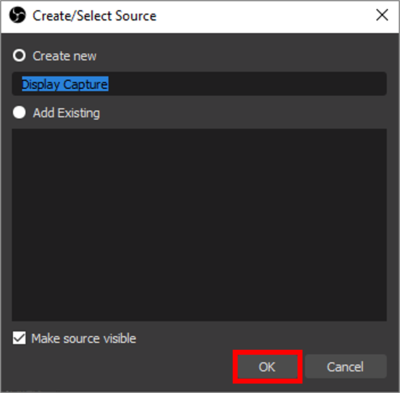
Select 'Display Capture' and click on 'OK' to add the new source. The name can be changed here if desired.
 |
 |
If you have multiple monitors, select the one that the game will be played on from the Display drop down menu. Press 'OK' to confirm.
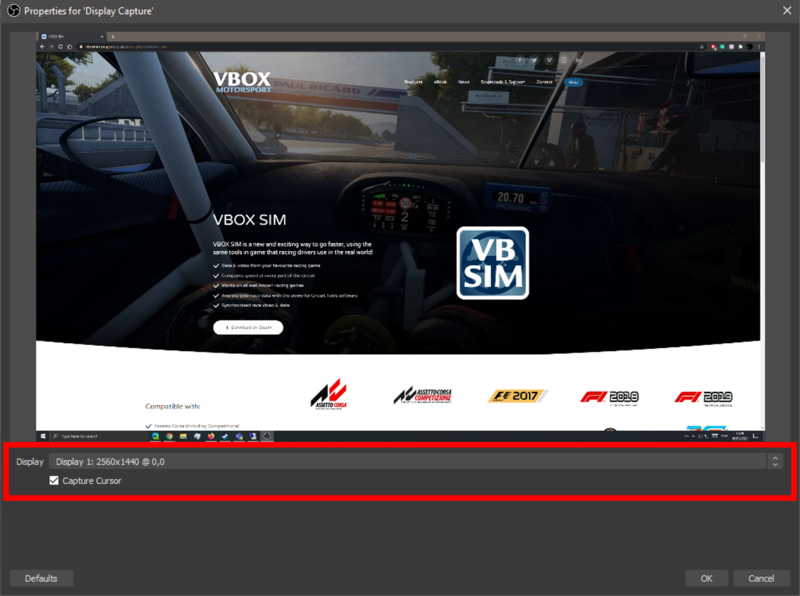
If after adding the display capture your selected display does not fit, you can click and drag the image and its red border to make it fit in the preview. If either of these happen after adding the display capture, it may be because the value that is currently set in File > Settings > Video > Base (Canvas) Resolution is different to the resolution of the display you have chosen.
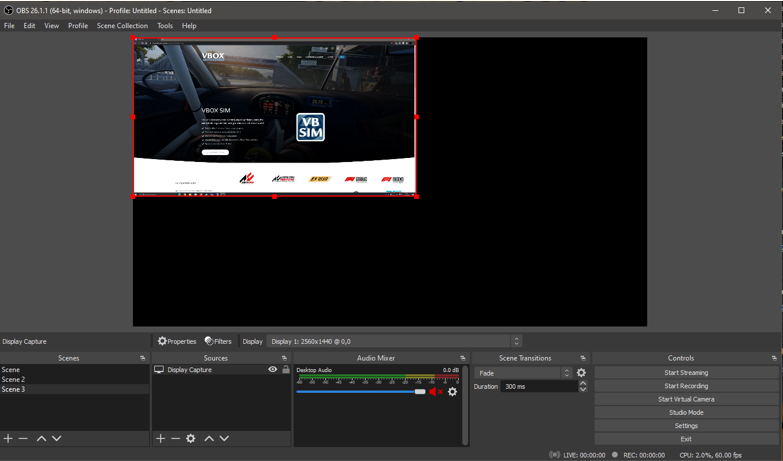 Resizing Example |
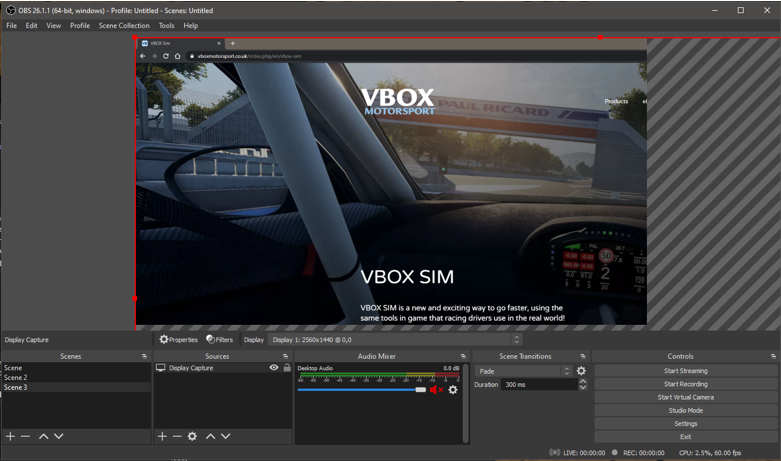 Resizing Example |
The example below shows OBS Studio with a display configured ready to start recording.

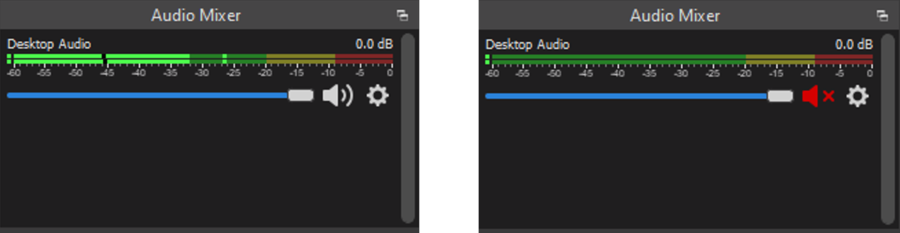
By default, the audio mixer section will only have one item - Desktop Audio. This will allow you to record any audio played on your PC, including in-game audio. It can be toggled by clicking on the 'Speaker Icon'.
Installing OBS WebSocket Plugin
The OBS Studio WebSocket Plugin is required to allow VBOX Sim to communicate with OBS Studio. Close OBS Studio and download the plugin from here. The installer will be added to the user downloads folder.
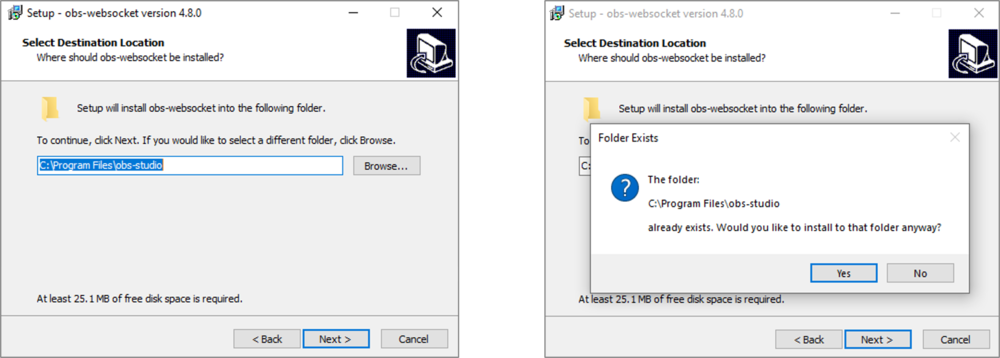
Open the installer and ensure that the selected installation location is the existing OBS Studio installation folder, select 'Next' and then 'Yes' on the Folder Exists prompt. Continue through the installation process confirming the prompts.
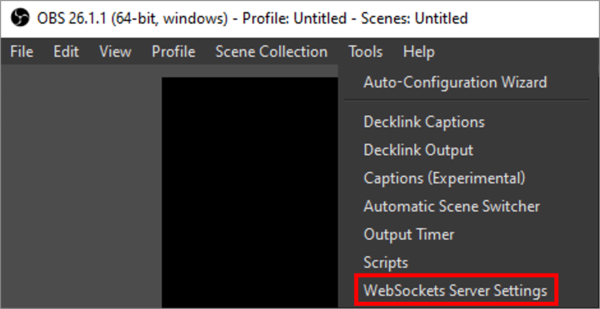
When the plugin is installed, reopen OBS Studio. The WebSockets Server Settings option will be added to the Tools menu.
Setting up OBS WebSocket Plugin
Selecting Tools > WebSockets Server Settings will open the plugin settings.
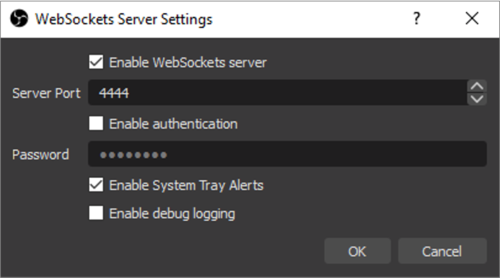
To allow VBOX Sim to communicate with OBS Studio and to enable OBS Studio video recording, the following settings must be configured:
- Enable WebSockets server: Checked.
- Server Port: This value can be set to anything as long as it matches a value with the same name in VBOX Sim.
- Enable authentication: Unchecked.
- Enable System Tray Alerts: Checkbox is not required, however it can help with setting up OBS Studio and checking that video recording is working correctly with VBOX Sim.
Enabling OBS Studio Video Capture in VBOX Sim
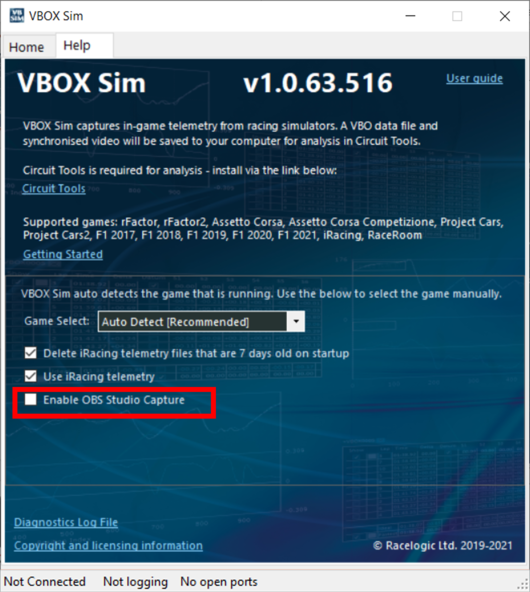
Open VBOX Sim, go to the 'Help' tab and select 'Enable OBS Studio Capture'. This will show two new fields, the server port value and a test connection button.
 |
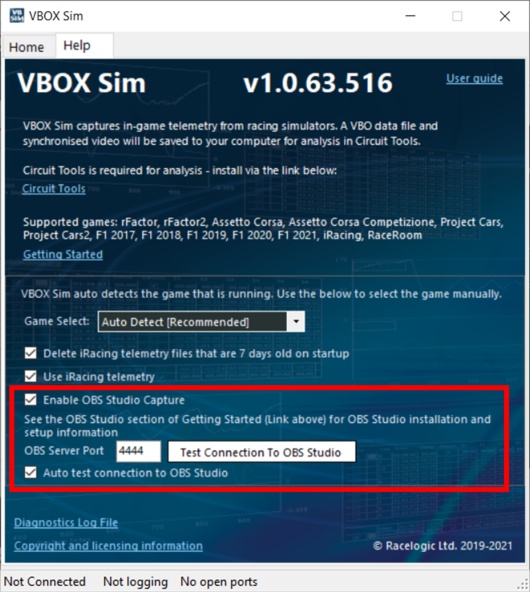 |
The OBS Server Port text box can be changed to any value between 1024 and 65535 but must match the Server Port value that was set in the OBS WebSocket Server Settings menu.
Pressing the 'Test Connection To OBS Studio' button will attempt a connection to OBS Studio using the provided server port value, and will then disconnect.
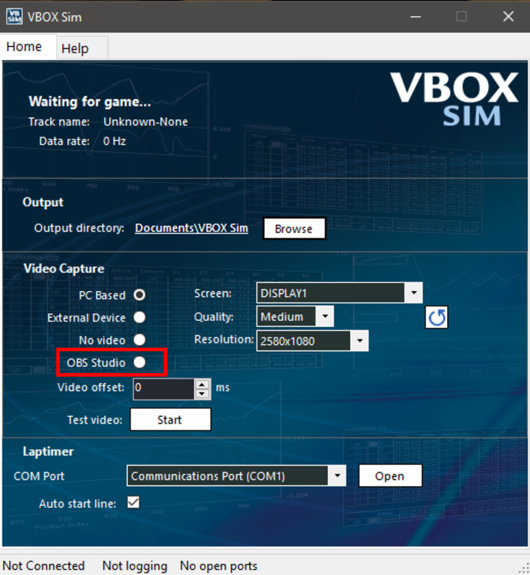
With Enable OBS Studio Capture checked, the OBS Studio option will be added to Video Capture on the home tab.
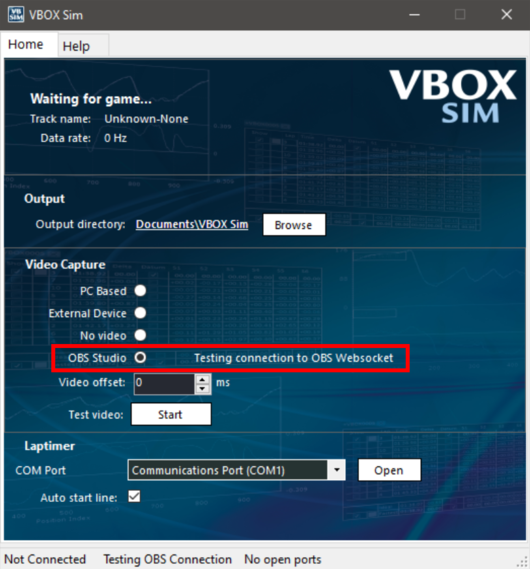
Testing Connection to OBS Studio
Selecting OBS Studio will automatically run a test video, VBOX Sim will attempt to connect to OBS Studio using the current settings and will then run a test video as normal, creating a 5 second video.
If the connection fails, the following popup message will be displayed.
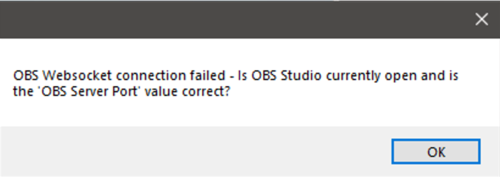
Common reasons for this occurring include:
- OBS WebSocket plugin hasn’t been installed - Instructions on how to do this are above.
- OBS server port value isn’t correct - Check the value you have set in VBOX Sim > Help > OBS Server Port and in OBS Studio > Tools > WebSockets Server Settings > Server Port are the same.
- OBS Studio is not currently running - Check OBS Studio is open.
Alternatively, you may get the following message which shows after VBOX Sim has successfully connected to OBS Studio however an error has been encountered when creating the video.
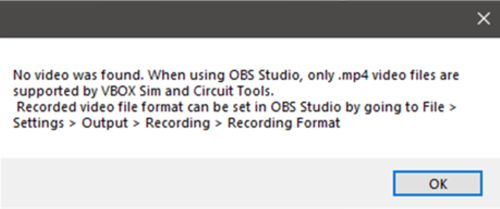
This will happen if the video that was recorded by OBS Studio did not record in .mp4 format, which can be set by going to OBS Studio > File > Settings > Output > Recording > Recoding Format and selecting 'mp4' from the drop-down list.
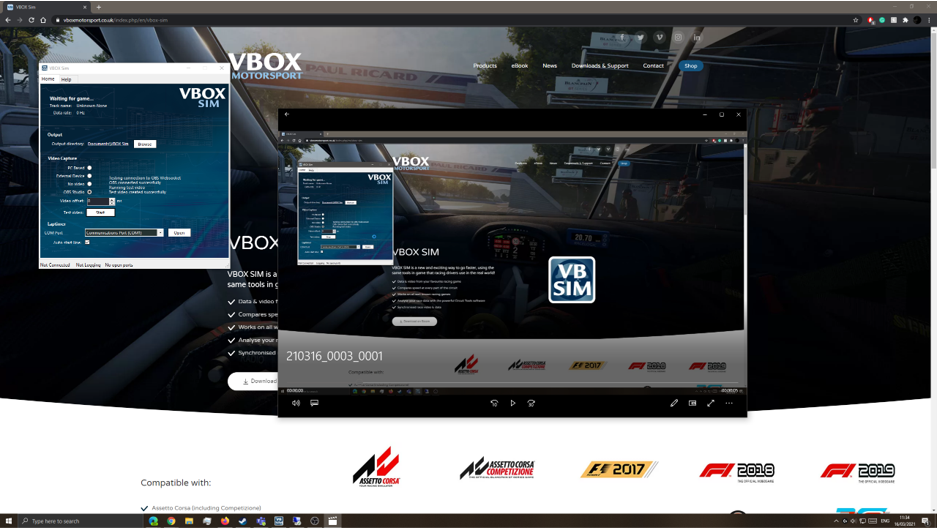
Finally, if the OBS Studio connection and video test are successful, the test video that was recorded will be automatically opened and played so that you can confirm the video quality is correct.
Note: This connection and video test will occur every time VBOX Sim is run.