Quick Start Guide
Quick start video demonstration
Copy Files
The first operation is to copy your data files from the SD card to a folder on your computer. This is essential if you are using video, as it will speed up the operation of the software. If your video files are large, then you may want to consider using the fastest SD card you can get and a USB 3.0 reader (make sure your laptop has USB 3.0).
Note: Only .vbo and .dbn files are supported.
 |
 |
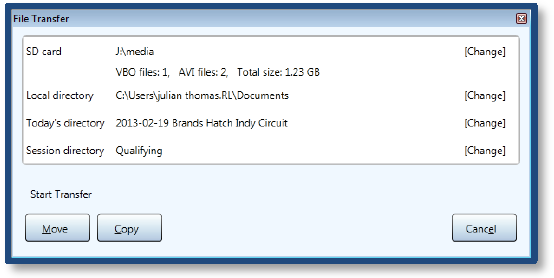
File Transfer Wizard
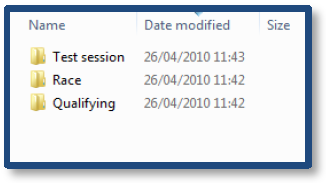
To make this process easier, there is a File Transfer Wizard, click Copy all files from SD card on the start up screen or you can also press F2 or select from the File Menu when the application is running. The wizard will automatically detect and analyse your SD card to work out which track you are on using the pre-installed database. It will then automatically name the folder using the circuit name and create a numbered session sub-directory.
At this point you can rename the session to something suitable (eg. Qualifying). Click Move (or M key) to move the files across and erase the SD card, or Copy (or C key) to leave them on the card.
Open File
When the file transfer ends, the File Open screen will appear (you can also bring this up later using the F3 key, Ctrl + N shortcut or or select from the File Menu).

In this screen, you will see any stored session information, a preview of the video, the length of the file, the number of laps and the fastest lap in that file. This allows you to quickly select the files you wish to analyse. To select multiple files, hold down the Ctrl key whilst selecting.
You can also use this screen to rename the file to something more useful. Using this method renames both the VBO data file and the AVI Video file in the correct way so that they remain associated.
Manual editing of filenames is not recommended.
When the files are opened, the circuit is automatically detected from a database of ~400 worldwide tracks using the GPS position contained within the data. If there are multiple layouts, then the length of a lap is used to select the correct version, however this can be changed later. More information on this is available here.
It is not possible to open files from different track locations.
Start / Finish Wizard
If the circuit does not exist in the database, then the Start / Finish Wizard will appear (you can also bring this up later using the Ctrl + G shortcut or select from the File Menu). To define the Start / Finish line, simply click on the chosen point on the track.
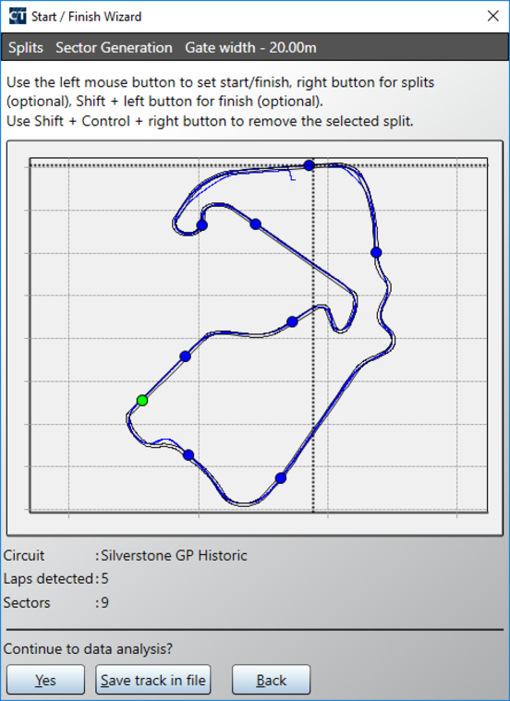
The splits are generated automatically either at the braking point at the end of a straight, or they can be set manually using the right hand mouse button. To continue press Y or click Yes. More information on the Start / Finish Wizard is available here.
Screen Layout
The screen will default to the following layout:
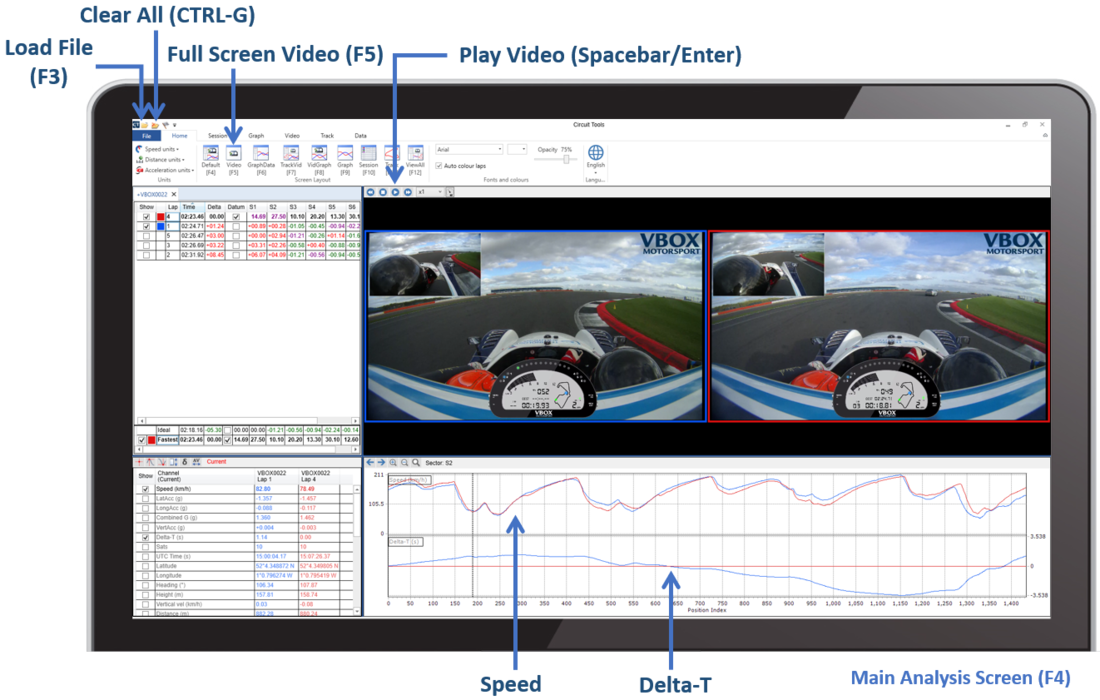
This is the main analysis screen, which initially presents you with the fastest lap of each driver, synchronised to circuit position.
The speed and lap time difference (Delta-T time) are shown on the graph. The quicker driver is shown in red, the slower driver in blue. As you move the cursor on the graph window by clicking with the mouse, the videos jump to the corresponding track position.
Keyboard Shortcuts