Setting Up To 24 Contact Points
To set up to 24 vehicle contact points within an ACC, AEB, BSD or FCW test, please follow the steps below:
IMPORTANT - If you are intending to use IMU Integration, it must be disabled before these points are set. It can then be enabled after.
- First, connect a ground plane antenna to the VBOX.
- Connect VBOX Manager to the VBOX within the Subject Vehicle.
- Select the 'ADAS' option from the 'SETUP' menu and then depending on how many target vehicles you are using, ensure either '1 Target' or '2 Target' is selected.
- Select 'Subject' within 'ADAS Function' and then choose 'Subject Vehicle Contact Points'.

- Select 'Set Contact Points'.

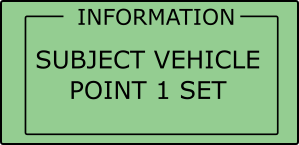
- Using the survey pole, move the antenna to the desired contact point on the vehicle. Ensure there is a fixed RTK solution and select 'Set Point'.

- If successful, VBOX Manager will display 'SUBJECT VEHICLE POINT 1 SET'.
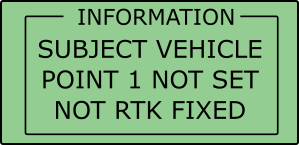
- If there is no RTK fix, the point will not be saved and VBOX Manager will display 'SUBJECT VEHICLE POINT 1 NOT SET NOT RTK FIXED'.
- To set the next point, move the antenna to another desired point of contact and repeat the process. Repeat this process until all the desired points are set, or a limit of 24 is reached.
- Once all the desired points are set, move the antenna to the location of Antenna A and select 'Set Antenna A', or if you are intending to use IMU Integration, move the antenna to the location of the IMU04 and select 'Set Antenna A''.

- Then, If you are using a dual antenna setup, move the antenna to the location of Antenna B and select 'Set Body Heading'. If you are using a single antenna setup, move the antenna to a position in front of antenna A in the direction of travel and select 'Set Body Heading'.

The body heading setting is needed to ensure the contact points are plotted in the correct direction on the vehicle.
- Repeat the process to define the Target Vehicle(s) contact points by selecting either 'Target Vehicle 1 Contact Points' or 'Target Vehicle 2 Contact Points' within the 'ADAS Function Subject' menu.

If multiple points have been set on either vehicle, the calculated ADAS parameters (range, angle etc) will always reference the nearest surveyed point.