Setting the Field of View
To set the 'Field of View' within a Traffic Sign Recognition (TSR) Test, please follow the steps below:
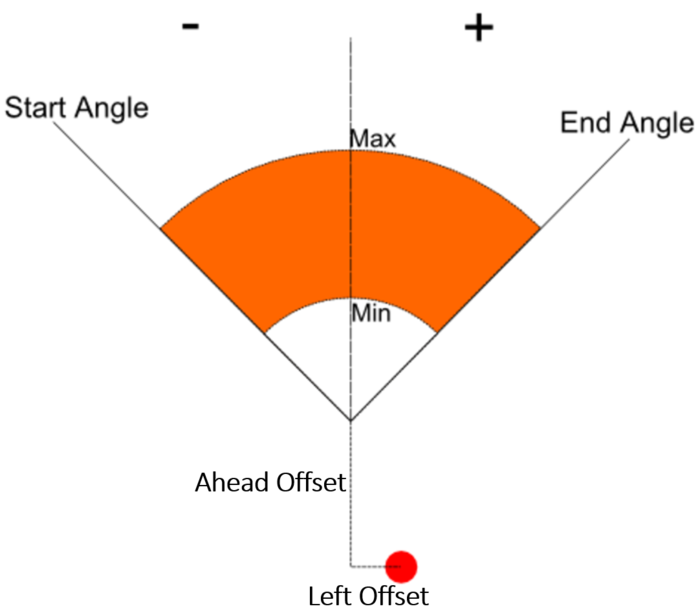
The Field of View is a circular arc that defines when a feature should be referenced, represented as the orange area in the diagram below. If a static point lies outside of this area, it will be ignored until it enters the field of view.
Field of View Offset
- Connect VBOX Manager to the VBOX within the vehicle.
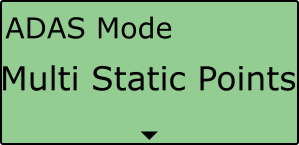
- Select the 'ADAS' option from the 'SETUP' menu and ensure 'Multi Static Points' is selected.
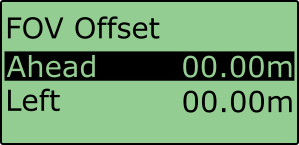
- Scroll to the 'FOV Offset' option and press to confirm. This menu allows the user to translate the antenna position to another position on the vehicle (usually the sensor position).
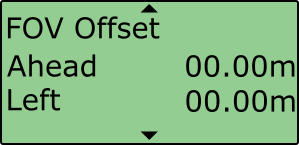
- The offset point will be the start of the field of view. This is done by entering a numerical forward/back and right/left offset value. Scroll to 'Ahead' and select.
- Scroll to 'Ahead' or 'Behind' depending on whether the position is ahead or behind of the antenna and select.
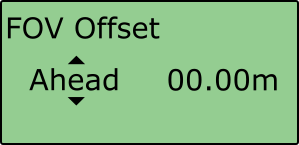
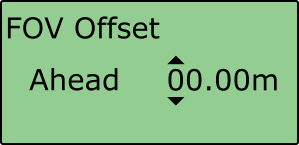
- Enter the offset value by pressing the scroll wheel to move along the digits and rotating to the desired number, selecting past the final digit will store the value.
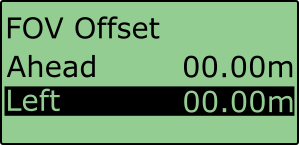
- Select 'Left' and choose 'Left' or 'Right' depending on whether the point is to the left or right of the antenna.
 |
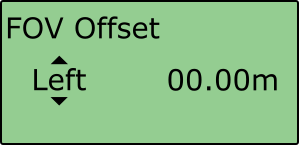 |
- Enter the offset value by pressing the scroll wheel to move along the digits and rotating to the desired number, selecting past the final digit will store the value.

Field of View Distance
- Repeat steps 1 – 2 in section ‘Field of View Offset' above.
- Scroll to the 'FOV Distance' option and press to confirm. In this menu it is possible to define the distance in metres from the offset point to when the field of view will start and end.
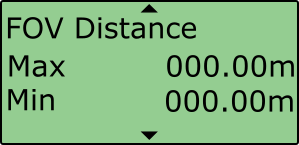
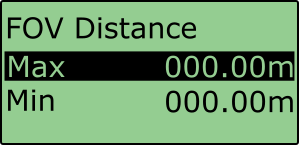
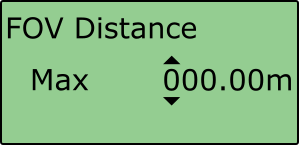
- This is done by entering numerical distance values. Scroll to 'Maximum' and select, this allows the user to define the distance from the offset point that the field of view will end.
- Enter the distance value by pressing the scroll wheel to move along the digits and rotating to the desired number, selecting past the final digit will store the value.
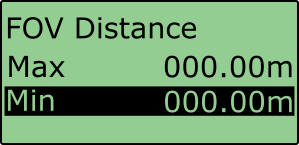
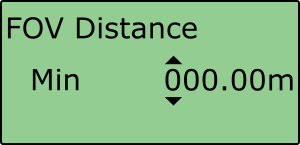
- Scroll to 'Minimum' and select, similar to the 'Maximum' menu, this allows the user to define the distance from the offset point that the field of view will start.
- Enter the distance value by pressing the scroll wheel to move along the digits and rotating to the desired number, selecting past the final digit will store the value.
Field of View Angles
- Repeat steps 1 – 2 in section ‘Field of View Offset' above.
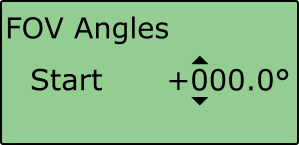
- Scroll to the 'FOV Angles' option and press to confirm. In this menu it is possible to define the angles in degrees from the centreline at which the field of view will start and end.
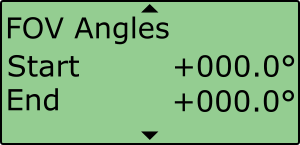
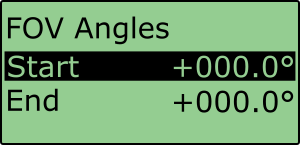
- This is done by entering numerical distance values. Scroll to 'Start' and select, this allows the user to define the angle from the centreline at which the field of view will start. Anything to the left of the centre line will be negative, anything to the right hand side will be positive.
- Enter the angle value by pressing the scroll wheel to move along the digits and rotating to the desired number, selecting past the final digit will store the value.
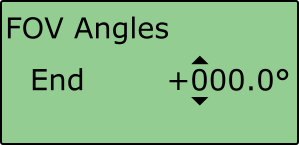
- Scroll to 'End' and select, similar to the 'Start' menu, this allows the user to define the angle from the centreline at which the field of view will end. Anything to the left of the centre line will be negative, anything to the right hand side will be positive.
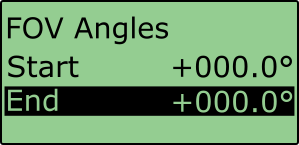
- Enter the angle value by pressing the scroll wheel to move along the digits and rotating to the desired number, selecting past the final digit will store the value.