ADAS IMU Integration Configuration - In-Vehicle Mounted
To configure the VBOX 3i IMU Integration within an ADAS test when the IMU is mounted within the vehicle, please follow the steps below:
IMPORTANT - If you are intending to use 'Set Contact Points' functionality to define up to 24 vehicle contact points in single or multiple target ADAS modes, IMU Integration must not be enabled until the points have been set.
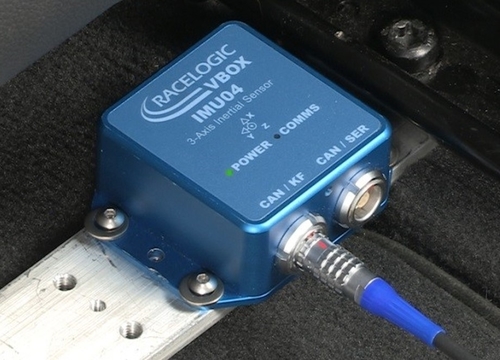
IMU Integration involves connecting an IMU04 to a VBOX 3i (IMU04 ready) via a RLCAB119 cable, more information on this can be found here.
These steps can be repeated on multiple vehicles using an IMU04 and VBOX 3i if required.
VBOX Configuration
- Ensure the IMU04 is connected to the VBOX 3i and mounted securely within the vehicle, more information on this can be found here.
- Connect VBOX Manager to the VBOX.
- Enter the 'SETUP' menu of VBOX Manager.
- Select 'IMU-INS' and then click on the 'IMU Integration' menu.
 |
 |
- Scroll to 'Enable' and select. Once the 'OK' confirmation screen has cleared, 'Enabled' will be displayed.
 |
 |
- Scroll to the 'Roof Mount' menu and ensure it is 'Disabled'.

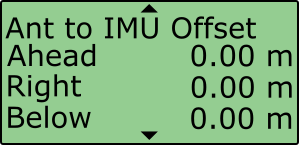
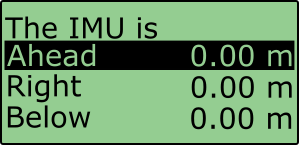
- Select 'Ant to IMU Offset' and enter the distances measured between the IMU and antenna A, more information on this can be found here.
 |
 |
- Internal IMU Attitude channels (Head_imu, Pitch_imu, Roll_imu, Pos.Qual., Lng_Jerk, Lat_Jerk and Head_imu2) will automatically be set to log. If IMU Attitude data is required to be displayed as a Live Serial data display (with VBOX Test Suite), then the user must enter VBOX Setup Software and tick the channels for 'Send over serial'.
- Perform initialisation and full calibration procedure before commencing testing.
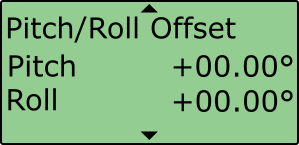
- If the IMU is not mounted on a flat surface, perform 'Pitch/Roll Offset' calibration.
This will zero the Pitch_imu and Roll_imu channels. Angle offsets calibration must be performed after the IMU kalman filter calibration has been completed, and the vehicle is static on a level surface.
 |
 |
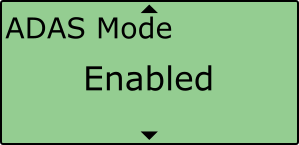
- If an ADAS mode has been previously selected, the ADAS Mode menu should show 'Enabled', if not, select the option.
This setting changes the rate at which the kalman filter takes a GPS positional sample to improve the positional performance of the filter. Whilst this is beneficial to ADAS testing, it slightly decreases the accuracy of the filtered speed and therefore shouldn't be selected when undertaking speed based testing such as brake stops.
Notes:
- The IMU04 must be in a Racelogic CAN mode to be used for IMU Kalman Filter.
- Manual contact points should reference the IMU location, rather than the primary GPS antenna.
Initialisation
When using IMU integration, an initialisation phase is required when the IMU is first connected to the VBOX after being set up. This will be run through automatically after the VBOX has successfully gained satellite lock. When the IMU LED on VB3i front panel has turned a flashing green, the initialisation is complete. Note, if you are using a VB3i-V1, which has no IMU LED, read the LED indicators section below for LED behaviour.