Data Display - MFD Touch
Adding/Removing Screens
MFD Touch can display up to 6 defined VBOX parameters. There are 8 different screens available to display a varying amount of parameters and gauges. You can add a maximum of 10 screens.
When the unit is booted up for the first time, the "6 Numerical" screen will be presented by default. If you would like to add more screens, press the Forward or Back buttons on the bottom right of the screen, or swipe left or right on the screen to access the ADD/REMOVE screen. It is always available before the first display screen and after the last display screen.
.png?revision=1)
Add a new screen by selecting the Add Screen button. This will open up the ADD page selection screen where you can choose which display you would like to add. Swipe left or right on the screen or use the Forward or Back arrows on the sides of the screen to navigate through the available screens: 1 NUMERICAL, 3 NUMERICAL, 4 NUMERICAL, 6 NUMERICAL, ANALOGUE GAUGE, G-BALL, TARGET or BAR GRAPH.

To add the screen, press the Confirm button on the bottom right of the screen to display the added screen.
If you press the Cancel button on the bottom left of the screen you will return to the ADD/REMOVE screen without saving.
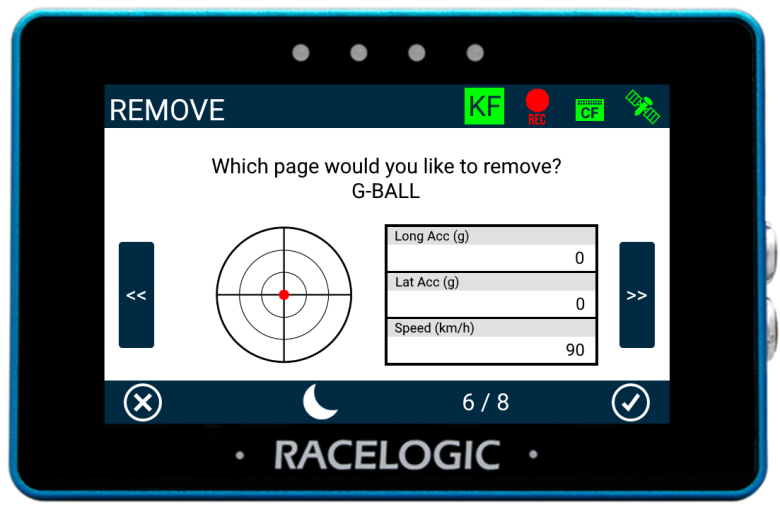
To remove a screen, press the Remove Screen button from the ADD/REMOVE screen, select the screen by swiping left or right or by using the Forward or Back arrows on the sides of the screen. Press the Confirm button on the bottom right of the screen.
Note: It is NOT possible to configure screens on an MFD Touch unit by using the VBOX Setup Software.
Display Screens
Once you have added screens, you can change the display by selecting the Forward or Back arrows on the bottom right of the screen or by swiping left or right. You can find more information about the different screens by clicking on the images below.
.png?revision=1) 1 Numerical Screen |
.png?revision=1) 3 Numerical Screen |
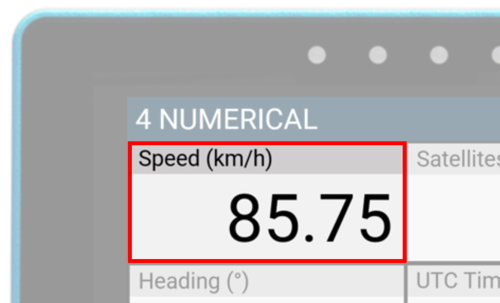
.png?revision=1) 4 Numerical Screen |
.png?revision=1) 6 Numerical Screen |
.png?revision=1) Analogue Gauge Screen |
.png?revision=1) G-Ball Screen |
.png?revision=1) Target Screen |
.png?revision=1) Bar Graph Screen |
Change Screen Name
You can change the name of each parameter screen by either pressing and holding or double-tapping the existing screen name at the top of the display. Enter the new screens name by using the presented keypad.
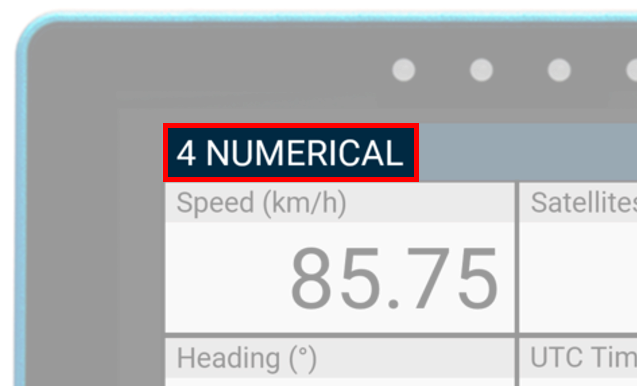 Existing Screen Name |
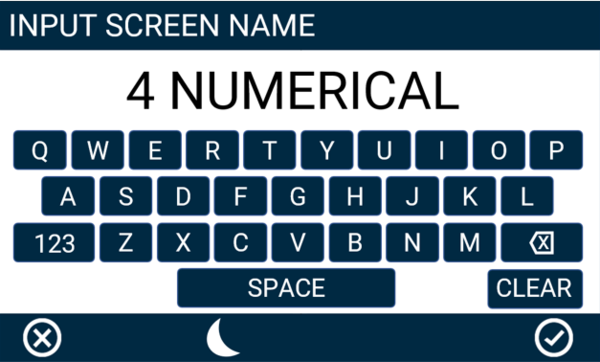 Screen Name Keypad Example |
To save the new name, press the Confirm button on the bottom right of the screen. Press the Cancel button on the bottom left of the screen to return to the parameter screen without saving. If you have an SD card inserted in the unit, it will remember the value after each power cycle.
Configure a Parameter
You can configure each parameter by either pressing and holding or double-tapping the existing parameter area. This will open up the screen-specific menus.